
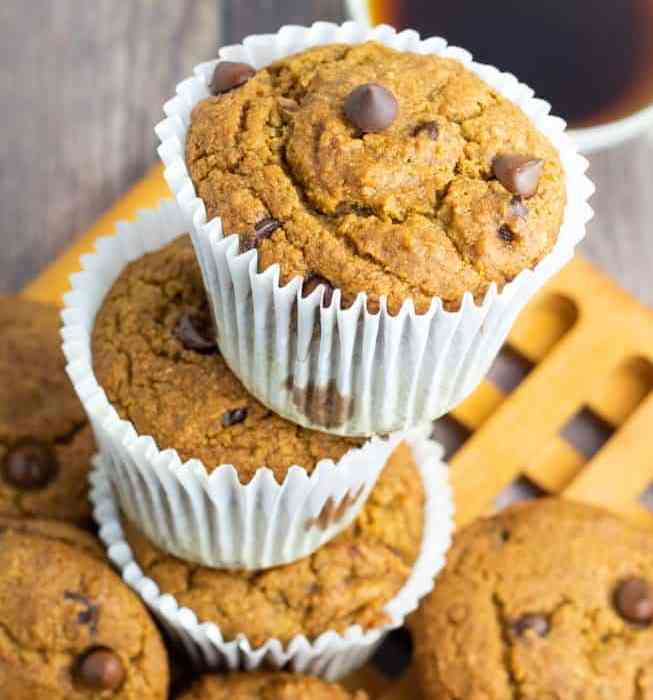
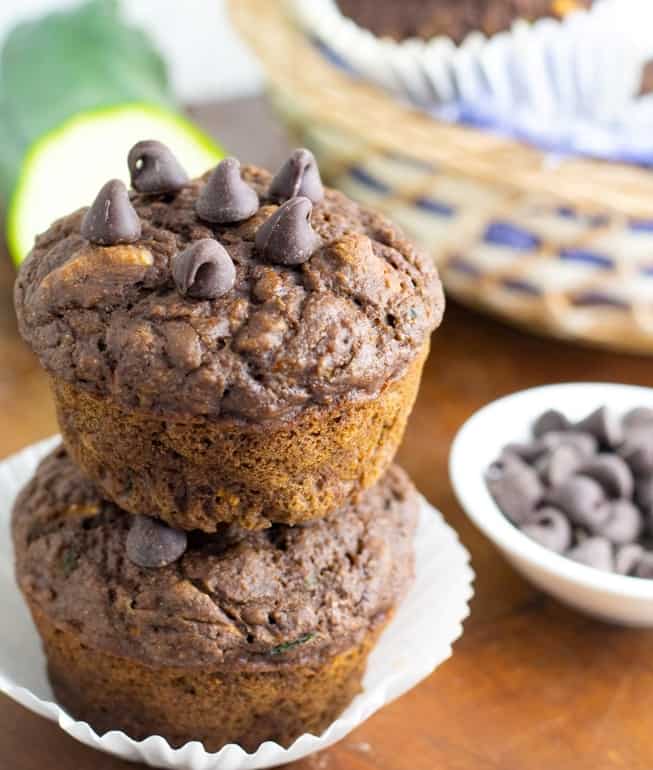
Homemade Vegan Chocolate Chip Muffins
These vegan chocolate chip muffins are irresistibly delicious and perfect for any time of day. Made with plant-based ingredients, they offer a moist, fluffy texture and rich chocolate flavor that’s hard to beat. Plus, they’re a healthier, dairy-free alternative, making them a guilt-free treat for everyone to enjoy!

Want to Save This Recipe?
Enter your email & I’ll send it to your inbox. Plus, get great new recipes from me every week!
By submitting this form, you consent to receive emails from EatPlant-Based
When I tried this chocolate chip muffin recipe out on my family, they loved the perfectly sweet and chocolatey flavor and felt inspired that these vegan muffins are much lower in fat than traditional chocolate chip muffins. In addition to the deliciously amazing flavor and texture of these healthy dairy-free muffins, you will appreciate the simple wholesome ingredient list.
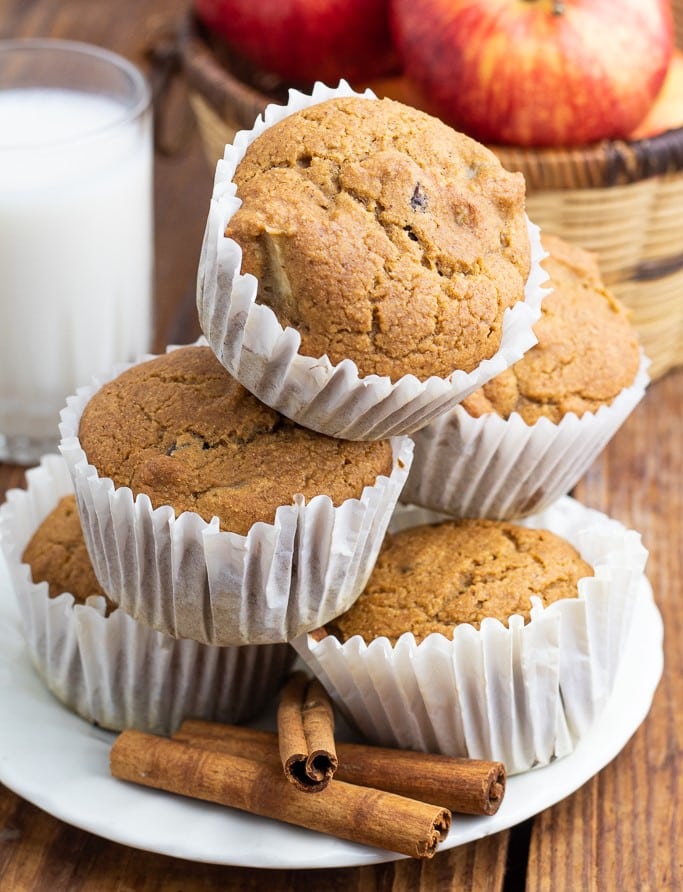
We have other amazing muffin recipes on this site like these vegan sweet potato muffins, my chocolate zucchini muffins, and our applesauce cinnamon dairy-free muffins.
Reasons you will love this recipe
- Rich Chocolate Flavor: These vegan chocolate chip muffins are packed with gooey chocolate chips, delivering a rich and satisfying chocolatey taste in every bite.
- Moist and Fluffy Texture: Made with plant-based ingredients, these muffins have a perfectly moist and fluffy texture that’s both light and delicious.
- Dairy-Free and Egg-Free: Ideal for those with dietary restrictions, these vegan muffins are completely dairy-free and egg-free, making them a great choice for anyone looking for a healthier baked treat.
- Easy and Quick to Make: With simple ingredients and a straightforward recipe, these muffins come together quickly, making them perfect for a quick snack, breakfast, or dessert.
Ingredients you will need

- Flour & rising agents- Whole wheat flour provides a nutritious, fiber-rich base for healthy vegan muffins, while baking powder and baking soda work together to create a light, fluffy texture. A pinch of salt enhances the flavors, ensuring your muffins are both delicious and wholesome.
- Applesauce- Adding natural sweetness and moisture while reducing the need for added fats or oils. Applesauce helps to keep the muffins tender and moist. If you can’t find it in your local grocery store, try making your own applesauce with our recipe.
- Plant Milk- To keep this recipe dairy-free, we use almond milk, and other options include soy milk, oat milk, and others. We have a great guide on how to make your own cashew milk that is super simple.
- Vinegar- Adding vinegar to vegan muffins helps activate the baking soda, creating a chemical reaction that produces carbon dioxide bubbles. This reaction helps the muffins rise and results in a light, fluffy texture.
- Sweetener- My preference is brown sugar, but other options could include date sugar, maple sugar, or pure cane sugar.
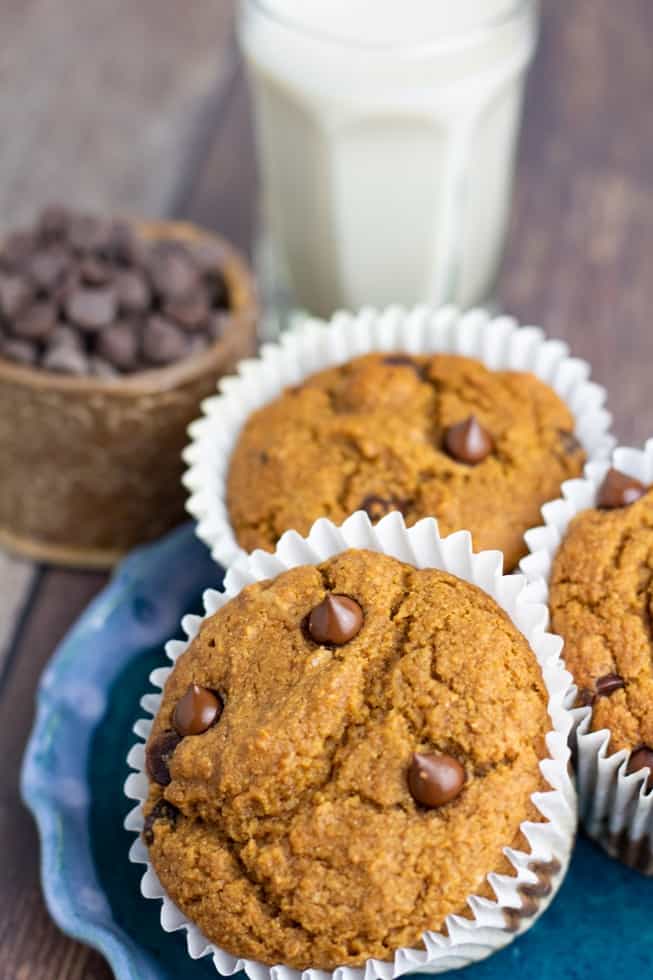
- Chocolate Chips- We use dairy-free vegan chocolate chips to add more delicious chocolate flavor.
Tips & Substitutions
- Mixing Bowl- Don’t skimp on the large bowl size. I love having enough room to combine the dry and wet ingredients with plenty of stirring room.
- Non-Stick- I highly recommend the non-stick silicone muffin pans. Using paper muffin cups can be tricky because the paper tends to stick to the muffins after being baked since they are not oily like traditional muffins. Remember to place on a baking sheet to support.
- Cooking Time- Test the doneness of the muffins after 20-25 minutes with a toothpick inserted into the middle of one. When the toothpick comes out clean, they are ready.
- Mini Muffins- If you decide to use a muffin pan for mini muffins, reduce the cooking time to about 15 minutes.
How to make dairy-free chocolate chip muffins
The recipe card at the bottom of the page has the full list of ingredients with measurements and instructions.
STEP #1: Preheat your oven to 350°F and then get the ingredients and measuring cups ready to go.
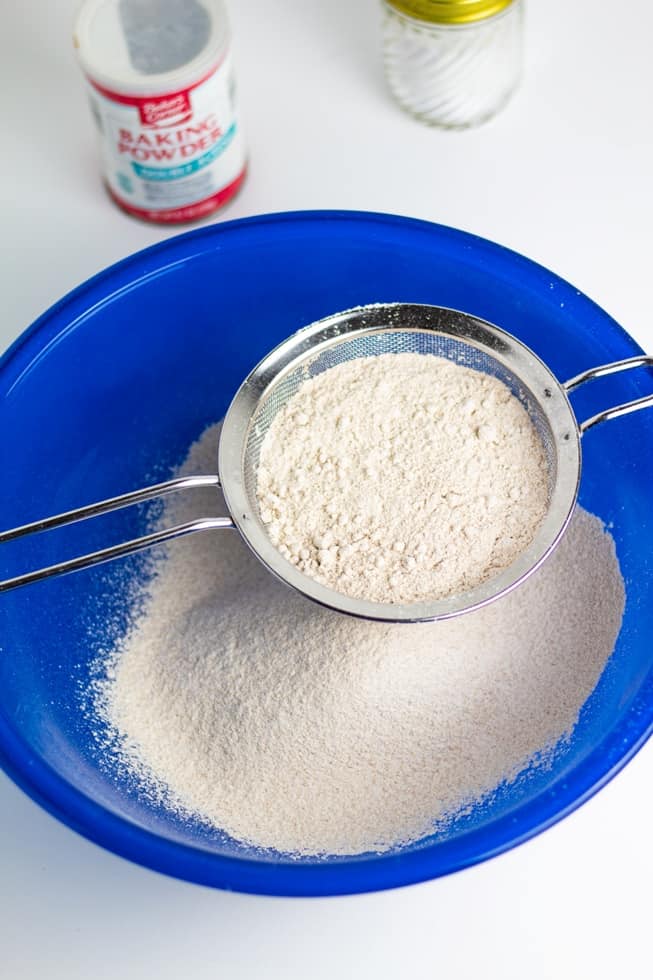
In a large bowl, whisk together all of the dry ingredients–whole wheat flour, baking soda, baking powder, salt, and less-refined dry sugar (if using). I like to sift the flour to help these muffins be more light and fluffy, but this step is completely optional.
If you plan to make these with date paste or maple syrup, save those for the wet ingredients in the next step.
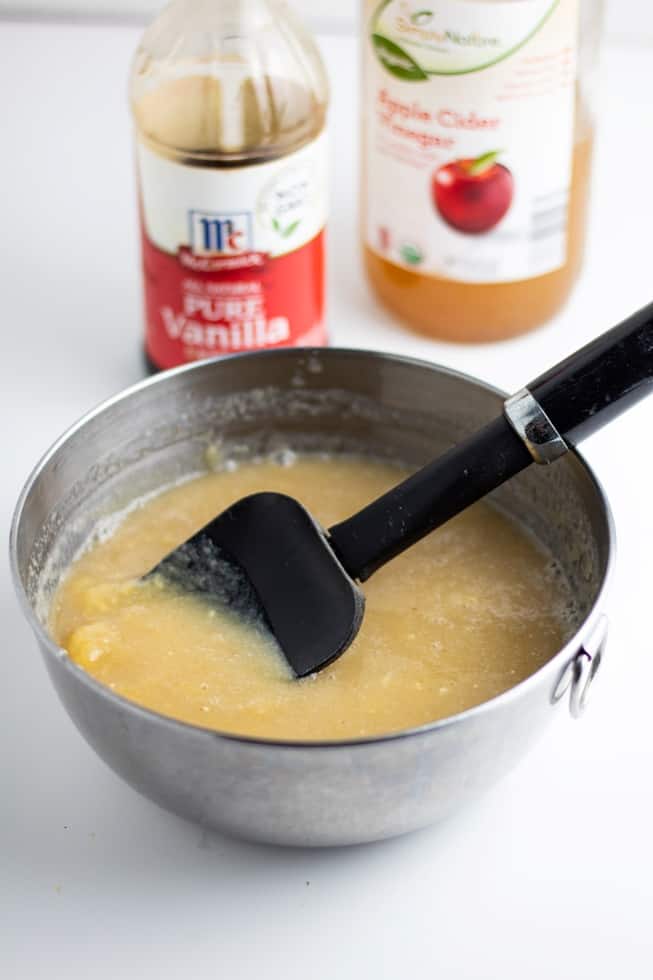
STEP #2: In a medium-sized bowl, combine all of the wet ingredients–applesauce, plant milk, vanilla, vinegar, and date paste or maple syrup (if subbing out for the dry sweetener).
If you can’t find applesauce in your area, we have an easy unsweetened homemade applesauce recipe you can make quickly.
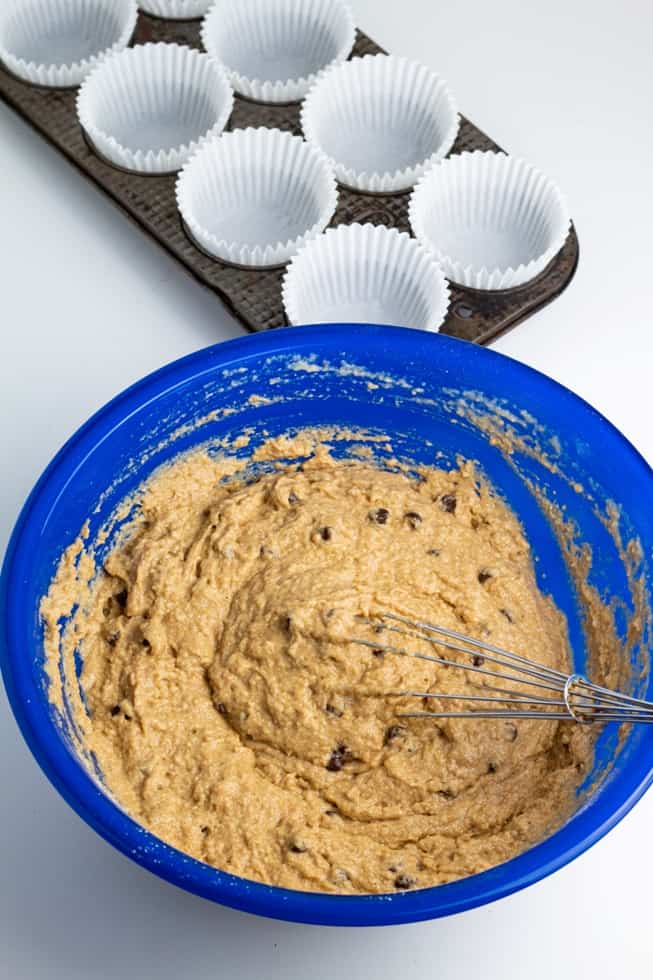
STEP #3: Pour the well-blended wet ingredients into the large bowl with the dry ingredients and stir well. Then fold the chocolate chips into the batter.
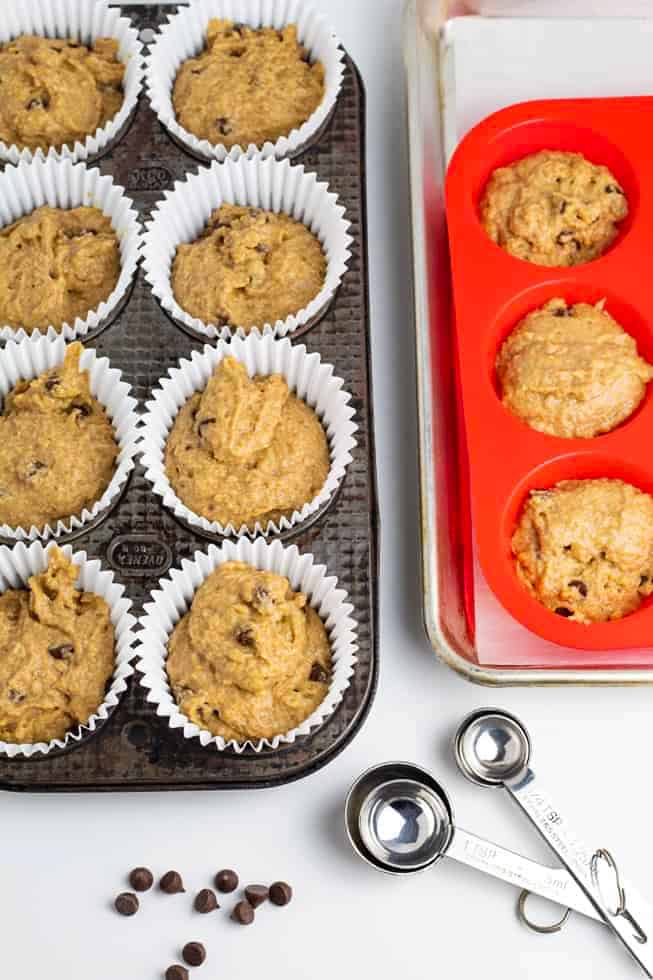
STEP #4: For scooping the batter into a muffin pan, I have found that a trigger-lever ice cream scoop is perfect. It allows you to do this effortlessly without needing to use a spoon or your finger to scrape the spoon with each dollop.
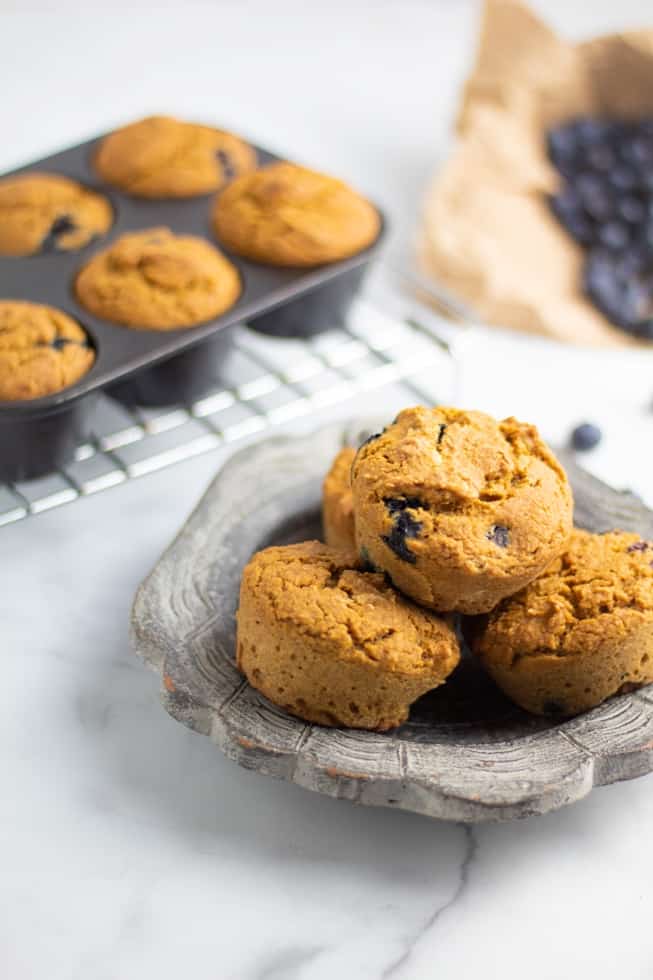
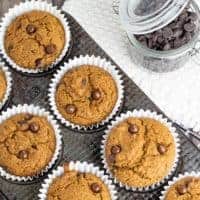
I like to also use my non-stick silicone muffin pan that allows me to bake without a drop of oil or cooking spray. Simply plop the muffin batter into the cups, place it on a baking sheet for support, and they’re ready to bake.
Paper muffin cups will work, but I have found that the paper sometimes sticks to the muffins. However, once the muffins are cooled and refrigerated, the paper seems to come off much easier.
STEP #5: Place the muffin pan in the oven to bake at 350 degrees for approximately 25 minutes. Test for doneness by pushing a toothpick into the center of one of the muffins. When it comes out clean, the muffins are ready.
Allow them to cool and serve these for a delicious brunch or snack that the whole family will love. Be sure to try our banana oat dairy-free muffins and these vegan blueberry muffins too!
Frequently Asked Questions
Look for dairy-free or vegan chocolate chips made with plant-based ingredients. Many brands offer chocolate chips that are free from milk or other animal products, ensuring your muffins remain 100% vegan. My favorite chips are these mini vegan chocolate chips.
These muffins are not gluten-free, but this link to the Minimalist Baker will help adjust it for those who want to give it a try.
Store vegan chocolate chip muffins in an airtight container at room temperature for up to 3 days. To extend their freshness, you can refrigerate them for up to a week or freeze them for up to 3 months. Reheat them in the oven or microwave for a warm, freshly baked taste.

We have more kid-friendly recipes that are great for picky adult eaters too, check out our list of kid-friendly plant-based foods.
If you try this recipe, please let us know how you like it by rating it and leaving a comment. We love to hear from you!
Want to Save This Recipe?
Enter your email & I’ll send it to your inbox. Plus, get great new recipes from me every week!
By submitting this form, you consent to receive emails from EatPlant-Based
Vegan Chocolate Chip Muffins
Ingredients
- 2 cups whole wheat flour
- 1 teaspoon baking powder
- 1 teaspooon baking soda
- 1/2 teaspoon salt
- 1/2 cup less refined sugar brown sugar, maple syrup, or date paste
- 1.5 cup applesauce
- 1/2 cup almond milk or other plant milk
- 1 tablespoon vanilla
- 1 teaspooon apple cider vinegar or white vinegar
- 3/4 cup or more dairy-free chocolate chips
Instructions
- 1. Preheat oven to 350°F.
- 2. In a large bowl, mix together all dry ingredients: whole wheat flour, baking powder, baking soda, salt, dry sweetener (if using).
- 3. In a medium bowl, whisk together apple sauce, plant milk, vanilla, vinegar, and date paste (if using).
- 4. Pour the well-blended wet mixture into the large bowl with dry ingredients.
- 5. Add chocolate chips to the bowl and mix well.
- 6. Spoon or scoop batter into a silicone muffin baking non-stick pan or paper muffin cups.
- 7. Place in oven and bake for 25 minutes. Check for doneness using the toothpick method explained above.
- 8. Remove from oven, allow to cool, and serve for breakfasts or a snack.
Video
Notes
- Mixing Bowl- Don’t skimp on the large bowl size. I love having enough room to combine the dry and wet ingredients with plenty of stirring room.
- Gluten- These muffins are not gluten-free, but this link to the Minimalist Baker will help adjust it for those who want to give it a try.
- Non-Stick- I highly recommend the non-stick silicone muffin pans. Using paper muffin cups can be tricky because the paper tends to stick to the muffins after being baked since they are not oily like traditional muffins. Remember to place on a baking sheet to support it.
- Cooking Time- Test the doneness of the muffins after 20-25 minutes with a toothpick inserted to the middle of one. When the toothpick comes out clean, they are ready.
- Mini Muffins- If you decide to use a muffin pan for mini muffins, reduce the cooking time to about 15 minutes.
- Storage- Store vegan chocolate chip muffins in an airtight container at room temperature for up to 3 days. To extend their freshness, you can refrigerate them for up to a week or freeze them for up to 3 months. Reheat them in the oven or microwave for a warm, freshly baked taste.
Nutrition
Disclaimer
To obtain the most accurate representation of the nutritional information in a given recipe, you should calculate the nutritional information with the actual ingredients used in your recipe, using your preferred nutrition calculator. You are solely responsible for ensuring that any nutritional information provided is accurate, complete, and useful.

About Terri Edwards
Hi guys! I’m the content creator behind EatPlant-Based and a licensed Food for Life instructor with the Physicians Committee for Responsible Medicine. I’m passionate about sharing healthy recipes and tips to help others care well for their health and the bodies God has given us. I’m so glad you’re here! Read More…
They were chewy which was odd but otherwise they tasted great!
We ABSOLUTELY LOVE THESE!!! We’re freezing them and they’re our go-to for a quick breakfast on the road food from now on!!! …SOOOO STINKIN GOOD!!! I can’t believe they’re not bad for you!!!
Hi Drenda- LOVE IT! They are perfect for a grab and go snack! 🙂
I make these with my 6 year old granddaughter. They are her favorite, she loves chocolate chips!
Hi Kathy- What a great tradition to start with your granddaughter. You’re making memories, and I’m honored to have a small part in that. Thanks so much for letting me know.
Second time I’ve made these in two days, the whole family liked them a lot, thank you!
Hi Evelina- For the WIN! I’m so glad your whole family is enjoying these muffins.
I often use parchment baking cups or papers. They are non-stick.
Can you use oat flour-or another gluten-free flour- in place of the whole wheat flour?
Hi Barb- I use oat flour in baking a good bit and feel like it would be a good substitute for this. Hope you enjoy the muffins!
I made these this morning. I used date sugar for my sweetener. They came out darker than yours, but were absolutely delicious. I will definitely make these again!
Hi Evelyn- I’m so glad you liked these enough to make them again! Thanks so much for letting me know. 🙂