
Vegan Chocolate Cake with a Date-Sweetened Option
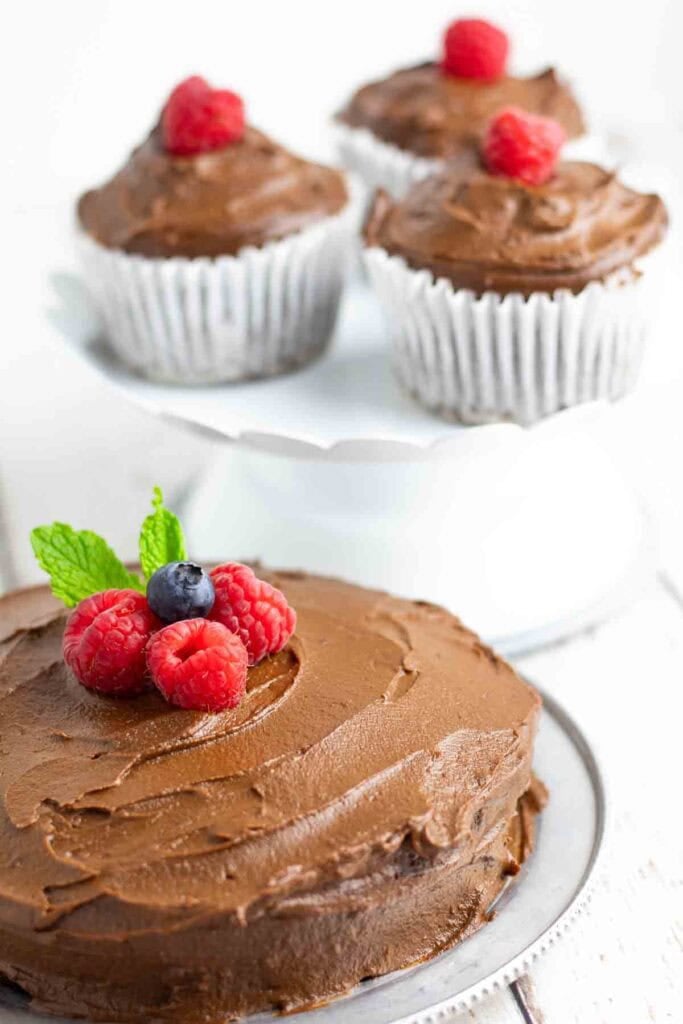
This vegan chocolate cake recipe is rich, moist, and beautifully decadent, yet completely plant-based and oil-free, with an option to make it refined sugar–free. Made with simple ingredients, it’s an easy, crowd-pleasing dessert that’s perfect for birthdays, holidays, special occasions, or anytime you’re craving a classic chocolate cake without dairy or oil.
Want to Save This Recipe?
Enter your email & I’ll send it to your inbox. Plus, get great new recipes from me every week!
By submitting this form, you consent to receive emails from EatPlant-Based
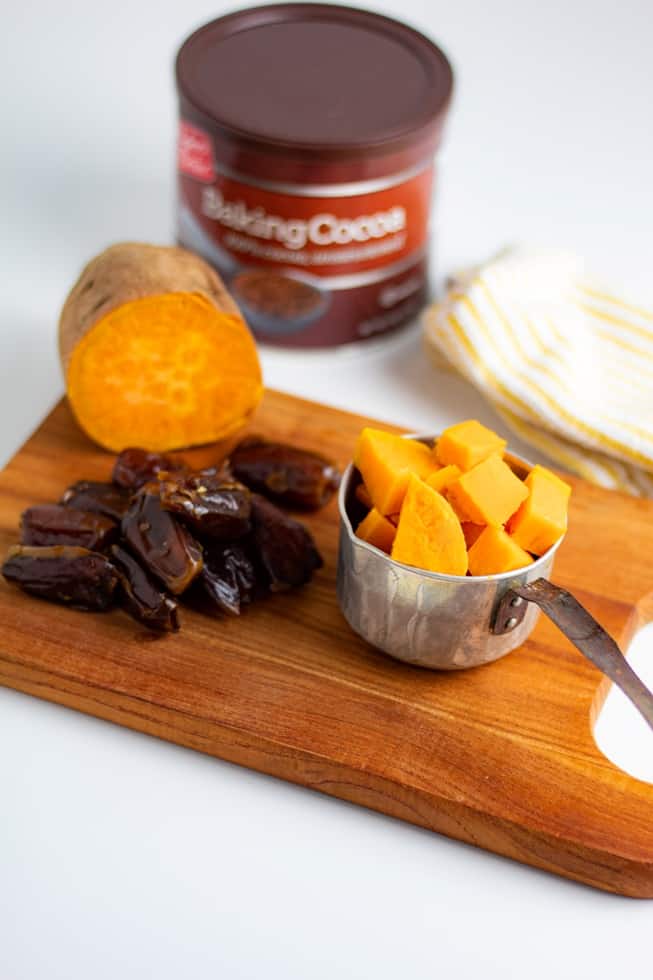
When you think about a cake being vegan and oil-free, you might think that it will be dull, but I promise that’s not the case with this scrumptious chocolatey piece of heaven. Believe it or not, the dairy-free chocolate frosting is made with sweet potatoes and maple syrup (or dates)! They can even be turned into dairy-free chocolate cupcakes.
The inspiration for this cake came from Dreena Burton’s sweet potato chocolate cake, which is made with coconut sugar and is absolutely amazing. My original goal was to create a completely refined sugar–free version using dates instead of granulated sugar. That’s why I have included two versions of the cake.
For that reason, I most often make this recipe using pure cane sugar. I’ve also made a few tweaks to Dreena’s original ingredients, including sweetening the frosting exclusively with maple syrup.
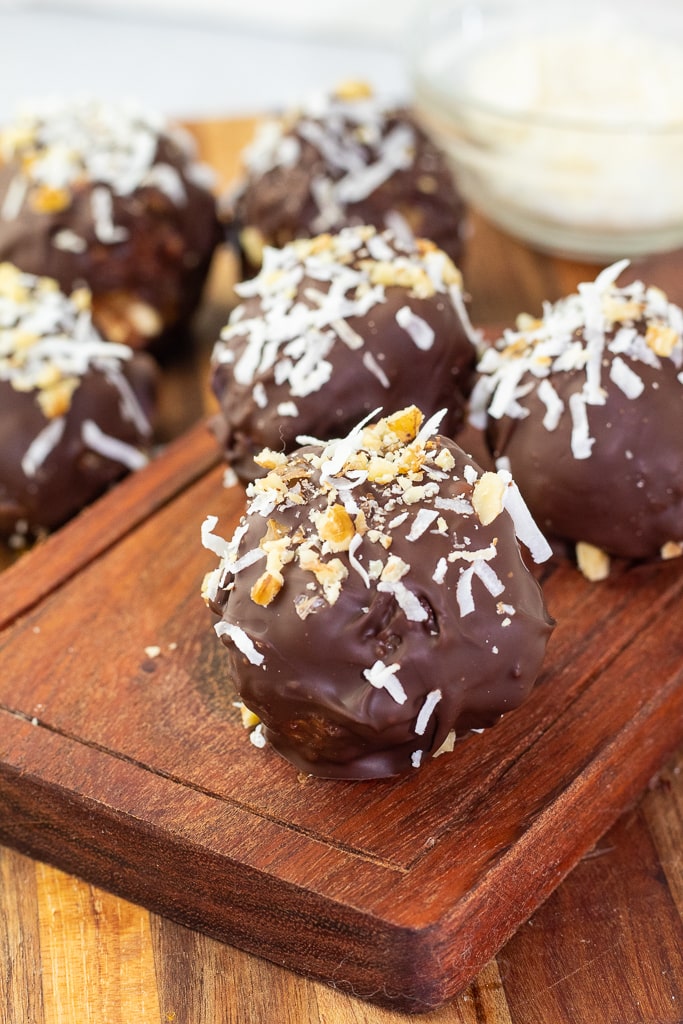
We have more delicious chocolate vegan dessert recipes on this website like this easy chocolate cashew cream, my chocolate-stuffed vegan sweet potatoes, and our chocolate dairy-free mousse pie.
Why You’ll Love This Vegan Chocolate Cake
- Flexible Sweetener Options: Use pure cane sugar, maple sugar, or date paste for a refined sugar–free version.
- Single-Layer Simplicity: Perfect for birthdays, gatherings, or a quick dessert, topped with rich, fudgy frosting.
- Rich, Moist, and Chocolatey: Wholesome plant-based ingredients deliver deep chocolate flavor and a tender, moist texture.
- Great for Special Diets: Naturally vegan and dairy-free, making it suitable for a wide range of dietary preferences.
Ingredients you will need
- Flour- Whole wheat flour provides a denser texture and a slightly nutty flavor, enhancing the overall taste and making the cake more filling and satisfying.
- Sweet potatoes- Using sweet potatoes to make the frosting provides a naturally sweet flavor and creamy texture without the need for added sugars or oils.
- Cocoa powder- It imparts a deep, rich chocolate flavor without the need for added fats or dairy. It blends seamlessly into the cake batter, ensuring a smooth texture and intense cocoa taste.
- Plant milk- Provides the necessary liquid to blend ingredients smoothly and achieve a desirable cake texture without dairy.
- Almond butter- Creates a rich, nutty flavor and a creamy texture, enhancing the overall taste and consistency of the frosting.
Tips & Tricks / Expert Notes
Sweetener options: When I first made this recipe, I did it with date paste and no refined sugar, and that is still a good option for those avoiding refined sugar. I have found over time that I prefer using granular cane sugar because the texture of the cake is better. Below, I give instructions for both methods.
Nut butter: The recipe calls for almond butter, but you can substitute other nut butters such as peanut butter, cashew butter, and even sunflower seed butter for a nut-free option.
Add nuts: Sometimes, I like to add walnuts or pecans to the batter before baking for a delicious crunch!
Date Sweetened Option
Use dates– Instead of using granular sugar in the batter, replace it with 1 cup dates + 2/3 cups water. This equals approximately 8-9 pitted mejool dates.
Adjust moisture- You’ll need to adjust the moisture by reducing the plant milk from 2/3 cup to only 2 tablespoons + add 2 tablespoons of maple syrup.
Increase cooking time- When using dates, increase the cooking time from 25 minutes to approximately 40 minutes. Test for doneness at 35 minutes by inserting a toothpick into the center of the cake. It should come out clean without wet batter sticking to it.
Variations
- Make cupcakes- This recipe is very versatile and can be made into a cake or vegan chocolate cupcakes.
- Cooking times & pans- Cooking times will vary with the size of the pan used. Cupcakes should take about 22 minutes, and an 8″-9″ pan will cook the cake in about 25 minutes. Oven temperatures vary.
- Make it gluten-free- This cake recipe is not gluten-free, but Minimalist Baker has a great GF Baking Guide that can help convert this cake.
This recipe was updated in February 2026.
How to make vegan chocolate cake
The recipe card at the bottom of the page has the full list of ingredients with measurements and instructions.
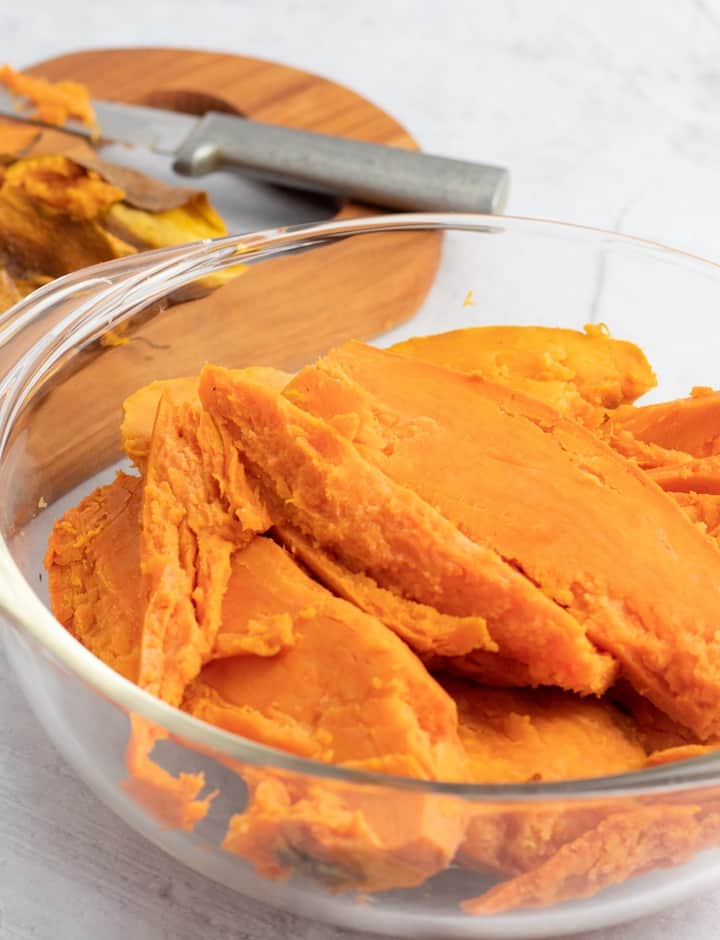
STEP #1: Cook your sweet potatoes first and allow them to cool. You will need 3/4 cup for the cake + 1 cup for the frosting. If you have leftover baked sweet potatoes, this is a great way to use them.
I like to take the easy way out and cook mine quickly by poking a few holes in them with a knife, wrapping them in a wet paper towel, and placing them in the microwave for about 5-6 minutes, depending on the size of the potatoes.
STEP #2: Preheat the oven to 350°F.
Place all of the wet ingredients– cooked sweet potato, plant milk, vanilla, vinegar– in your blender and puree until smooth. Because it’s such a small amount, I have found that using a Nutribullet or Magic Bullet works well. You might also use a whisk and bowl, if needed.
If you are using dates, replace the granular sugar with 1 cup dates + 2/3 cups water. This equals approximately 8-9 pitted mejool dates. Blend well with the other wet ingredients.
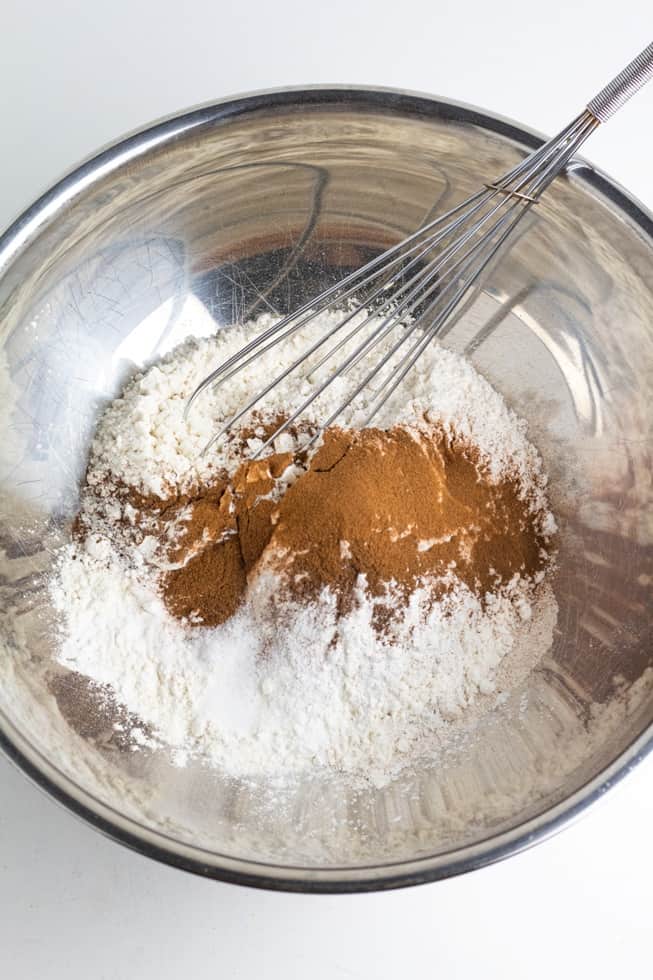
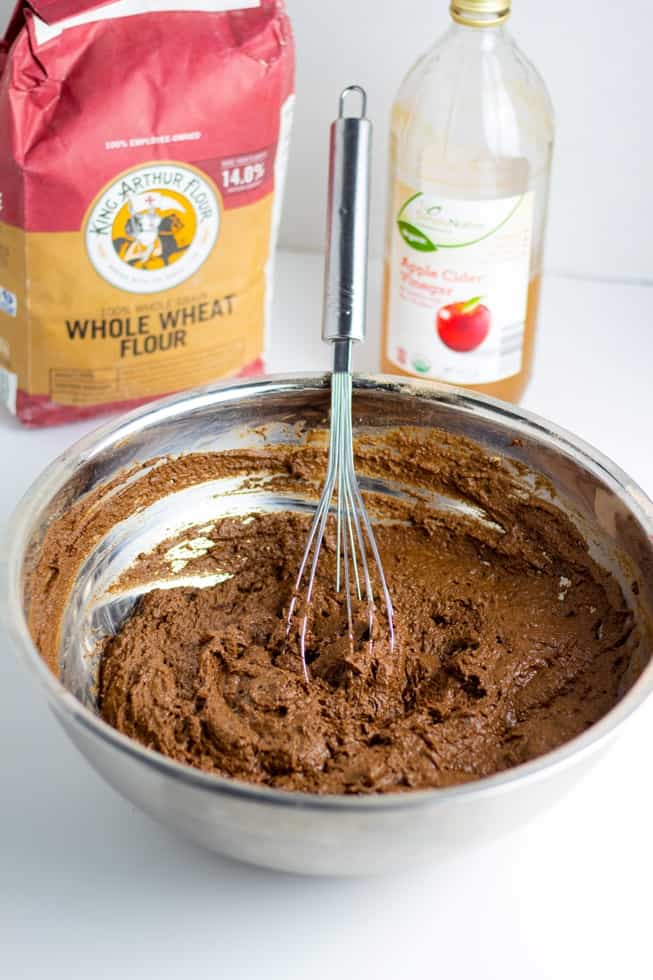
STEP #3: Place all of the dry ingredients–flour, baking powder, baking soda, salt, cocoa powder, sugar–in a large mixing bowl and whisk together well.
If you’re using a less refined granular sugar, add it in this step. Some good options are pure cane sugar, maple sugar, and sucanat. Using glandular sugar is my preference. For those avoiding sugar, I have also used date paste in this recipe.
STEP #4: Next, pour the sweet potato puree into the large bowl with the dry ingredients, add the chocolate chips, and combine them together well.
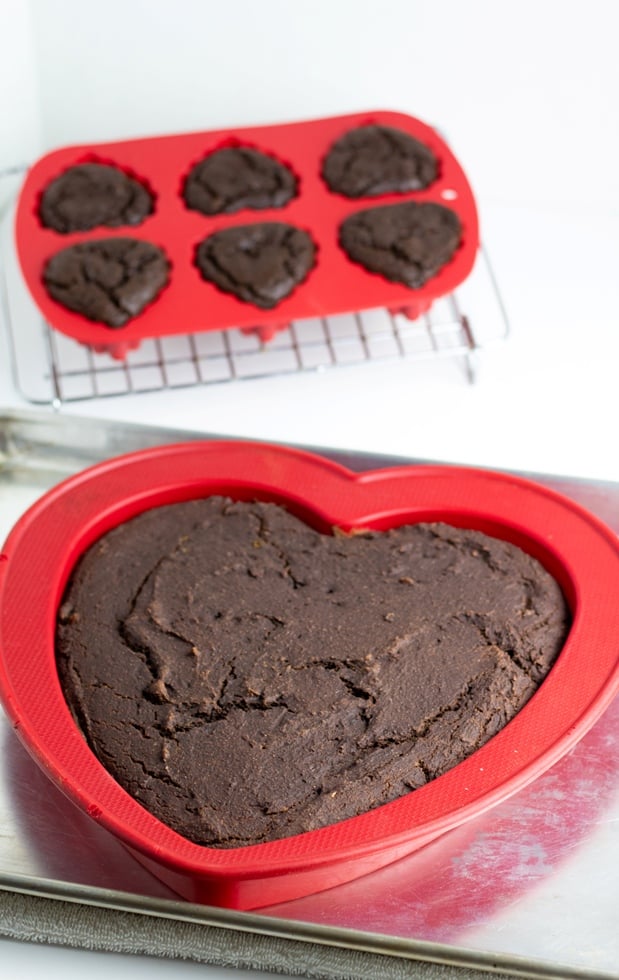
STEP #5: Pour the cake batter into a silicone baking pan (or line a regular pan with parchment paper to prevent sticking) and bake at 350°F for 25-30 minutes.
Oven temperatures vary, so around the 25-minute mark, remove the cake from the oven and test for doneness.
STEP #6: To do this, insert a toothpick into the highest center point. If the toothpick comes out clean, the cake is done. Otherwise,l place back into the oven and test again in 5 minutes.
Once the cake is done, remove it from the oven and allow it to cool before frosting.

STEP #7: This frosting is so easy, it doesn’t even require a bowl! While the cake is cooking is the perfect time to make the frosting.
You are going to use the rest of the cooked sweet potato, which should be 1 cup.
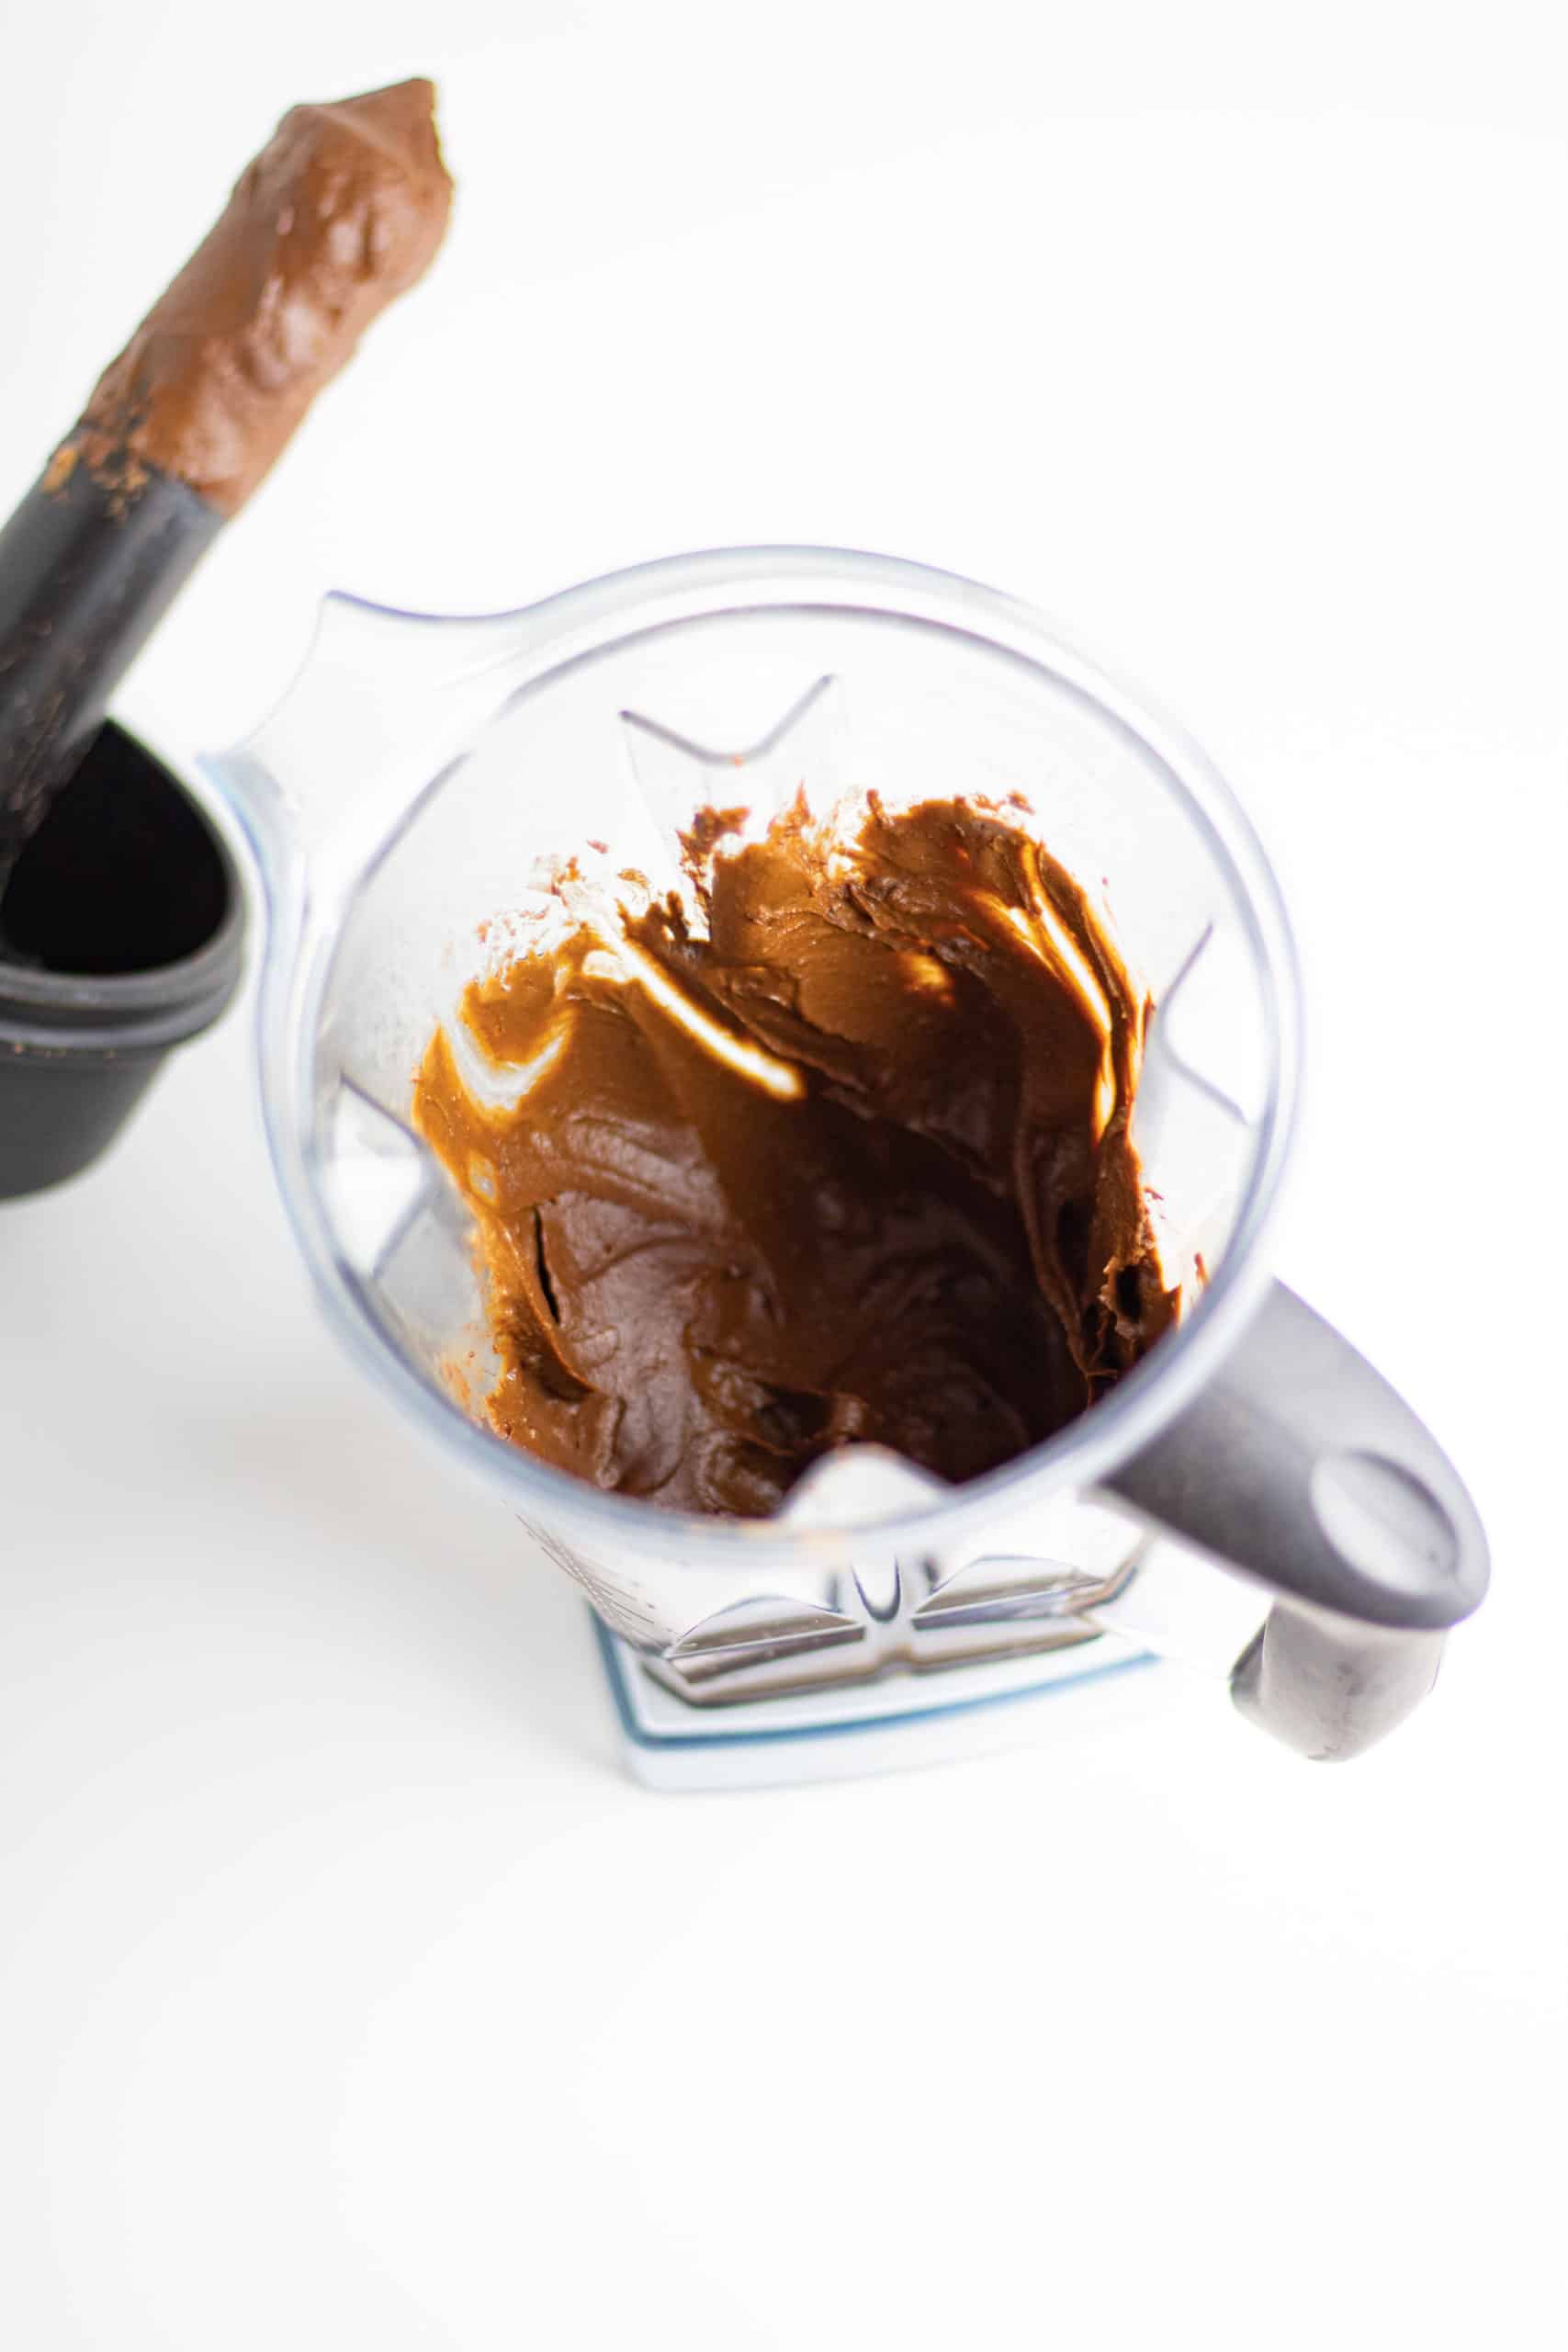
STEP #8: Simply place all the frosting ingredients in a blender or food processor and blend until smooth.
If using dates for the icing, replace the maple syrup with 1 cup pitted dates + 1/2 cup plant milk.
I use my Vitamix blender, and it works like a charm because it has a tamper that allows for keeping the ingredients moving in thick recipes like this vegan chocolate icing. However, if you have a less powerful machine, you’ll need to stop, scrape the sides down, and continue to blend until smooth.
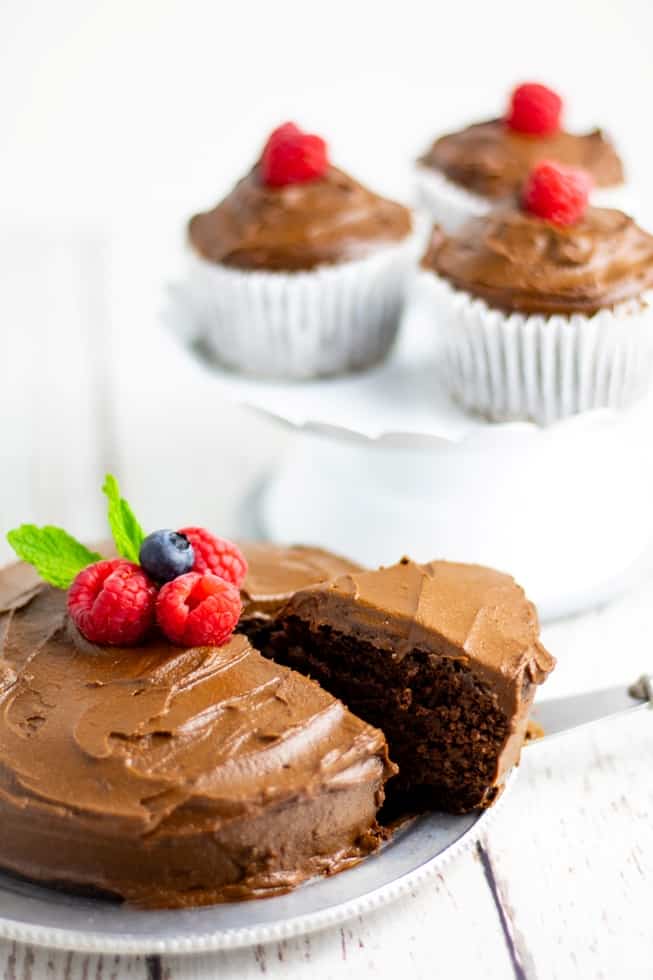
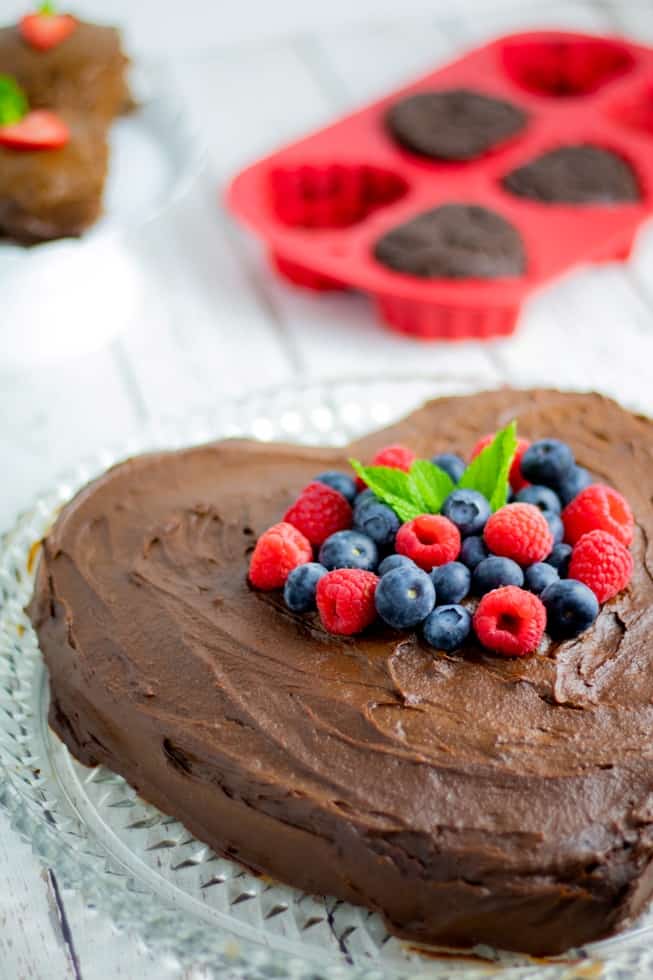
Once the cake has fully cooled, it’s time to frost and serve!
I love to add a few strawberries, raspberries, blueberries, or a combination of them to this cake because it makes a beautiful display. If you want to really take it over the top, sprinkle a little Homemade Powdered Sugar over the top.
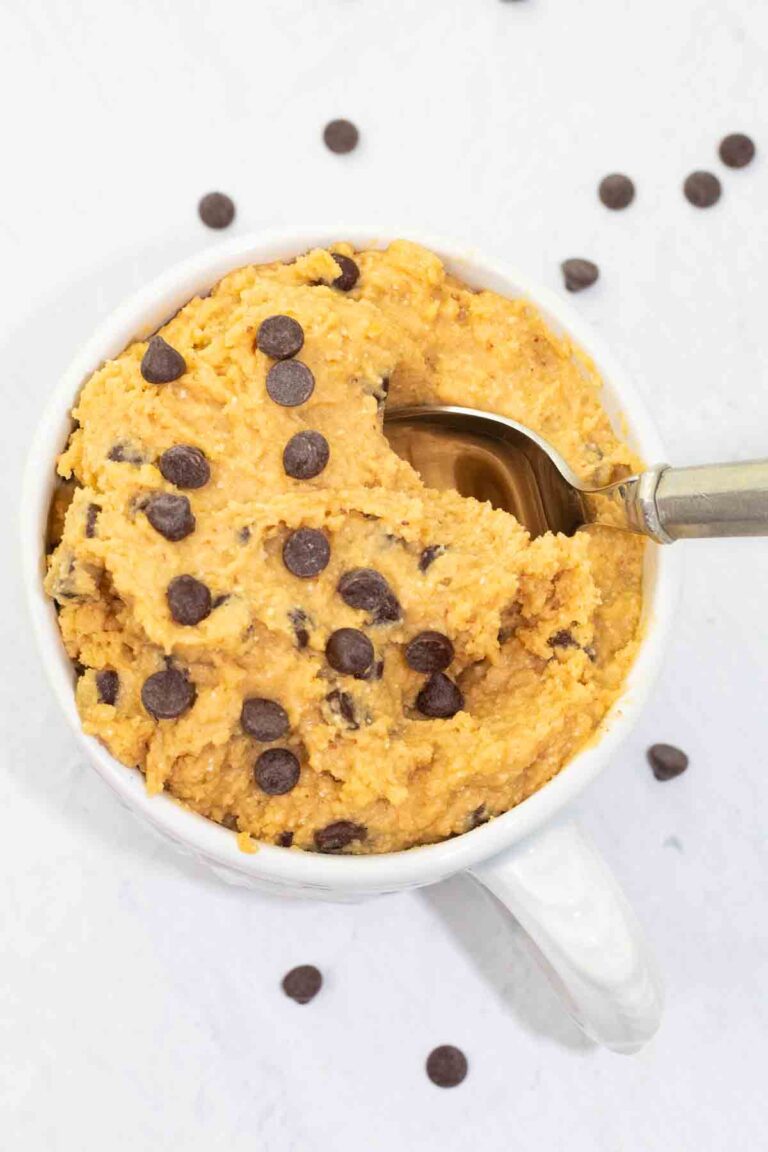
If you’re a chocolate lover, be sure to try my vegan chocolate mug cake and vegan fudge cake as well!
Frequently Asked Questions
No, but Minimalist Baker has a great GF Baking Guide that can help convert these cupcakes. The frosting is already gluten-free.
Absolutely! I use 8″ or 9″ square pans often to make this. For Valentine’s Day, We also love turning them into cupcakes!
Store in an airtight container in the refrigerator for 5-7 days. It freezes well too.
For those of you new to the whole food plant-based lifestyle, we’ve created a FREE 7-Day Plant-Based Menu Planner to help you get started!
If you try this recipe, please let us know how you like it by rating it and leaving a comment. We love to hear from you!
Want to Save This Recipe?
Enter your email & I’ll send it to your inbox. Plus, get great new recipes from me every week!
By submitting this form, you consent to receive emails from EatPlant-Based

Vegan Chocolate Cake Recipe
Ingredients
Cake
- 1 cup whole wheat flour
- 1/4 cup unsweetened cocoa powder
- 1 teaspoon baking powder
- 1 teaspoon baking soda
- 1/2 teaspoon sea salt
- 1/3 cup pure cane sugar (maple or sucanat) (see fresh date substitution below in Notes)
- 3/4 cup cooked sweet potato, peeled
- 3/4 cup plant milk almond, soy, etc
- 1 tablespoon apple cider vinegar
- 1 tablespoon vanilla extract
- 1/4 cup dairy-free chocolate chips
Frosting
- 1 cup cooked and peeled sweet potato packed tightly
- 1/2 cup almond butter or cashew butter
- 1 cup maple syrup (or 1 cup pitted dates + 1/2 cup plant milk)
- 1/2 cup cocoa powder
- 1/4 teaspoon sea salt
- 1 tablespoon vanilla
Instructions
Cake
- Cook your sweet potatoes first and allow them to cool. You will need 3/4 cup for the cake + 1 cup for the frosting. If you have leftover baked sweet potatoes, this is a great way to use them.I like the take the easy way out and cook mine quickly by poking a few holes in them with a knife, wrapping them in a wet paper towel, and placing in the microwave for about 5-6 minutes depending on the size of the potatoes.
- Preheat the oven to 350°F.
- Place all of the wet ingredients– cooked sweet potato, plant milk, vanilla, vinegar– in your blender and puree until smooth. Because it's such a small amount, I have found that using a Nutribullet or Magic Bullet works well. You might also use a whisk and bowl, if needed. If you are using dates, replace the granular sugar with 1 cup dates + 2/3 cups water. This equals approximately 8-9 pitted mejool dates. Blend well with the other wet ingredients.
- Place all of the dry ingredients–flour, baking powder, baking soda, salt, cocoa powder, sugar–in a large mixing bowl and whisk together well.If you're using a granular sugar, add it in this step. Some good options are pure cane sugar, maple sugar, and sucanat. Using granular sugar is my preference. For those avoiding refined sugar, see my date substitution instructions below.
- Next, pour the sweet potato puree into the large bowl with the dry ingredients, add the chocolate chips, and combine them together well.
- Pour the cake batter into a silicone baking pan (or line a regular pan with parchment paper to prevent sticking) and bake at 350°F for 30 minutes. 8 x 8 or 9 x 9 pans work well.The heart cupcake pans are also great if you would rather have cupcakes.
- Oven temperatures vary, so around the 25-minute mark, remove the cake from the oven and test for doneness. To do this, insert a toothpick into the highest center point. If the toothpick comes out clean, the cake is done. Otherwise,l place back into the oven and test again in 5 minutes.If using dates, increase the cooking time to approximately 40 minutes.
- Once the cake is done, remove them from the oven and allow them to cool before frosting.
Frosting
- This frosting is so easy, it doesn't even require a bowl! While the cake is cooking is the perfect time to make the frosting. One cup will be used for the frosting and 3/4 cup for the cake.
- Simply place all the frosting ingredients in a blender or food processor, and mix until smooth. If needed, add a tablespoon of plant milk to keep the blender moving. You might need to stop, scrape the sides down, and continue to blend until smooth.If using dates for the icing, replace the maple syrup with 1 cup pitted dates + 1/2 cup plant milk.
- When the cake has cooled, frost and serve!
Video
Notes
- Use dates– Instead of using granular sugar in the batter, replace it with 1 cup dates + 2/3 cups water. This equals approximately 8-9 pitted mejool dates.
- Adjust moisture- You’ll need to adjust the moisture by reducing the plant milk from 2/3 cup to only 2 tablespoons + add 2 tablespoons of maple syrup.
- Increase cooking time- When using dates, increase the cooking time from 25 minutes to approximately 40 minutes. Test for doneness at 35 minutes by inserting a toothpick into the center of the cake. It should come out clean without wet batter sticking to it.
Nutrition
Disclaimer
To obtain the most accurate representation of the nutritional information in a given recipe, you should calculate the nutritional information with the actual ingredients used in your recipe, using your preferred nutrition calculator. You are solely responsible for ensuring that any nutritional information provided is accurate, complete, and useful.

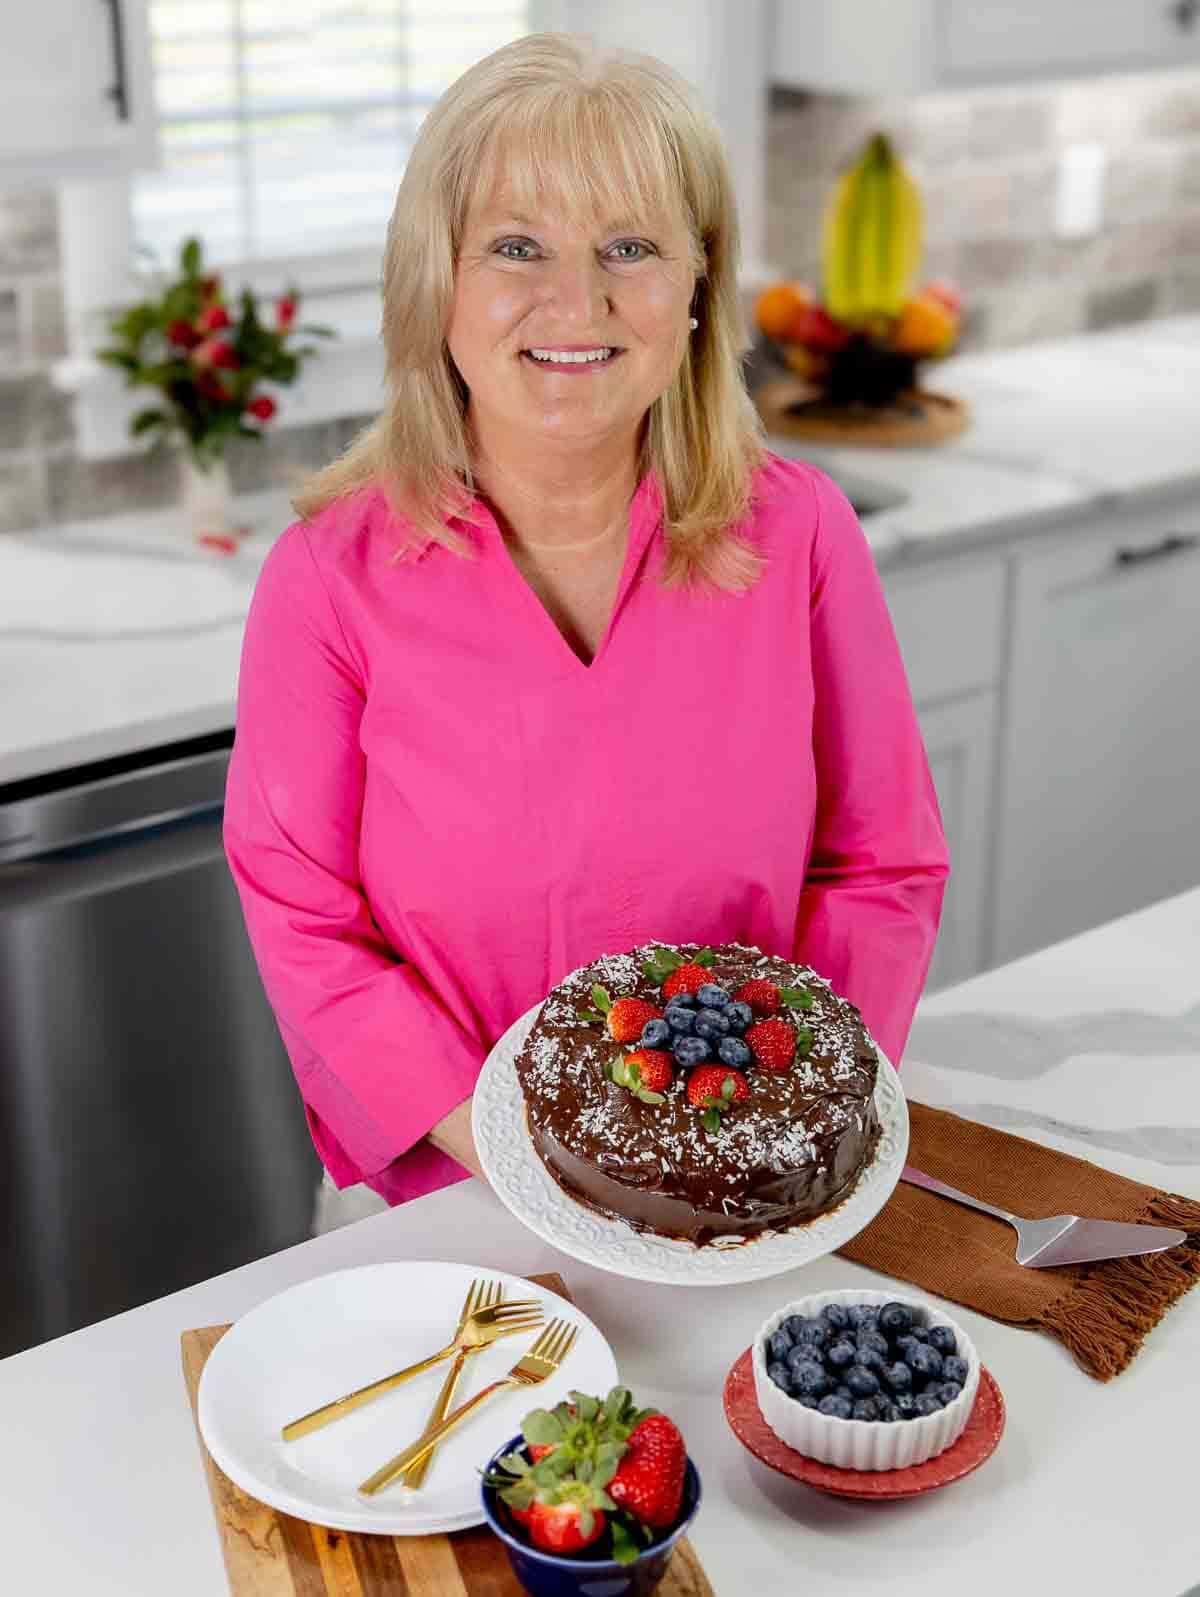
About Terri Edwards
Hi guys! I’m the content creator behind EatPlant-Based and a licensed Food for Life instructor with the Physicians Committee for Responsible Medicine. I’m passionate about sharing healthy recipes and tips to help others care well for their health and the bodies God has given us. I’m so glad you’re here! Read More…
Looking forward to making this! What’s the ratio of water to dates for the date paste? And how much dates do I need to make one cup of date paste? Thanks
Hi Tina- The ratio for date paste is 1 cup dates to 2/3 cup water for use as a sweetener in recipes. The number of dates it takes to make a cup of date paste is a little trickier and depends on the size of your dates. I think I would start with around 10 large dates. This article on date paste might be helpful. https://eatplant-based.com/date-paste/
I have just made the vegan chocolate cake with the dates and apple says but only changed the flour to coconut flour and I could cry ? the mixture came up very dry and I did everything as by the recipe except I used coconut flour . It has not held together at all and it’s really inedible because it’s in pieces
Hi Debbie- Unfortunately, coconut flour can’t be interchanged with regular or whole wheat flour without some major adjustments. Coconut flour is very absorbent and soaks up a LOT of liquid. Because of this, it has a very drying effect on baked goods. Regular recipes counteract the drying effect with eggs, but that’s not possible with vegan baking. Most vegan bakers recommend that when using coconut flour, you need to cut down the flour to 1/4 of what is called for in a recipe. Even then, there is usually a lot of experimenting and tweaking necessary. Also, coconut flour tends to clump up, so you have to be sure to fluff it with a fork before measuring and mixing.
Hello, Is the cacao powder needed? Any subs? I don’t have any on hand.
Hi Malini- Yes, you’ll need cocoa powder for this as it is what makes this be chocolate.
Can I substitute bananas for applesauce and honey for date paste?
Thanks!
Hi Meghana- I have not tried either one of those with this recipe, so I can’t say for sure. I think it would be worth a try though.
I made the recipe, and it turned out nice. 🙂
I couldn’t follow it exactly, though – first, I bought an actual sweet potato instead of a yam. From the photos, it looks like the frosting actually uses a yam. So I subbed in pumpkin puree instead, and it worked great. Also, I subbed oat flour for the wheat. (I didn’t have wheat, so I ended up grinding my old fashioned oats in my food processor. ) Another thing for cupcakes, I didn’t need nearly as much frosting at the recipe made, but the adjusted cook time for cupcakes was right on for me!
All in all, I would make this again. Thanks for the recipe!
Hi Steph- I’m so glad you enjoyed the recipe, and it sounds like you did a great job subbing out for what you had on hand. Great job!
Hi! This sounds amazing for my 2 year olds bday! Question, how do the layers hold up? If I wanted to double the recipe and put 1 to 2 more layers on do you think it could work? We have quite a few ppl coming. Thanks!
Hi Cristin- Happy Birthday to your 2-year-old! Though I haven’t tried it, I don’t see any reason this cake wouldn’t hold up to multiple layers. It sounds like it will be a beautiful display!
Doesn’t cake need some form of fat like oil?
Hi Anita- No need for oil in my cake recipes. The applesauce and other ingredients keep it nice and moist.
Hi, great article. If I only have coconut flour in these times would it work? (all normal flour out of stock in shops)?
Hi Gerry- I haven’t baked with coconut flour before, so I can’t say for sure. My understanding is that coconut flour is much heavier than other flours and has a gritty texture. That would make it probably not a great option for this cake. Do you have any whole oats on-hand? If so, you could make some oat flour that should work well with this recipe. https://eatplant-based.com/how-to-make-oat-flour-recipes/
Thanks Terry – I have whole oats (porridge oats) on hand – so I’ll give that a go surely.
My sister might have plain white flour (possibly self raising) – if I can get that would that also work?
I don’t have any vinegar, can I just leave it out or is there a sub you recommend?
Hi Kirsten- You’ll need to use vinegar of some type to make these pancakes rise. The good news is that it can be a number of different kinds including white, apple cider vinegar, as well as others.
I just finished baking this cake, and it’s dense and gummy. What did I do wrong?
Also the frosting in your picture looks like normal frosting, and mine looks slightly lumpy and certainly not creamy. Again, any help?
PS I do bake A LOT, so I’m not new at this.
Hi Lisa- For the frosting, it sounds like a little more time in the blender would be the answer for lumps. The only two ingredients that could be causing lumps are the sweet potato and dates. Were the sweet potatoes cooked until tender? Was the blender used powerful enough to make the dates nice and smooth? With the cake texture, I think a recent ingredient adjustment I did yesterday on the measurements for the applesauce and almond milk might be at fault. I have now corrected that.
Can a different floor be used ? Maybe almond flour , quinoa , Teff or brown rice ?
Hi Maria- I haven’t tried a gluten-free flour, but there is a link to Minimalist Baker’s GF flour substitution guide included in the article near the bottom. I would think that oat flour might be a good substitution option as well.
I have date sugar and date syrup. Which one would you recommend?
Hi Donna- I think either one would work just fine. If I had both, I think I’d go with date syrup.
Do you think this would work with gluten free flour. Can’t have gluten.
Michelle- I don’t really have much experience baking with gluten-free flours other than oat flour, but I’m sure you could make this work. There is a link included near the bottom to a GF baking guide by Minimalist Baker that should help with that process. I would love to know how it turns out if you give it a try.
I decided to make my birthday cake this year since I’m the only Plant Based person. This cake was so awesome, even all my family loved it. Just had one question, should this cake be kept in the refrigerator?
Hi Linda- How wonderful to hear that the cake was a hit with your whole family! YAY! I like to keep it in the refrigerator, and it should last 7-10 days. Thanks SO much for letting me know.
This looks fabulous. My hubby can’t have nuts, what would you recommend for a substitute in the icing?
Hi Melinda- I think sesame seed butter might be a good option for those that need a nut-free version. I’ve not tried it but believe it should be pretty good.
@Terri Edwards, I left the almond butter out of the icing and it tasted great and spread just fine!
Hi Elaine- That’s great that it still tasted good. Great to know!