Homemade Whole Wheat Bagels (Oil-Free)
It’s so easy to make Whole Wheat Bagels at home in your own kitchen, and they are completely oil-free. This was my first time making bagels, and I was surprised by how fun and simple it is!

Though I love to cook, I’m certainly not a baker and actually don’t make a lot of baked goods. Bagels were far off my radar until recently when I saw a post from someone on Facebook about how easy they are to make.
I love bagels, especially with my cashew cream cheese, this easy chocolate cashew cream, or our homemade walnut butter, but bagels are really hard to find in the store if you’re avoiding oil. That’s what piqued my interest in making oil-free whole wheat bagels.
When I decided to give it a try, it was awesome to realize that I already had everything on hand in my kitchen that was needed.
Ingredients needed for bagels
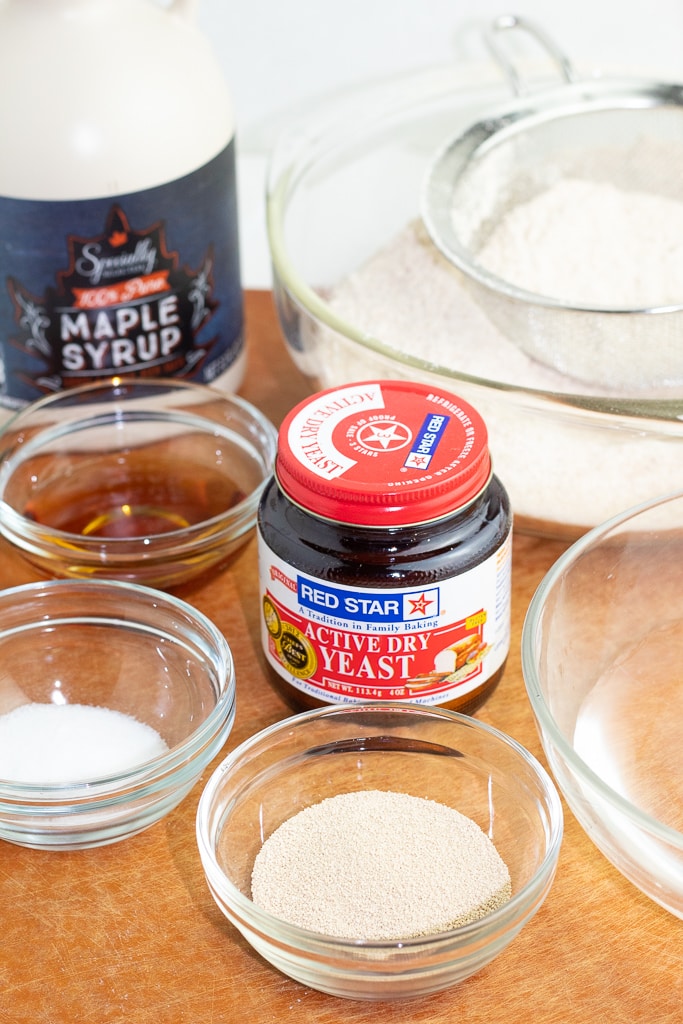
Only five ingredients, plus water, are required to make a batch of 6-8 bagels. No specialty ingredients, so you are likely to find everything needed in your grocery store.
- Flour- Whole wheat flour gives these bagels a healthier edge than the regular white flour variety.
- Yeast- Active dry yeast
- Sweetener- Maple syrup is my sweetener of choice, but agave or honey (Bee Free Honey for vegan) are good options too.
- Salt- It’s always needed when baking to make the bread rise.
- Baking Soda- This is added to simmering water to do a quick blanch that gives the bagels a chewy outside crust before baking.
How to make whole wheat bagels
The recipe card at the bottom of the page has the full list of ingredients with measurements and instructions.
I found that making these bagels is actually fun. There are quite a few steps, but nothing is difficult and the results are excitingly delicious.
STEP #1: Begin by pouring the lukewarm water into a bowl. Stir in the yeast and maple syrup. Cover the bowl and allow it to sit for about 10 minutes.
STEP #2: While the yeast is activating, go ahead and whisk together the flour and salt in a larger bowl. I decided to sift my flour just to make sure it was nice and light, but sifting isn’t required.
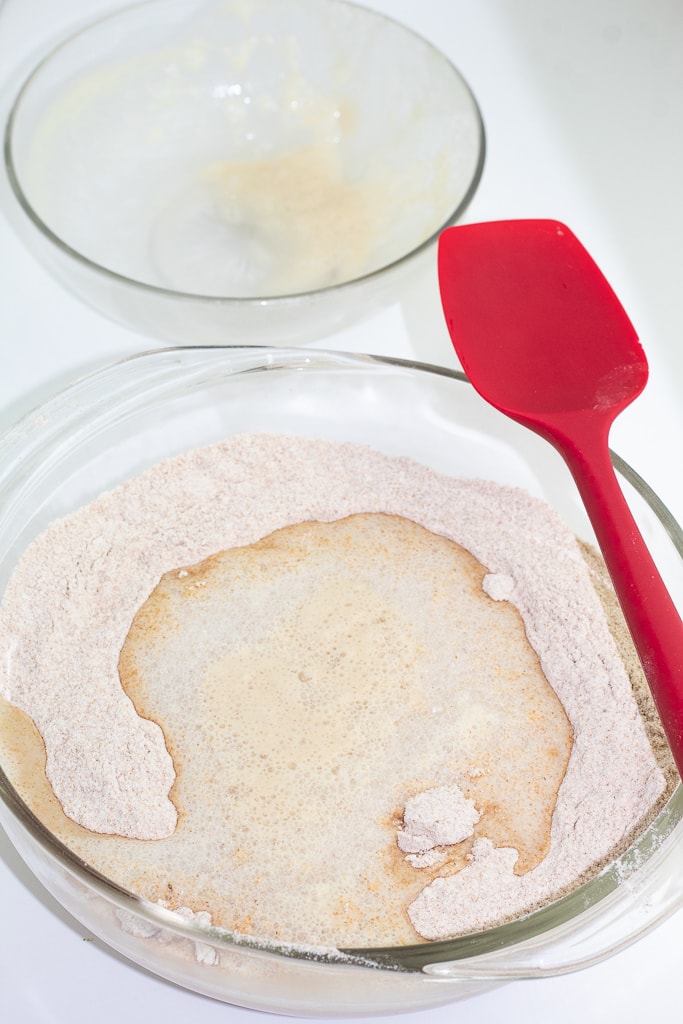
STEP #3: When the yeast has finished doing its thing, pour it into the bowl with the flour and salt and stir. The batter will become quite thick and sticky so, at some point, you need to put away the spoon and use your hands.
Sprinkle a little flour over a countertop or large cutting board to prevent sticking and then pour the batter onto it and begin kneading the dough. Dusting your hands with flour will help too.
Take about 8-10 minutes to thoroughly knead the dough until it is smooth and elastic. If you’ve never kneaded dough before, I’ve included a video demonstration from NicHomecooking that should be very helpful.
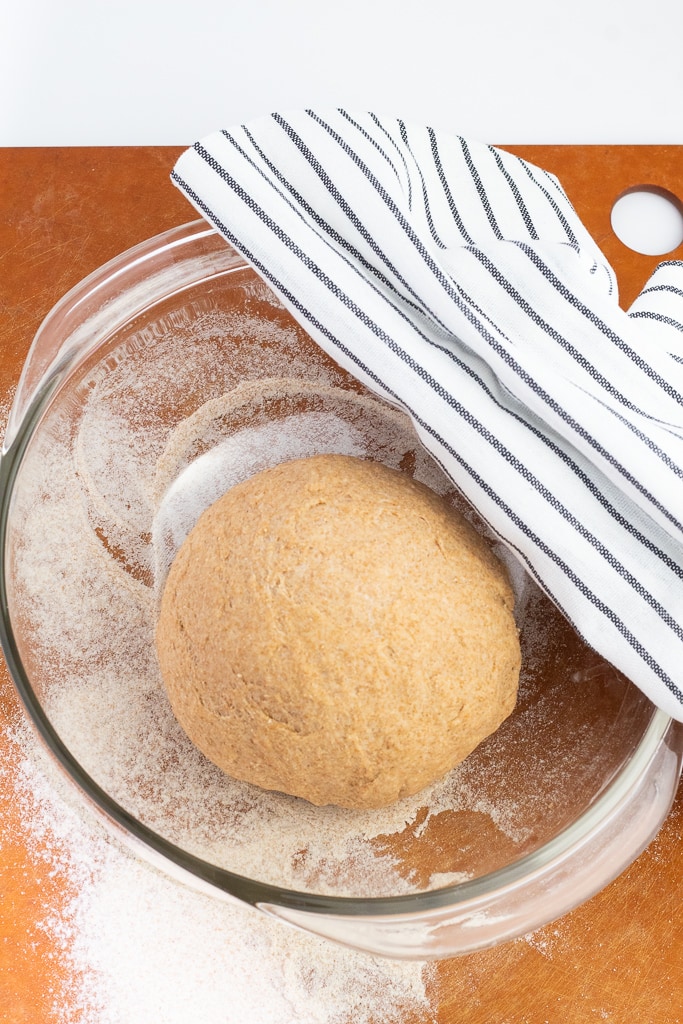
STEP #4: Once the dough is ready, form it into a large ball and place it in a bowl, and cover with a lid. I found that covering it with clingwrap does a good job too.
At this point, it will need about 1 to 1.5 hours to rise. The room temperature will determine the amount of time required. The warmer the better, and the dough will double in size.
When I was making these, it was a bit cool in my house, so I took the covered bowl outside on my porch where the sunshine was hitting. That seemed to speed up the process.
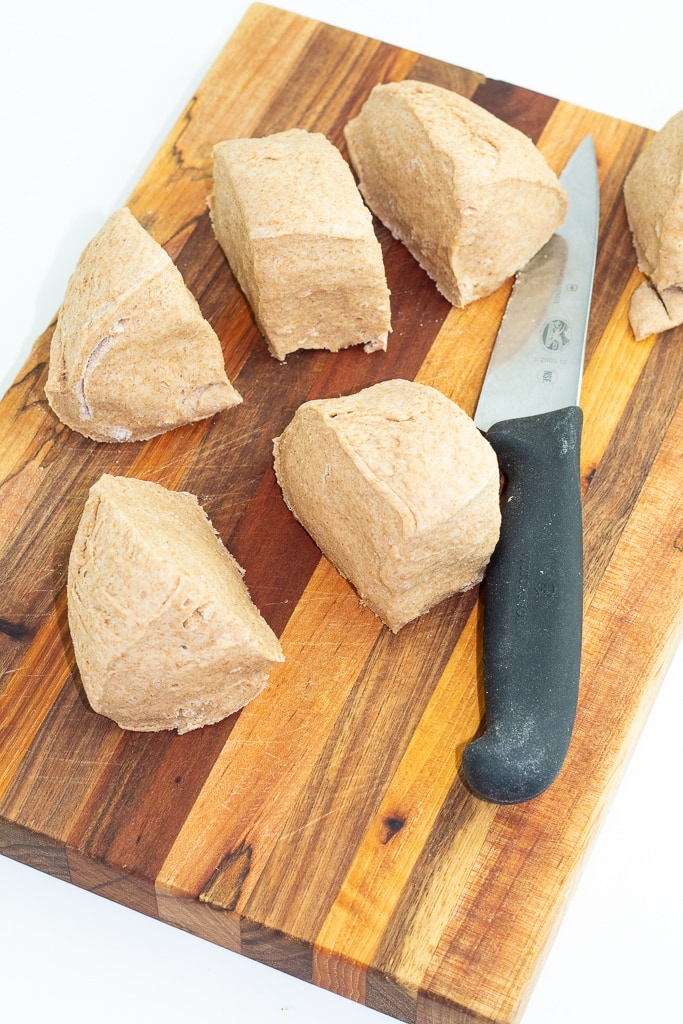
STEP #5: On a counter or flat surface, punch out the dough and cut it into 6-8 pieces. Six pieces will make larger bagels and eight will make smaller versions.
Roll each piece into a ball and slightly flatten them on the top with your hand. Place them on a floured surface to rest for about 10 minutes. You’ll want to cover them with a dish towel.
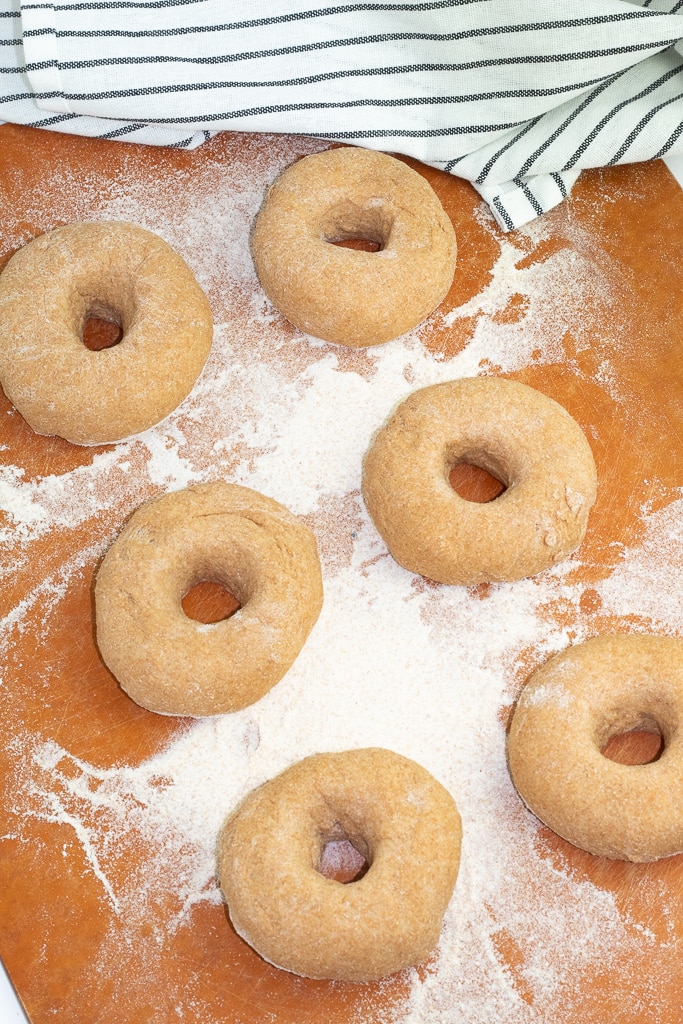
STEP #6: After the 10 minutes is up, make a hole in the center of each ball with the tip of your index finger, and with your other index finger pierce the bottom. Rotate the ball around with your fingers until the center hole is gently stretched out to about 1.5 inches.
Place the bagels back onto the flat surface and flatten the tops a little with your fingers. Then, allow them to rest under a dish towel for around 30 minutes.
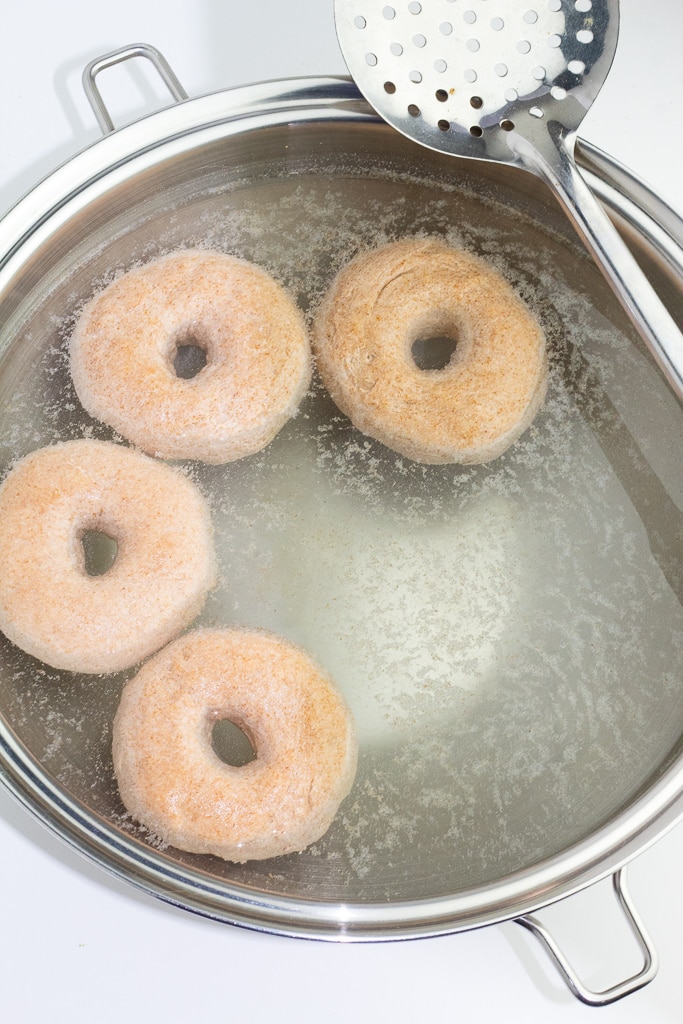
STEP #7: When there are about 15 minutes of resting time left, go ahead and fill a large pot with water and 1.5 teaspoons of baking soda. You want it to come to a simmer, but not a boil.
Now is also a good time to set your oven to 425°F to preheat.
Use a spatula to lift each bagel from the floured surface and place it into the simmering water. Place as many bagels into the water as your pot will allow. Cook for about 1 minute and then use a slotted spoon to flip each one. Cook the other side for another minute.

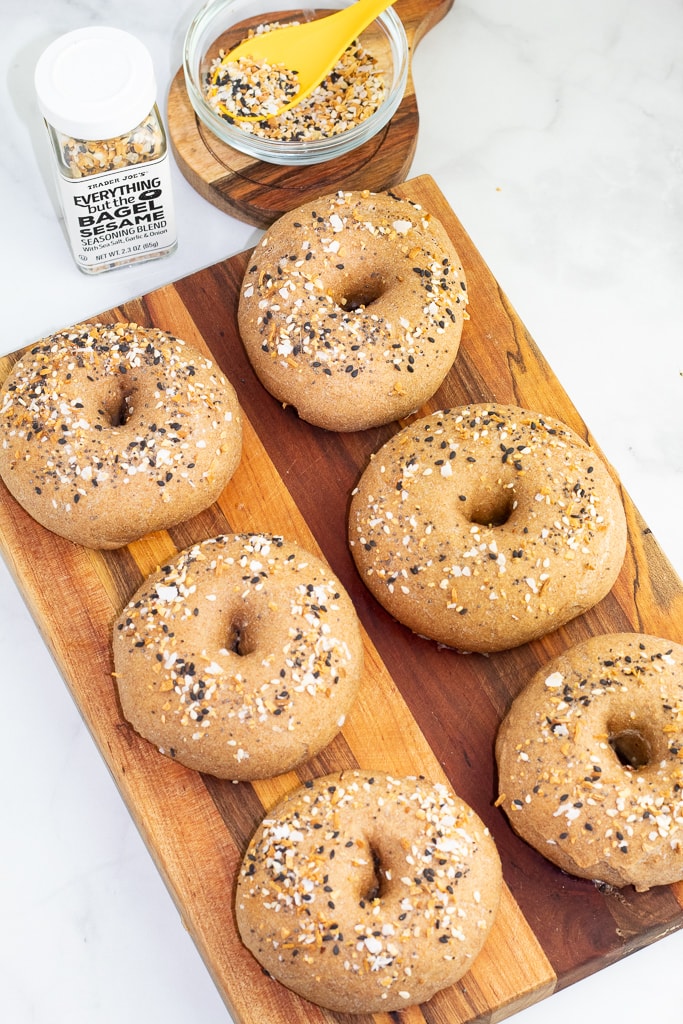
STEP #9: Bake for approximately 15 minutes until golden brown on the top. Remove from the oven and allow them to cool. The video below will be helpful.
Bagel seasoning ideas
There really are so many options for seasoning bagels and here are a few great ideas.
- Cinnamon
- Maple syrup and cinnamon combo
- Dried onion flakes
- Garlic powder
- Rosemary
- Sesame seeds
- Poppy seeds
- Everything But the Bagel
Bagel toppings
Bagels can be topped and served with just about anything you can think of. Below are some of my favorite suggestions.
- Homemade Cashew Cream Cheese
- Peanut butter
- Jelly
- Creamy Vanilla Cashew Cream
- Fresh fruit
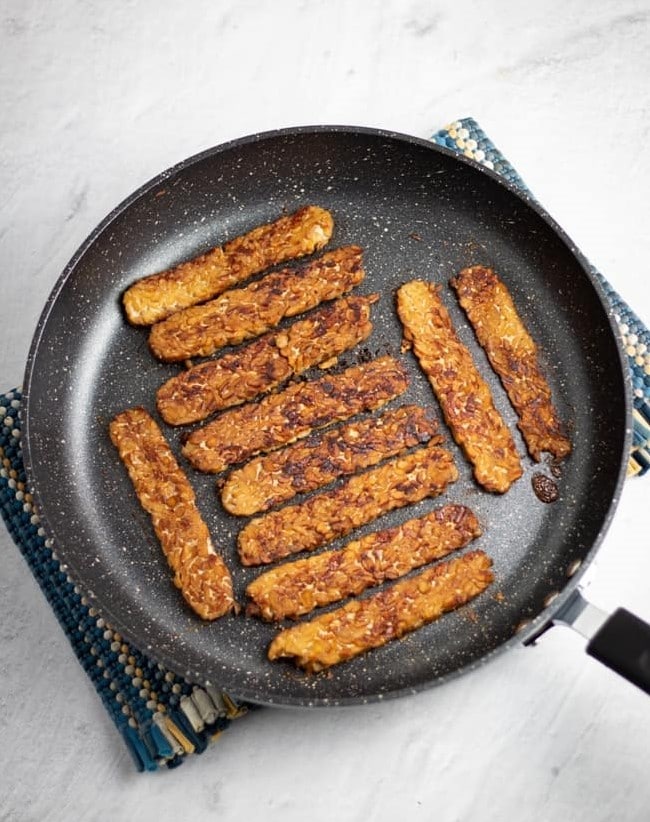
- Smoked Tempeh Bacon
- Breakfast Tofu Scramble
- Guacamole
- Avocado slices
- Hummus
Serving suggestions and tips
Bagels are so versatile and can be served in many different ways. My husband and I tend to mix it up on any given day. Some days we have sweet bagels and other days are more savory.
- Savory- On days, we are likely to smear homemade mayo on our bagels and then top them with Smoked Tempeh Bacon and piles of fresh greens. I like a little mustard on my too.
- Sweet- There are times that we like to start the day with a little sweetness, so we sprinkle a little cinnamon and date sugar over the top and serve them with fresh fruit and herbal coffee or tea.
- Sweet & Savory- Sometimes a little sweet and a little savory work well together, and that’s when we like to smear a little Homemade Cashew Spread on top and then add some fresh berries like strawberries and blueberries to get that perfect blend.
Frequently Asked Questions
Whole wheat bagels have a healthier edge over regular white flour bagels because they have more fiber and nutrients. This recipe is also much lower in sugar because we use only a small amount of maple syrup and no refined sugars.
Since we are baking these without any oil, they are much lower in fat and calories than traditional bagels that you find in grocery stores and bakeries.
Technically, you don’t boil them, but simmer them. It all comes down to texture.
Do you know how bagels have that chewy texture? Well, if you didn’t submerge them in simmering water before baking them, their texture would be just like regular bread.
They will last for about 2-3 days at room temperature if stored in an airtight container or a resealable plastic bag. For longer storage, you can keep them in the refrigerator for up to a week, or freeze them for up to 2-3 months. Just be sure to slice them before freezing for easy toasting!
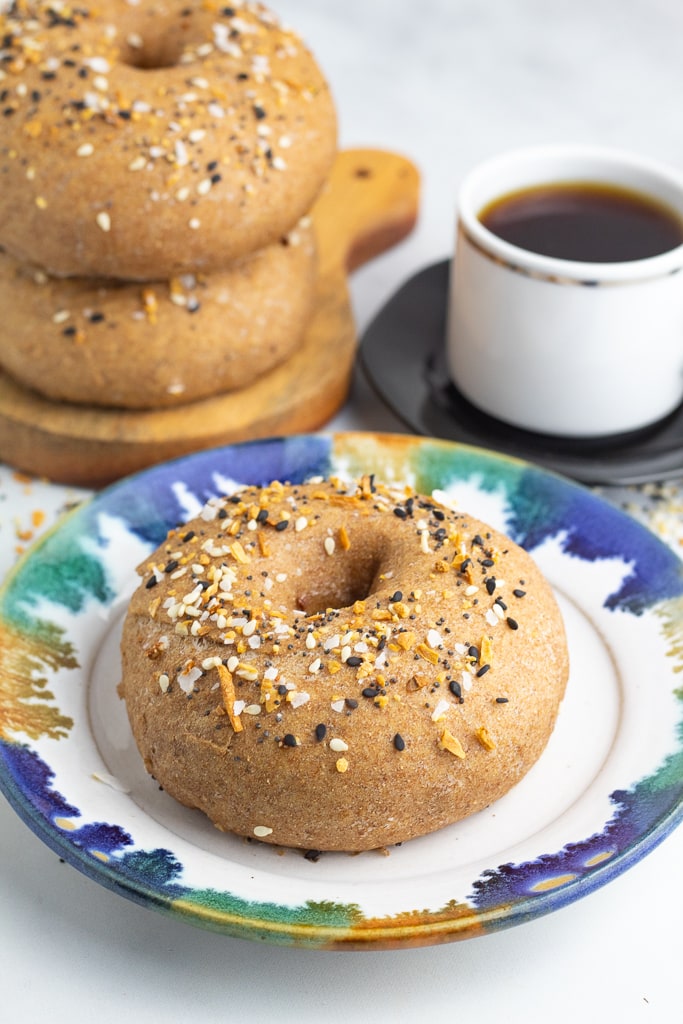
More Plant-Based Breakfast Recipes
If you try this recipe, please let us know how you like it by rating it and leaving a comment. We love to hear from you!
Want to Save This Recipe?
Enter your email & I’ll send it to your inbox. Plus, get great new recipes from me every week!
By submitting this form, you consent to receive emails from EatPlant-Based
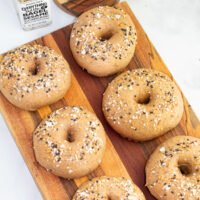
Healthy Whole Wheat Bagels
Ingredients
- 1 tablespoon active dry yeast
- 1 teaspoon maple syrup
- 1 cup warm water
- 2 cups whole wheat flour
- 1 teaspoon salt
- 1.5 teaspoons baking soda
Instructions
- I found that making these bagels is actually fun. There are quite a few steps, but nothing is difficult and the results are excitingly delicious. So, don't be intimidated by the long instructions. I've just tried to be very thorough to make the process as seamless as possible.
- Begin by pouring the lukewarm water into a bowl. Stir in the yeast and maple syrup. Cover the bowl and allow it to sit for about 10-minutes.
- While the yeast is activating, go ahead and whisk together the flour and salt in a larger bowl. I decided to sift my flour just to make sure it was nice and light, but sifting isn’t required.
- When the yeast has finished doing its thing, pour it into the bowl with the flour and salt and stir. The batter will become quite thick and sticky so, at some point, you need to put away the spoon and use your hands.
- Sprinkle a little flour over a countertop or large cutting board to prevent sticking and then pour the batter onto it and begin kneading the dough. Dusting your hands with flour will help too.
- Take about 8-10 minutes to thoroughly knead the dough until it is smooth and elastic. If you’ve never kneaded dough before, I’ve included a video demonstration from NicHomecooking that should be very helpful.
- Once the dough is ready, form it into a large ball and place it in a bowl and cover with a lid. I found that covering it with clingwrap does a good job too.
- At this point, it will need about 1 to 1-1/2 hours to rise. The room temperature will determine the amount of time required. The warmer the better, and the dough will double in size. When I was making these, it was a bit cool in my house, so I took the covered bowl outside on my porch where the sunshine was hitting. That seemed to really speed up the process.
- On a counter or flat surface, punch out the dough and cut it into 6-8 pieces. Six pieces will make larger bagels and eight will make smaller versions.
- Roll each piece into a ball and slightly flatten them on the top with your hand. Place them on a floured surface to rest for about 10 minutes. You’ll want to cover them with a dishtowel.
- After the 10-minutes is up, make a hole in the center of each ball with the tip of your index finger, and with your other index finger pierce the bottom. Rotate the ball around with your fingers until the center hole is gently stretched out to about 1.5 inches.
- Place the bagels back onto the flat surface and flatten the tops a little with your fingers. Then, allow them to rest under a dish towel for around 30-minutes.
- When there are about 15 minutes of resting time left, go ahead and fill a large pot with water and 1.5 teaspoons of baking soda. You want it to come to a simmer, but not a boil.
- Now is also a good time to set your oven to 425°F to preheat.
- Use a spatula to lift each bagel from the floured surface and place it into the simmering water. Place as many bagels into the water as your pot will allow. Cook for about 1-minute and then use a slotted spoon to flip each one. Cook the other side for another minute.
- After each bagel has finished cooking, remove them from the pot with a slotted spoon and place them on a baking sheet lined with parchment paper to prevent sticking.
- Use a brush to coat them with a little plant milk that is at room temperature. I like almond milk, but any plant milk will work just fine. Sprinkle with your seasonings of choice. I really like Trader Joe’s Everything But the Bagel Seasoning. I've listed more seasoning ideas in the text above.
- Bake for approximately 15 minutes until golden brown on the top. Remove from the oven and allow them to cool.
Video
Notes
- Savory- On days, we are likely to smear homemade mayo on our bagels and then top them with Smoked Tempeh Bacon and piles of fresh greens. I like a little mustard on my too.
- Sweet- There are times that we like to start the day with a little sweetness, so we sprinkle a little cinnamon and date sugar over the top and serve them with fresh fruit and herbal coffee or tea.
- Sweet & Savory- Sometimes a little sweet and a little savory work well together, and that’s when we like to smear a little Homemade Cashew Spread on top and then add some fresh berries like strawberries and blueberries to get that perfect blend.
Nutrition
Disclaimer
To obtain the most accurate representation of the nutritional information in a given recipe, you should calculate the nutritional information with the actual ingredients used in your recipe, using your preferred nutrition calculator. You are solely responsible for ensuring that any nutritional information provided is accurate, complete, and useful.
About Terri Edwards
Hi guys! I am the content creator behind EatPlant-Based and a licensed Food for Life instructor with the Physicians Committee for Responsible Medicine. I am passionate about sharing healthy recipes and tips to empower others to get healthy. I’m so glad you’re here! Read More…




I’d like to try these using my sourdough starter. What alterations would I need to make?
thanks
I’m really not sure because I haven’t done it before. I would love to hear how it goes if you give it a try.
thank you for sharing your recipe! cant wait to make organic wholewheat vegan bagels at a fraction of store-bought prices.
You are so welcome. I hope you enjoy them!
Hi Terri!! I’ve never made Bagles either! I could use my stand mixer for the kneading, right?
Jody- Believe it or not, I don’t have a stand mixer and haven’t tried it before, but it should work just fine, I would think.
You cover them with a dry dish towel or paper towel or is it damp? Thanks
Hi May- I cover them with a dry dishtowel, and it seems to work well.
Please post nutrition facts
Hi Sandy- The nutrition facts can be found at the bottom of the recipe card. They are in an orange box.
Do you punch the dough down again, after it has risen, in order to portion it? Or do you just kind of roll it out a bit?
Hi Olwyn- Yes, it does need to be punched out again after it rises and before it’s cut into 6-8 pieces. Hope you have fun with this recipe. I sure did!