
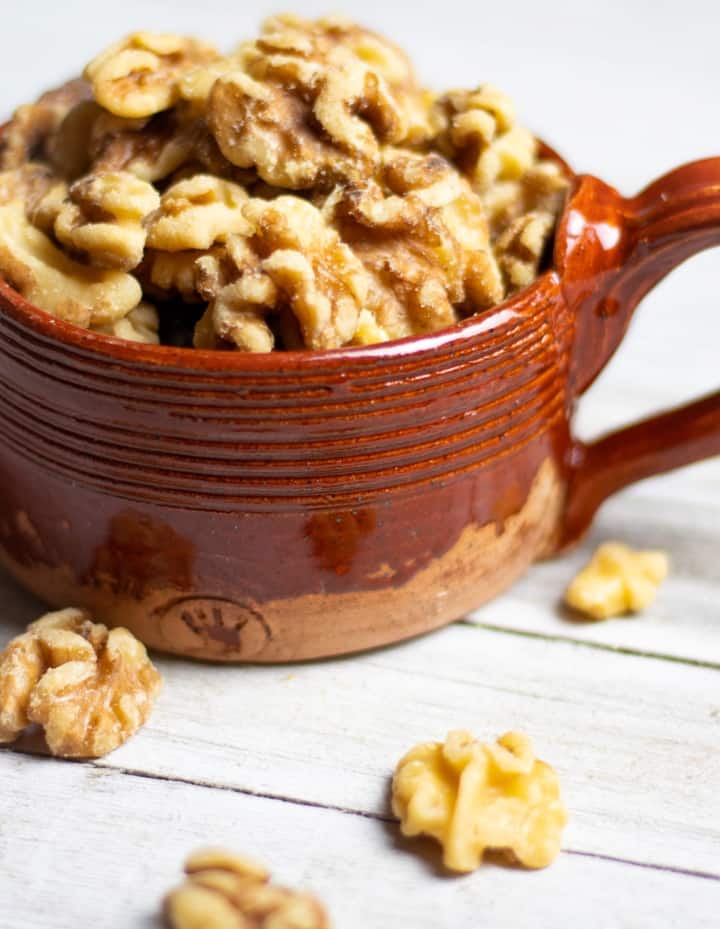
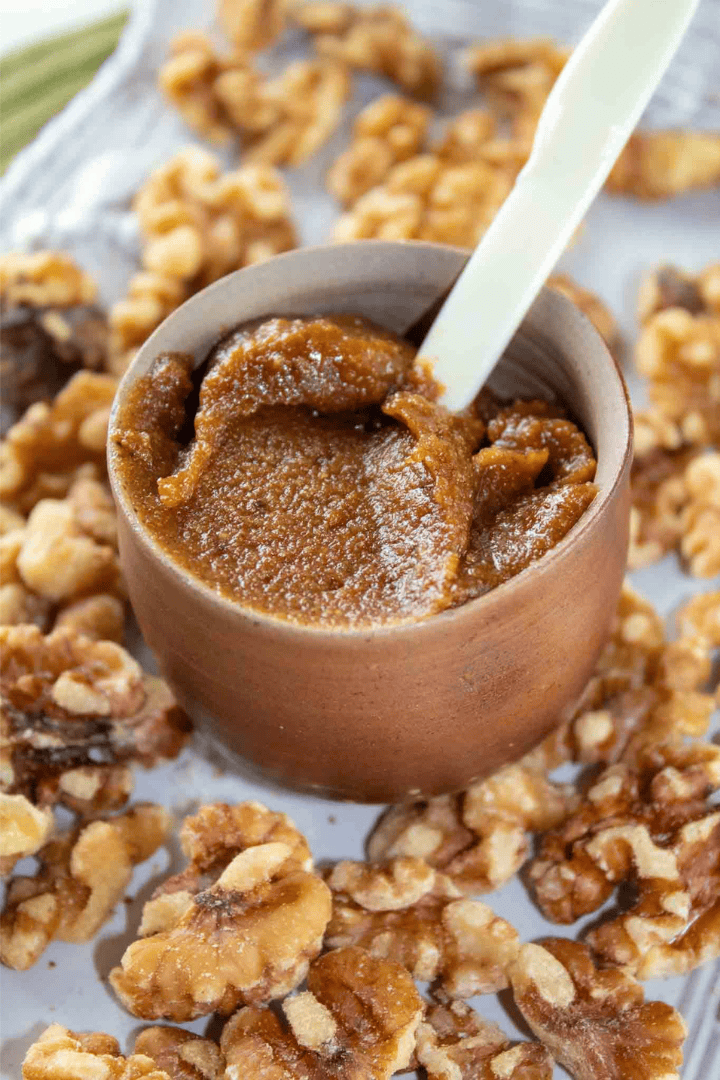
Homemade Walnut Butter
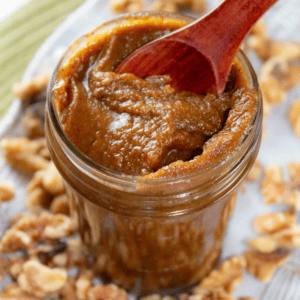
Let us show you how to make homemade walnut butter by simply roasting walnuts to bring out their natural oils and then blending them in a food processor or blender to create a buttery, silky smooth, creamy nut butter that is incredibly nutritious!

Want to Save This Recipe?
Enter your email & I’ll send it to your inbox. Plus, get great new recipes from me every week!
By submitting this form, you consent to receive emails from EatPlant-Based
If you’ve ever tried to find walnut butter in a store you already realize it is no easy feat to accomplish, and it’s crazy expensive when you finally do. I have great news for my fellow nut-butter fans, making homemade walnut butter is super easy and much more economical than the store-bought varieties! And, the result is a creamy nut butter that is silky smooth and tasty!
This homemade nut butter is delicious on these homemade whole wheat bagels and believe it or not, even our banana oat pancakes.
Reasons you will love this spread
- Rich in Nutrients – Packed with heart-healthy omega-3s and antioxidants, this walnut butter recipe boosts brain and heart health.
- Quick & Easy to Make – Ready in under 20 minutes, it’s a perfect DIY recipe for busy, health-conscious foodies.
- Versatile & Delicious – Spread it on toast, drizzle over oatmeal, or use it in smoothies for a creamy, nutty flavor boost.
- Naturally Vegan & Gluten-Free – A wholesome, plant-based alternative for anyone looking for allergy-friendly spreads.
Ingredients you will need
Homemade walnut butter is so easy to make that all you truly need to make it is shelled walnuts and a food processor or blender. However, plain walnut butter has a very mild, somewhat bland, flavor so in this recipe, we’re toasting them and adding a few optional ingredients that will enhance the natural flavor of the walnuts.
- Walnuts- Using raw walnuts and roasting them enhances their natural oils, creating a richer flavor and creamier texture for the butter. Roasting also mellows the bitterness of raw walnuts, resulting in a smoother, more balanced taste.
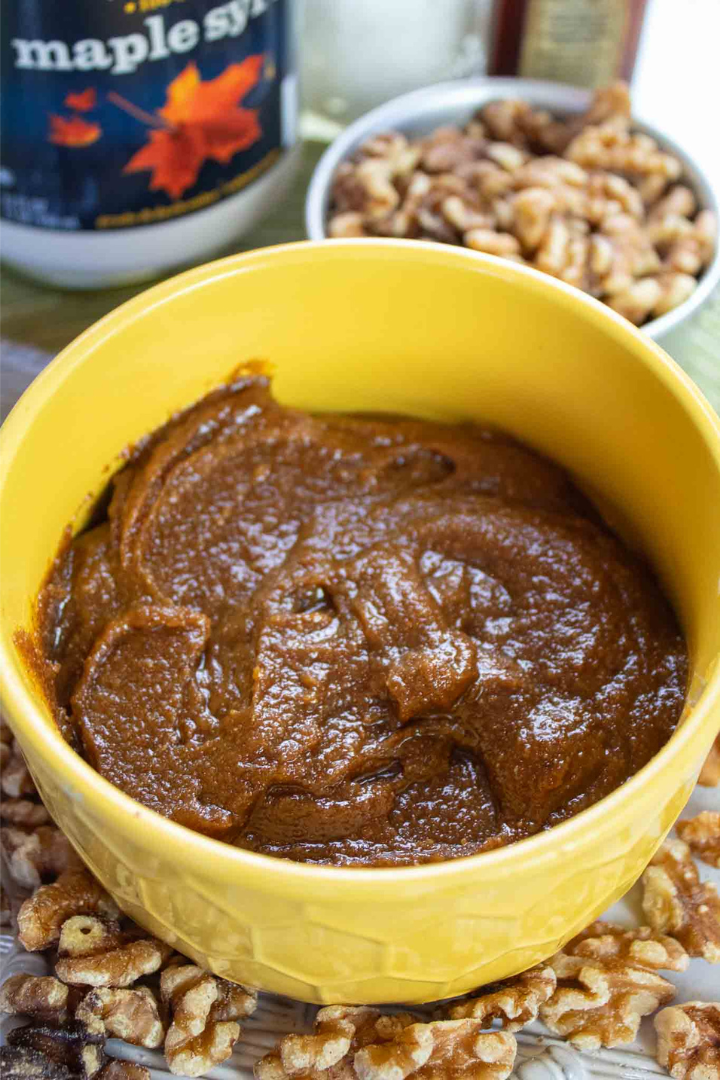
- Maple syrup- Adds a natural sweetness to walnut butter, balancing the rich, earthy flavor of the walnuts. It also complements the nuttiness with its caramel-like notes, creating a more indulgent and flavorful spread without refined sugars.
- Vanilla extract- Enhances the flavor of walnut butter by adding a warm, aromatic sweetness that complements the nuttiness.
- Sea salt- It brings out the nutty richness, creating a more well-rounded and satisfying taste.
How to make walnut butter
The recipe card at the bottom of the page has the full list of ingredients with measurements and instructions.
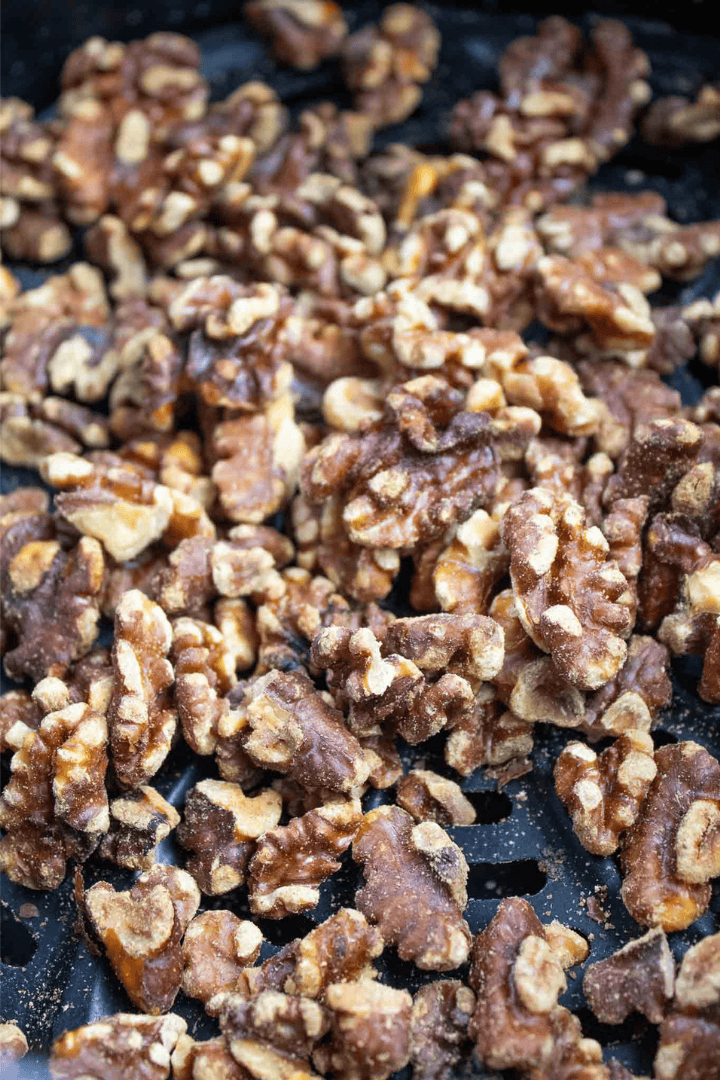
STEP #1: To toast the walnuts, preheat your oven or air fryer to 350°F. Spread the walnuts in a single layer in the basket or on a rimmed baking sheet lined with parchment paper.
Toast until fragrant and slightly darker in color, approximately 8-10 minutes. Watch them carefully so that they don’t burn. Allow them to cool a little before you begin blending them.
Note: You can skip the toasting step if you prefer raw butter. Raw walnut butter is very mild and tends to be a little creamier, but the processing time is much longer.
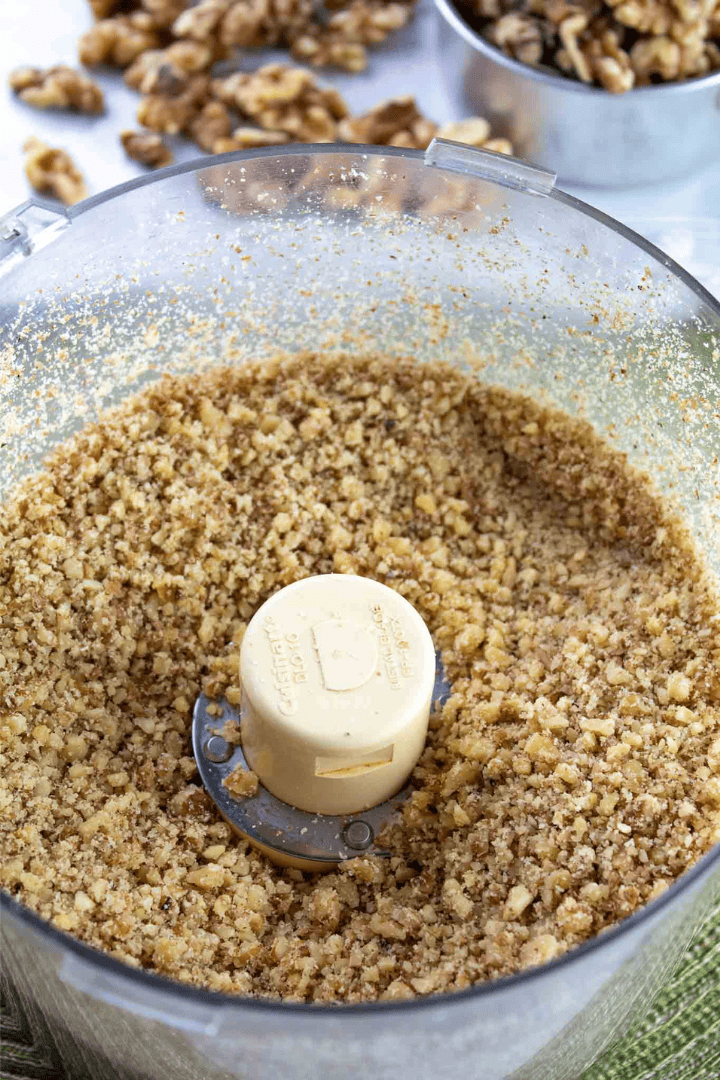
STEP #2: Transfer the slightly cooled walnuts to your food processor or blender. If you’re using our optional ingredients now is the time to add the maple syrup, vanilla, and sea salt and process on high until smooth and creamy, approximately 1-2 minutes.
If you did not toast your walnuts, using a high-speed food processor or a high-speed blender like my Vitamix 5200 is your best option. The blending process takes much longer (approximately 15-20 minutes) with raw walnuts, and you should stop every 3-4 minutes and scrape down the sides with a rubber spatula to let your food processor or blender cool off and rest so that the motor does not overheat.
STEP #3: Keep in mind that different sizes and speeds of food processors/blenders can affect how quickly your nut butter blends. A smaller one will take a few minutes longer than a high-powered one. Blend until your nut butter is soft and smooth.
Optional add-ins
If you want to mix this walnut butter recipe up a bit, here are a few ingredients that can be mixed in to jazz it up even more.
- Cacao powder
- Pumpkin pie spice
- Cinnamon
How to serve walnut butter
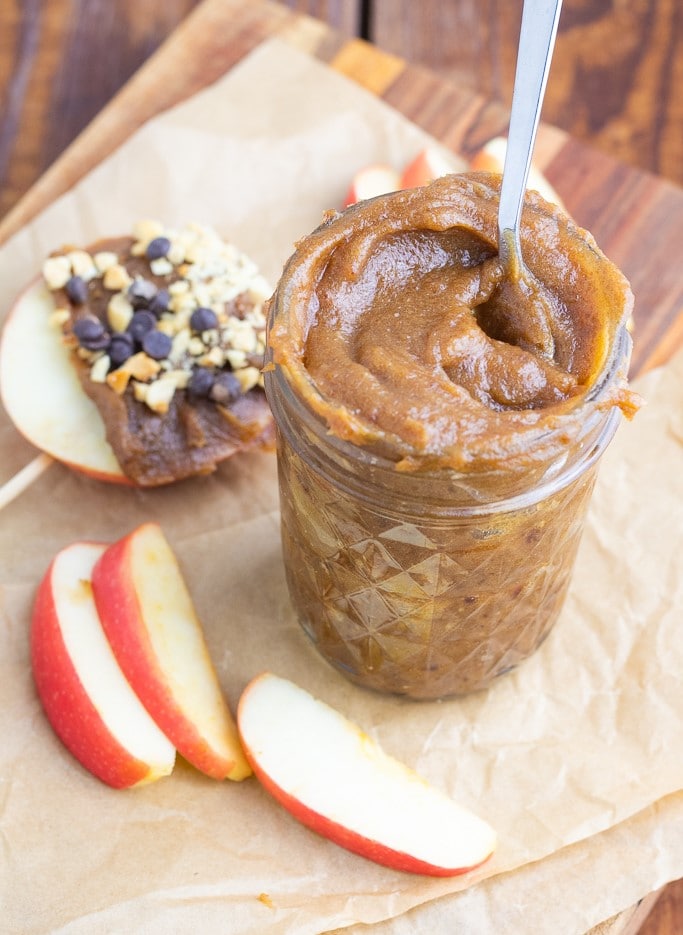
Walnut butter, roasted and ground into a creamy spread, is a tasty snack with fruit, spread over your favorite breakfast bread, or even as part of your favorite savory sauce!
It is great on toast, oil-free whole wheat bagels, and English muffins, with apple slices or celery sticks. Try it in these fruity smoothies and homemade granola, oatmeal, or overnight oats. Drizzle over banana pancakes or waffles. Make vegan homemade ice cream or stuffed dates.
Frequently Asked Questions
Walnuts are naturally one of the most nutritious nuts to make butter with because they are such a great source of omega-3 fats, antioxidants, and vitamins, and grinding them into a nut butter offers us even more ways to enjoy them while maintaining their inherent nutritional value.
You can make walnut butter without any sweeteners, but it may taste a bit bland, as walnuts have a subtle, earthy flavor on their own. I found that adding maple syrup or honey made the flavor much more enjoyable.
You can keep the leftovers in the fridge, in an airtight container, for up to 4 weeks. Nut butter can even be frozen for up to 4-6 months. You might want to portion it into individual servings that can easily thawed as needed.
More Healthy Vegan Spreads

For those of you new to the whole food plant-based lifestyle, we’ve created a FREE 7-Day Plant-Based Menu Planner to help you get started!
If you try this recipe, please let us know how you like it by rating it and leaving a comment. We love to hear from you!
Want to Save This Recipe?
Enter your email & I’ll send it to your inbox. Plus, get great new recipes from me every week!
By submitting this form, you consent to receive emails from EatPlant-Based
Creamy Walnut Butter
Ingredients
- 2 cups raw walnuts shelled
- 3 tablespoons maple syrup (optional but recommended)
- 1/2 teaspoon vanilla extract (optional but recommended)
- 1/4 teaspoon sea salt (optional but recommended)
Instructions
- Roasting raw walnuts releases their natural oils so they are more flavorful and process very quickly. To toast the walnuts, preheat your oven or air fryer to 350°F. Spread the walnuts in a single layer in the basket or on a rimmed baking sheet lined with parchment paper.
- Toast until fragrant and slightly darker in color, approximately 8-10 minutes. Watch carefully so that they don’t burn. Allow them to cool a little before you begin blending them. If you want to skip toasting to have raw nut butter, see my notes in the article above.
- Transfer the slightly cooled walnuts to your food processor or blender. If you’re using our optional ingredients now is the time to add the maple syrup, vanilla, and sea salt and process on high until smooth and creamy, approximately 1-2 minutes.
- If you did not toast your walnuts, using a high-speed food processor or a high-speed blender like my Vitamix 5200 is your best option. The blending process takes much longer (approximately 15-20 minutes) with raw walnuts, and you should stop every 3-4 minutes and scrape down the sides with a rubber spatula to let your food processor or blender cool off and rest so that the motor does not overheat.
- Keep in mind that different sizes and speeds of food processors/blenders can affect how quickly your nut butter blends. A smaller one will take a few minutes longer than a high-powered one. Blend until your nut butter is soft and smooth.
Video
Notes
Nutrition
Disclaimer
To obtain the most accurate representation of the nutritional information in a given recipe, you should calculate the nutritional information with the actual ingredients used in your recipe, using your preferred nutrition calculator. You are solely responsible for ensuring that any nutritional information provided is accurate, complete, and useful.

About the Chef
Drenda-Michell Brennan lived in Japan in the 1980s and 90s where she enjoyed spending much of her time visiting the kitchens of family and friends, watching and learning to prepare traditional Japanese cuisine. She is the mother of three Japanese-American grown children and grandmother (HuneyGram) to nine grandchildren. Read More…