Vegan Bacon Bits
There are so many uses for these smoky, crunchy, vegan bacon bits which are easy to make with only 4 ingredients. I like sprinkling them over baked potatoes, soups, salads, and even pancakes. You might just want to eat them by the handful! Gluten-free, plant-based, and oil-free.

I love cooking with soy curls because they have such a meaty texture but are made with only one ingredient–soybeans. I have turned them into vegan casseroles, meatless sandwiches, and even used them in place of chicken in plant-based stir-fries.
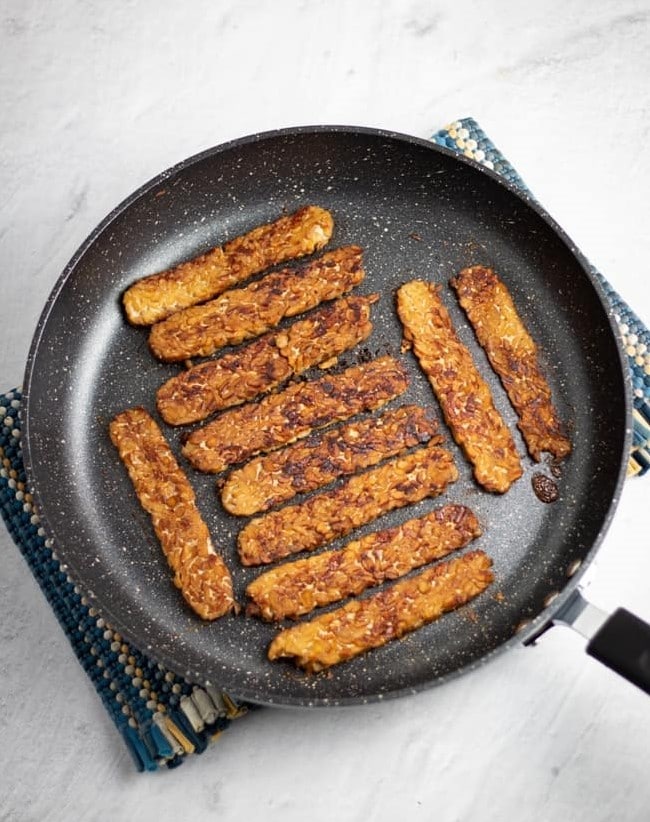
Since they taste like the seasonings they are marinated in, I figured that vegan bacon bits would be a great next recipe because I already have a bacon marinade from my smoked tempeh bacon recipe, and WOW was I right! These are amazing and can be ready in minutes!
Ingredients needed

- Soy curls- They are made from one ingredient–soybeans–which are actually good for you. They can be found in some grocery stores and online.
- Soy sauce or tamari– I use low-sodium soy sauce but, if you are avoiding gluten, try gluten-free tamari.
- Maple syrup– A touch of maple syrup pairs wonderfully with these smoky flavors, though agave nectar or date syrup are also suitable alternatives.
- Liquid smoke– It goes a long way in creating that smoky bacon flavor. I use the Colgin brand which can be purchased in many grocery stores or online.
What are soy curls?
Soy curls are made from only one ingredient–non-GMO soybeans. There is nothing else added to them during processing–no salt or preservatives–and nothing is taken away from the whole bean. This is a world of difference from most soy-based meat replacers that are manufactured by isolating different parts of the bean and incorporating lots of additives.
They can be used in a wide variety of recipes to replace meat in stir-fries, vegan sandwiches, soups, casseroles, and many other dishes as you can see from these 26 vegan soy curl recipes.
How to make vegan bacon bits
The recipe card at the bottom of the page has the full list of ingredients with measurements and instructions.

STEP #1: Preheat your oven to 300°F, and use parchment paper to line a baking sheet to prevent sticking and make cleanup a breeze.
Pour half a bag (4 oz) of dry soy curls into a large bowl and break them into small pieces using your hands. Alternatively, you can place them in your blender or food processor and pulse for a couple of seconds. Just be careful because they will turn into powder very quickly. It is easier to get them similar in size if you do it by hand.
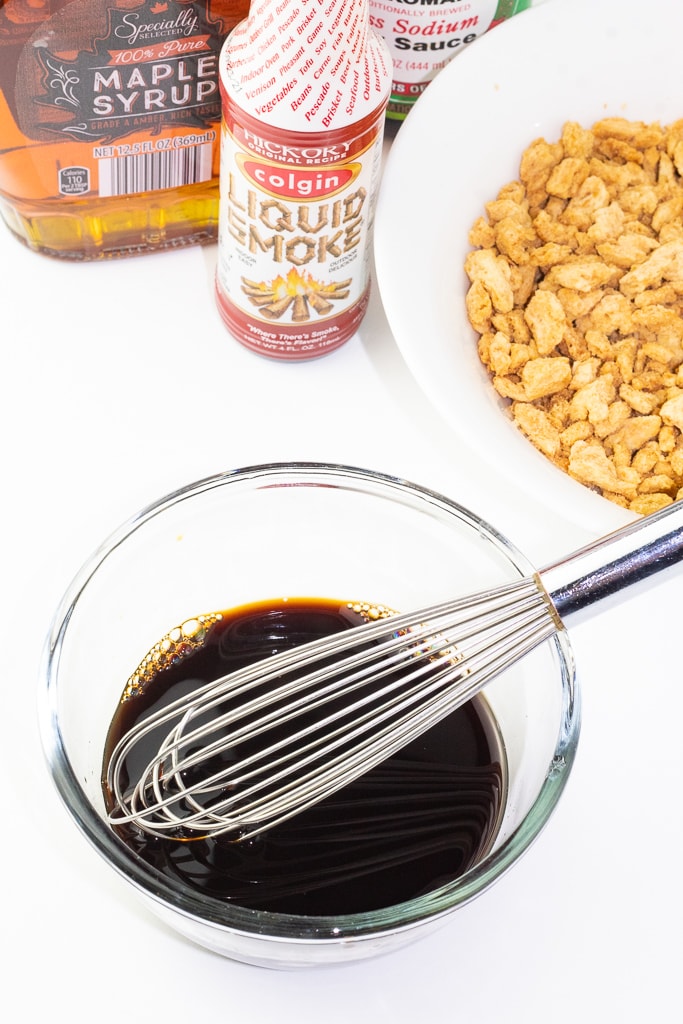
STEP #2: In a small bowl, whisk together the soy sauce (or gluten-free tamari), maple syrup, and liquid smoke.
Pour the marinade over the pieces of soy curls in the larger bowl and stir until they are coated well. Allow them to sit in the bowl for about 15 minutes for the flavors to marry up well. They should soak up all of the liquid.
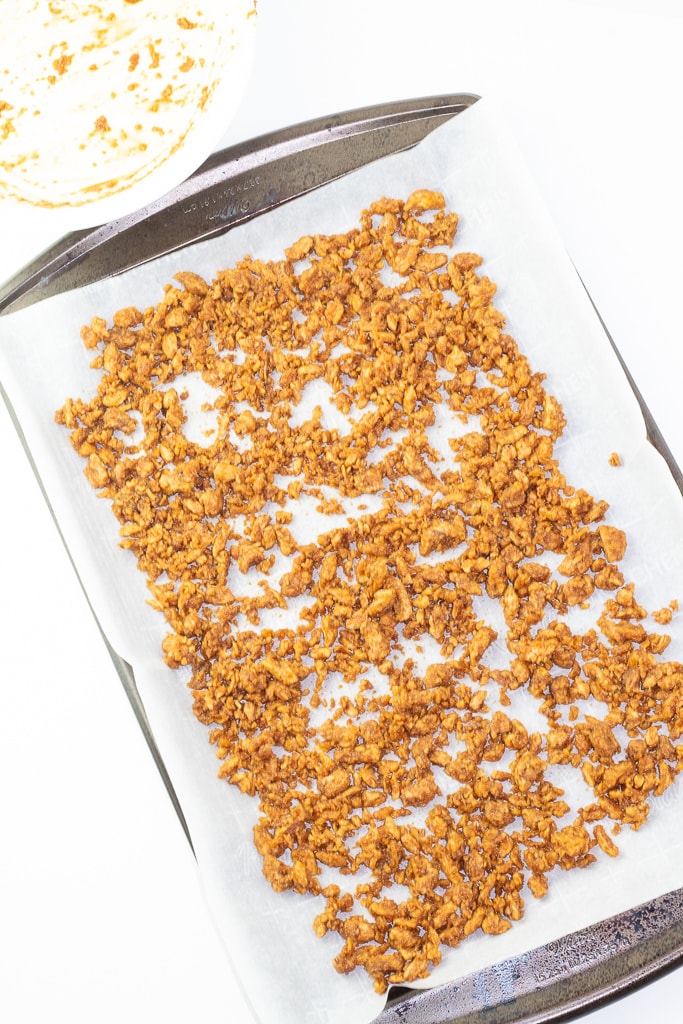
STEP #3: Pour the marinated soy curl pieces onto the lined baking sheet making sure they are spread out into a single layer.
Bake for 25 minutes, stirring halfway through. When they begin to turn a light brown, they are almost done, so watch them carefully. You don’t want them to overcook.
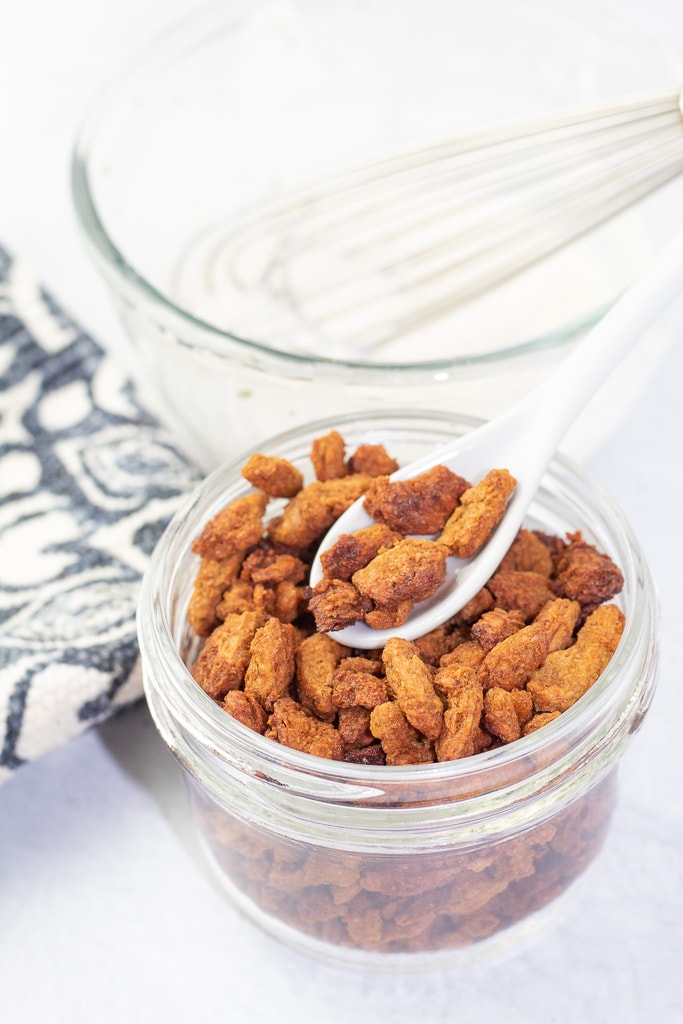
STEP #4: Remove from the oven and allow them to cool before serving over pancakes, soups, baked potatoes, and more. See storage directions and air fryer cooking options below.
Soy curls are not the same as TVP
Soy curls are NOT the same as TVP (textured vegetable protein). They may seem similar at first because they are both made with soybeans and dehydrated, but that is where the similarities end.
TVP is derived during the process of making soybean oil. Once the oil is extracted from the soybean, it leaves a soybean paste which is then shaped into nuggets, strips, and flakes to make TVP products. Now doesn’t that sound delicious and healthy? No, thank you!
On the contrary, soy curls are made from whole soybeans, ensuring they retain all the fiber, protein, and nutrients naturally found in the bean. They are considered a whole food and don’t contain any preservatives or additives.
Can you make them into veggie bacon?
Yes, you can make bacon instead of bits, but you will need to make one minor change in the prepping steps. An air fryer is great for getting foods crispy and will work well for this recipe.
The only change needed is that you will want to leave the soy curls whole during the marinating and cooking process and then crumble them after they have cooked in the air fryer. The reason is that if you crumble before cooking, they will be so small they’ll fall through the air fryer basket holes.
Air fry them whole at 400°F for about 8 minutes, stopping to shake the basket every 2-3 minutes or so until they are nice and crispy.
Best tips for success
- Cook time– The size that your pieces are broken into will affect the cooking time. If you have tiny pieces, the cooking time will be less. Check every ten minutes and stir each time.
- Longer pieces– If you want to use these more like bacon for sandwiches like BLT’s, simply leave them in strips and follow all the other instructions, though they will likely need to cook a little longer.
- Air Frying– These can be made in your air fryer, especially if you are planning to leave them in strips. I’ve included instructions for air frying as well.
- Liquid smoke– A few people have asked me if they can make these without liquid smoke. I personally feel that it’s an important ingredient, but if you want or need to leave it out, try adding a teaspoon of smoked paprika in its place.
Serving suggestions
These meatless bacon bits are perfect for topping salads, Creamy Vegan Potato Soup, stews, and even Baked Air Fryer Potatoes. You might even sprinkle them over your vegan breakfast tofu scramble to add a smokey salty flavor or make a vegan BLT with them. Below I have listed some of my favorite recipes to serve them with.
Frequently Asked Questions
Believe it or not, many brands of store-bought bacon bits are vegan which sounds crazy, I know. For example, the main ingredient in McCormick’s Bac’n pieces is soy flour, and they are vegan.
You may want to avoid those though because they are also filled with oil, food coloring, and ingredients that are unpronounceable like guanylate.
The good news is that it’s simple to make your own vegan bacon bits with only a handful of much healthier ingredients!
Cool completely before storing. Leftovers can be kept in an airtight container in the refrigerator for about 7-10 days. They can also be frozen for about 3 months. To defrost, simply heat in the microwave or set the container on the counter until it comes to room temperature.
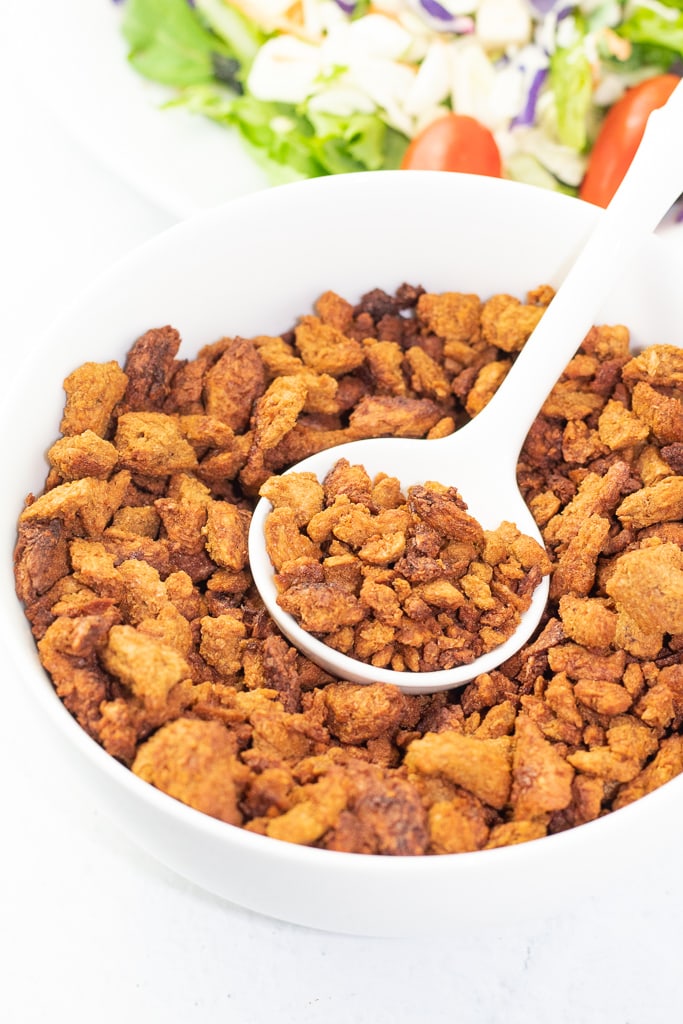
More Vegan Meat Substitute Recipes
If you try this recipe, please let us know how you like it by rating it and leaving a comment. We love to hear from you!
Want to Save This Recipe?
Enter your email & I’ll send it to your inbox. Plus, get great new recipes from me every week!
By submitting this form, you consent to receive emails from EatPlant-Based
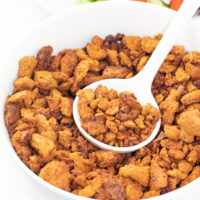
Vegan Bacon Bits
Ingredients
- 4 oz soy curls (1/2 bag)
- 1/4 cup soy sauce or gluten-free tamari
- 2 teaspoons liquid smoke
- 3 tablespoons maple syrup
Instructions
- Preheat your oven to 300°F, and use parchment paper to line a baking sheet to prevent sticking and make cleanup a breeze.
- Pour half a bag (4 oz) of dry soy curls into a large bowl and break them into small pieces using your hands. Alternatively, you can place them in your blender or food processor and pulse a couple of seconds. Just be careful because they will turn into powder very quickly. It is easier to get them similar in size if you do it by hand.
- In a small bowl, whisk together the soy sauce (or gluten-free tamari), maple syrup, and liquid smoke.
- Pour the marinade over the pieces of soy curls in the larger bowl and stir until they are coated well. Allow them to sit in the bowl for about 15 minutes for the flavors to marry up well. They should soak up all of the liquid.
- Pour the marinated soy curl pieces onto the lined baking sheet making sure they are spread out into a single layer.
- Bake for 25 minutes, stirring halfway through. When they begin to turn a light brown, they are almost done, so watch them carefully. You don’t want them to overcook.
- Remove from the oven and allow them to cool before serving over pancakes, soups, baked potatoes, and more. See storage directions and air fryer cooking options below.
Video
Notes
- Cook time– The size that your pieces are broken into will affect the cooking time. If you have tiny pieces, the cooking time will be less. Check every ten minutes and stir each time.
- Longer pieces– If you want to use these more like bacon for sandwiches like BLT’s, simply leave them in strips and follow all the other instructions, though they will likely need to cook a little longer.
- Air Frying– These can be made in your air fryer, especially if you are planning to leave them in strips. Air fry them whole at 400°F for about 8 minutes, stopping to shake the basket every 2-3 minutes or so until they are nice and crispy.
- Liquid smoke– A few people have asked me if they can make these without liquid smoke. I personally feel that it’s an important ingredient, but if you want or need to leave it out, try adding a teaspoon of smoked paprika in its place.
Nutrition
Disclaimer
To obtain the most accurate representation of the nutritional information in a given recipe, you should calculate the nutritional information with the actual ingredients used in your recipe, using your preferred nutrition calculator. You are solely responsible for ensuring that any nutritional information provided is accurate, complete, and useful.
About Terri Edwards
Hi guys! I am the content creator behind EatPlant-Based and a licensed Food for Life instructor with the Physicians Committee for Responsible Medicine. I am passionate about sharing healthy recipes and tips to empower others to get healthy. I’m so glad you’re here! Read More…


thx for expanding nutrition information. I have to watch my sodium intake.
Do you think this would work on chickpeas? I am going to try! I think I’ll leave them in the marinade overnight then roast them. Wish me luck and thanks for sharing such a yummy looking recipe!
Oh! You are talking about using the marinade for roasted chickpeas. Yes, I think that would be delicious! I use the same marinade for smoked tempeh bacon, and it’s great.
Didn’t care for these on a salad but my hubby and I love them just as a snack to nibble on!
Hi KP- I am so glad that your and your hubby enjoy snacking on these. I felt the same way when I first made them. They are a little addictive. 🙂
If you are defrosting them from frozen, do you have to do anything other than leaving them out on the counter in order to restore crispness?
Amelia- If they become chewy after freezing, I would suggest toasting them in the oven for 5 minutes to get them to crisp back up.