
Easy Gluten-Free Granola Recipe
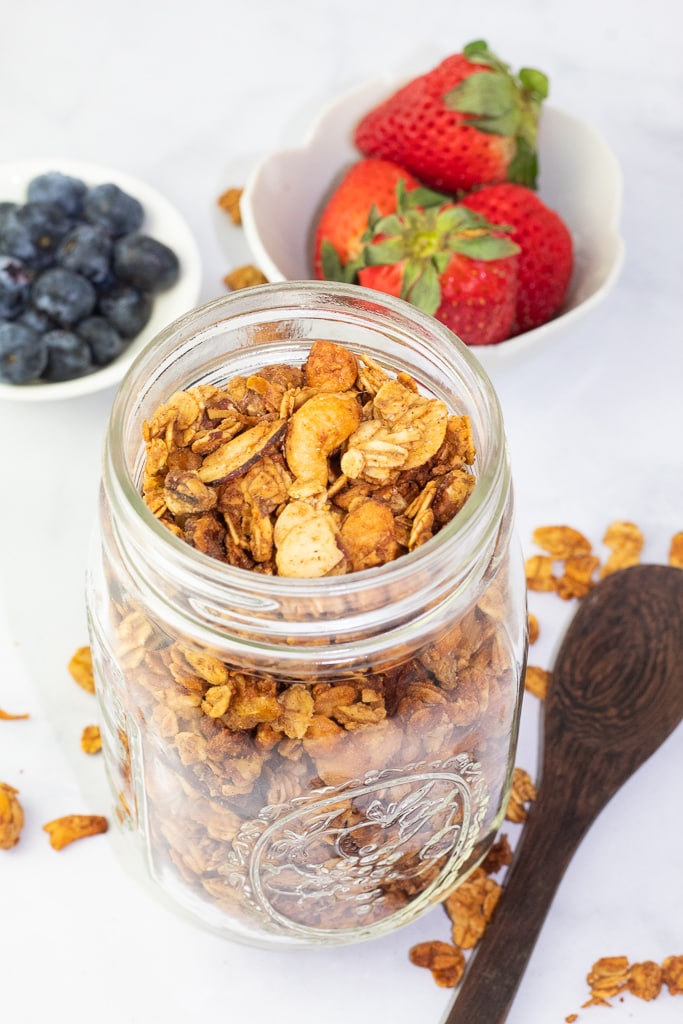
Homemade Gluten-Free Granola has never been easier to make. Wholesome ingredients and only natural sweeteners make this the best snack ever for the family. Even the kids will love it!

Want to Save This Recipe?
Enter your email & I’ll send it to your inbox. Plus, get great new recipes from me every week!
By submitting this form, you consent to receive emails from EatPlant-Based
Granola has always been one of my favorite snacks because it’s crunchy, sweet, and filling. But, the brands in the grocery store more often than not have refined sugar and even oil which makes them not so healthy after all.
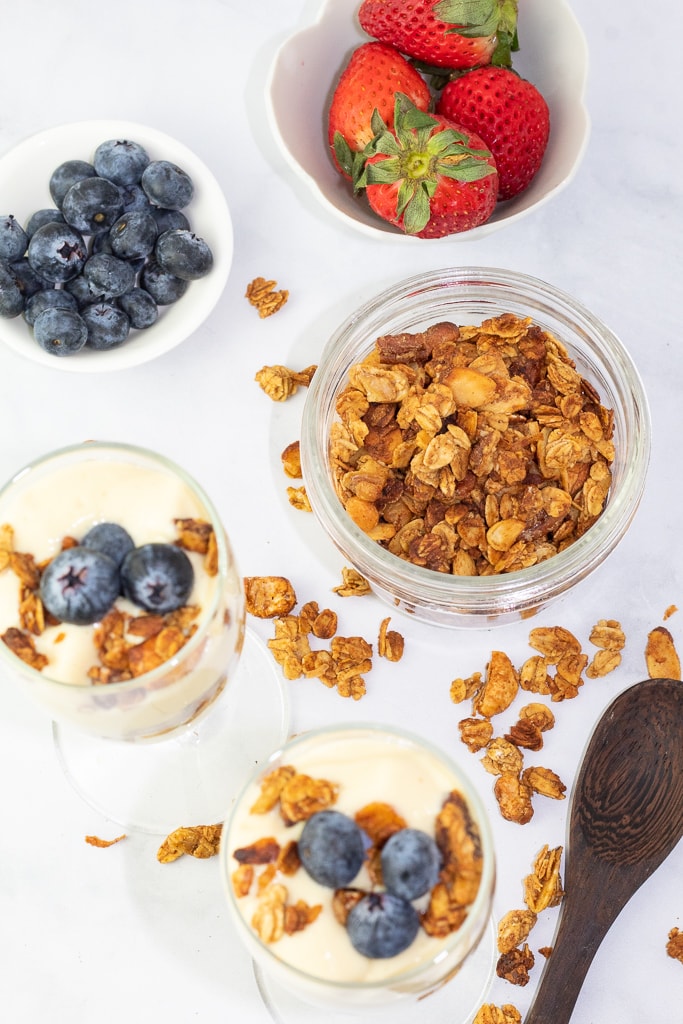
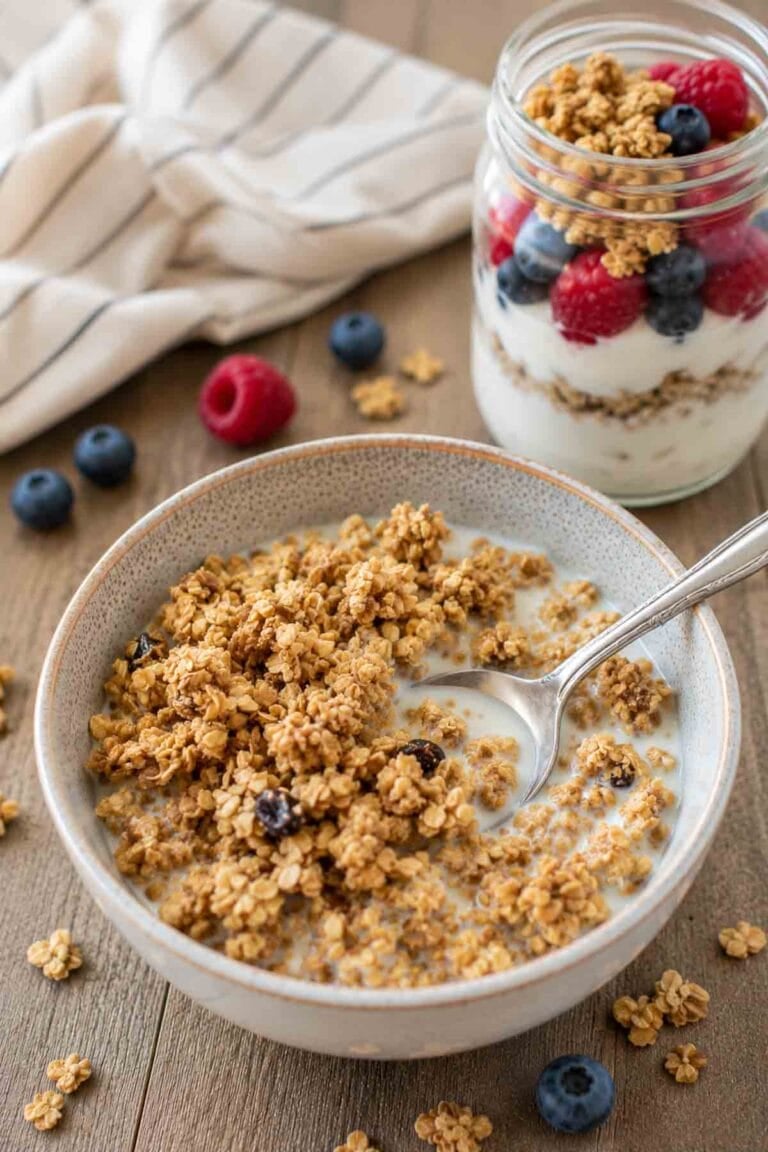
That’s why I came up with this much healthier, easy-to-make recipe that can be eaten right out of the container, served in a bowl with your favorite plant-based milk, or sprinkled over a dish of Homemade Vegan Yogurt or healthy Fruity Nice Cream dessert. It’s completely oil-free, vegan, and gluten-free.
This recipe is perfect used as a topping for a fruity crumble or crisp like my Easy Blueberry Peach Crisp. Another great granola recipe to try is our peanut butter granola cereal.
Ingredients you will need
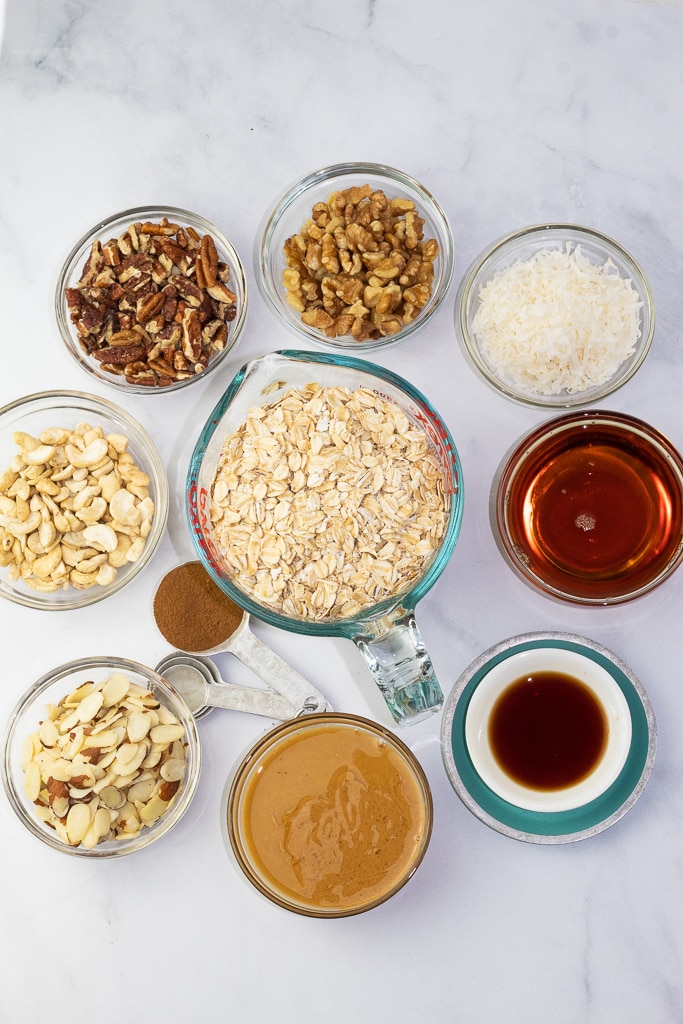
- Oats- Look for gluten-free, old-fashioned oats for the best results. Quick-cooking oats are much thinner and don’t provide the nice crunchy texture we’re looking for when making granola.
- Maple syrup- This is a natural sweetener that creates a delicious flavor. Honey (or bee-free honey) or agave nectar can also be substituted.
- Nut butter- I think nut butter like peanut or almond adds the best flavor. The runnier, the better, or add a little water to thin your brand out. If you want to leave it out, simply replace it with unsweetened homemade applesauce.
- Nuts- To achieve a delicious crunch, you will want to include some nut pieces. My personal favorites are walnuts, cashews, and almond slivers.
- Coconut flakes- When toasted with the other ingredients, coconut flakes make this granola completely irresistible.
- Vanilla- I tend to go heavy on vanilla because it adds so much warm flavor.
- Seasonings- Cinnamon and salt are the only other seasonings needed, and the salt is optional.
Substitutions and variations
- Sweetener- The recipe calls for maple syrup but honey (or bee-free honey) or agave nectar can be substituted.
- Nut butter- I like to use Kirkland peanut butter because it is already runny, but if you have a thicker brand, just add a few tablespoons of water to thin it out.
- Oats- For more crunch, try substituting 1.5 cups of steel-cut oats for half of the old-fashioned oats.
How to make gluten-free granola
STEP #1: Begin by preheating the oven to 250°F and preparing a baking sheet by covering it with parchment paper that will keep it from sticking and make cleanup a breeze.
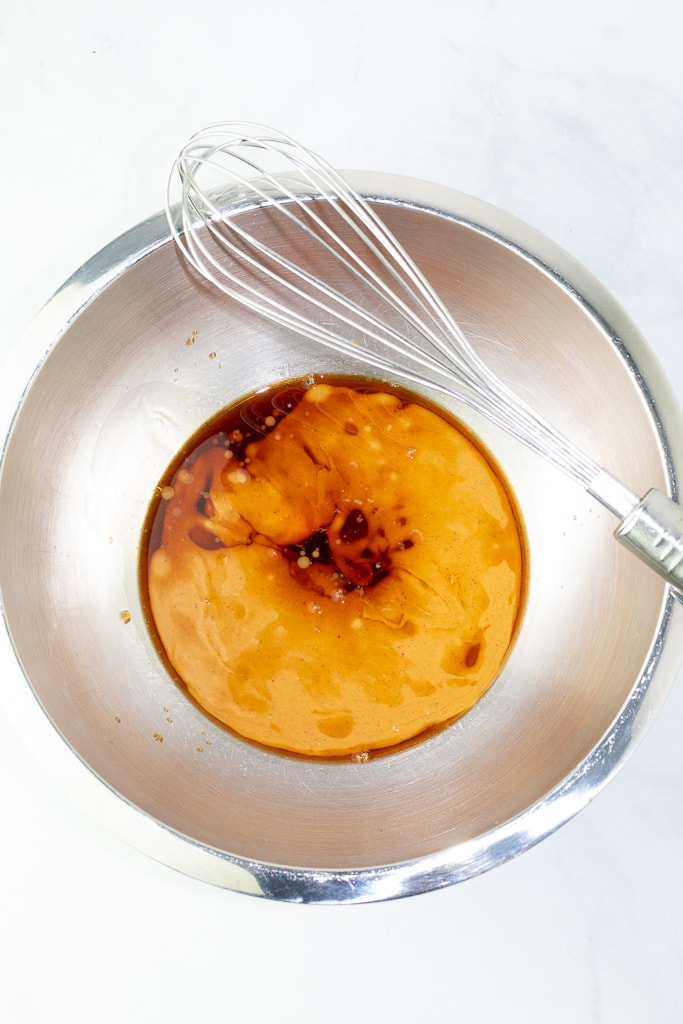
STEP #2: Add the maple syrup, nut butter, vanilla, cinnamon, and salt to a large mixing bowl and whisk together well.
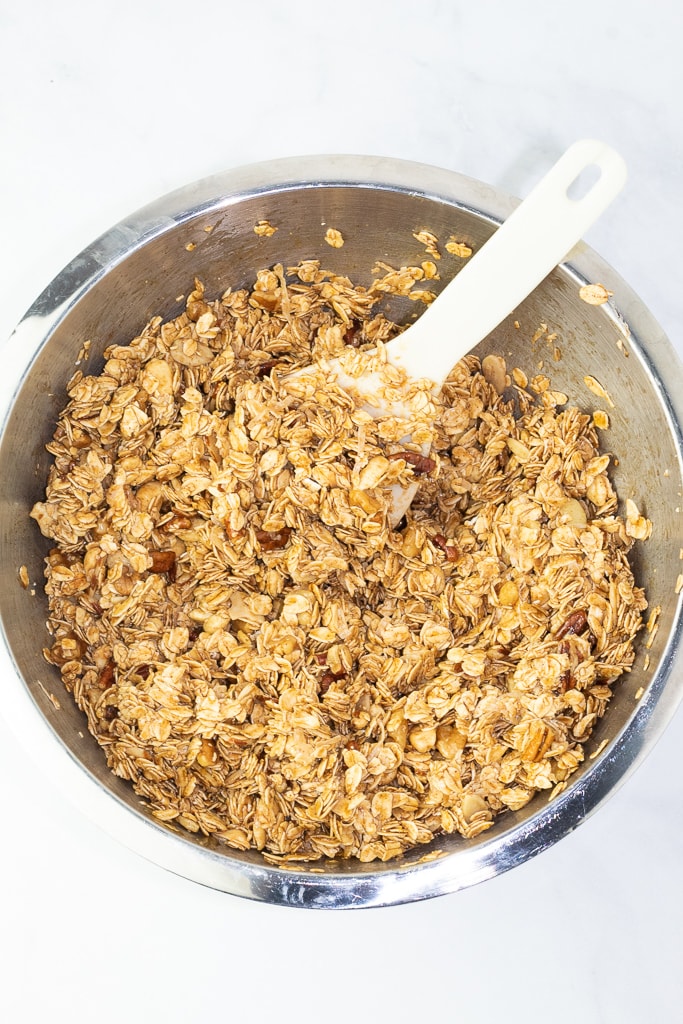
STEP #3: Next, pour the rest of the ingredients–oats, nuts, coconut flakes–into the bowl and stir until everything is evenly coated.
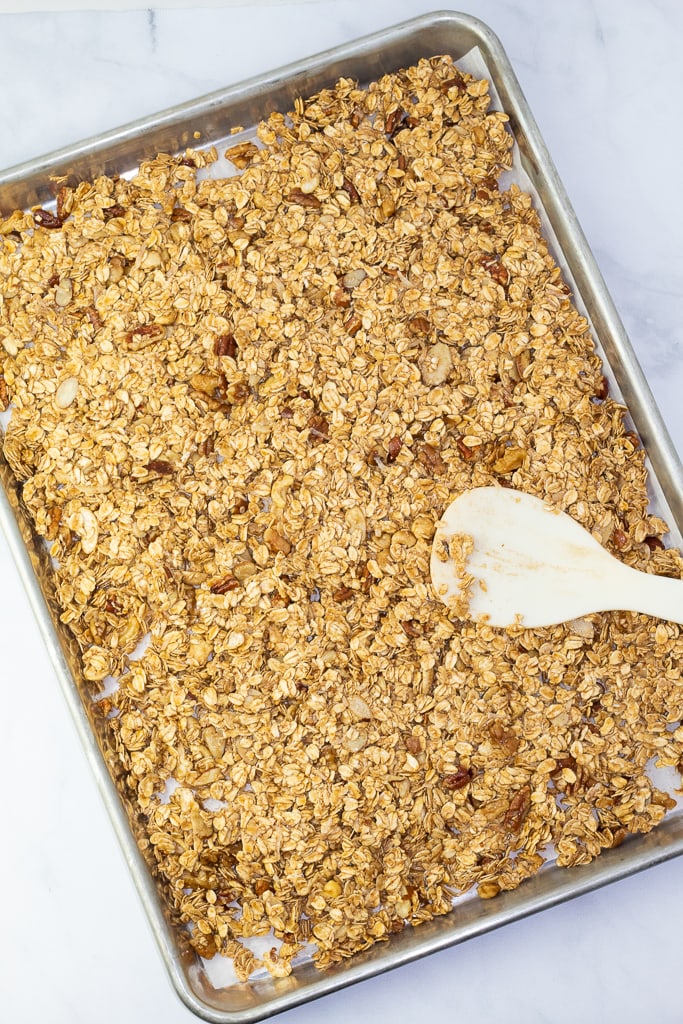
STEP #4: Transfer the granola mixture to the lined baking sheet and spread it into a thin layer with a spatula or spoon. Be sure to spread it all the way to the edges of the pan to give plenty of room for the thinnest layer possible.
Place the pan in the oven and bake for 45 minutes on the bottom rack, stirring every 15 minutes. If you’ve ever made party mix before, this is the same baking/drying process. I always remove the pan from the oven for each stirring cycle to make sure I don’t spill any in my oven and to be able to stir it well.
STEP #5: Once it is done, remove the pan from the oven and allow it to cool. Once it has cooled, serve it in a bowl with your favorite homemade plant milk or sprinkle it over a dish of Homemade Dairy-Free Yogurt, this super easy blender vegan yogurt, or a cold bowl of Nice Cream dessert. More recently, we learned that sprinkling it over this creamy vanilla vegan cashew cream is amazing!
Best add-ins
In addition to the nuts, it’s fun to mix things up a bit with some of these optional mix-ins.
- Dried fruit- Raisins or other dried fruits are delicious add-ins. Just be sure to mix them in after cooking so the fruit won’t burn.
- Chocolate chips- I love the non-dairy Enjoy Life Chocolate Chips brand. Don’t add chocolate until after cooking and cooling or it will melt.
- Seeds- Sunflower seeds or pumpkin seeds are great for adding more crunch.
Frequently Asked Questions
Always read the label on your oats and make sure that it says gluten-free on the packaging to confirm that there has been no cross-contamination of the oats. One brand that I really like is Anthony’s Organic Rolled Oats.
One of the best things about this granola recipe is how long it lasts. It doesn’t require refrigeration, though you can store it in there to make it last even longer, which makes it a great healthy snack for traveling. Keep leftover granola in an airtight container for up to 2 weeks. Though refrigeration isn’t required, it will prolong the storage time even more. This granola can be frozen for up to 3 months in an airtight freezer container.
More Gluten-Free Vegan Recipes

For those of you new to the whole food plant-based lifestyle, we’ve created a FREE 7-Day Plant-Based Menu Planner to help you get started!
If you try this recipe, please let us know how you like it by rating it and leaving a comment. We love to hear from you!
Want to Save This Recipe?
Enter your email & I’ll send it to your inbox. Plus, get great new recipes from me every week!
By submitting this form, you consent to receive emails from EatPlant-Based
Gluten-Free Granola
Ingredients
- 3 cups gluten-free old-fashioned oats
- 1/2 cup slivered almonds
- 1/2 cup cashew pieces
- 1/2 cup walnut pieces
- 1/2 cup unsweetened coconut flakes
- 1/2 cup maple syrup
- 1/3 cup natural peanut butter or other nut butter runny is best
- 1 teaspoon vanilla extract
- 1 tablespoon cinnamon
- pinch of salt optional
Instructions
- Begin by preheating the oven to 250°F and preparing a baking sheet by covering it with parchment paper that will keep it from sticking and make cleanup a breeze.
- Add the maple syrup, nut butter, vanilla, cinnamon, and salt to a large mixing bowl and whisk together well. It is best to use natural nut butter that tends to be runnier. If your nut butter is thick, mix it with a few tablespoons of water to get a thinner texture.
- Next, pour the rest of the ingredients–oats, nuts, coconut flakes–into the bowl and stir until everything is evenly coated. Be sure to read my note about the type of oats to use in the NOTES section below.
- Transfer the granola mixture to the lined baking sheet and spread it into a thin layer with a spatula or spoon. Be sure to spread it all the way to the edges of the pan to give plenty of room for the thinnest layer possible. There are photos of this above.
- Place the pan in the oven and bake for 45 minutes on the bottom rack, stirring every 15 minutes. If you’ve ever made a Chex party mix before, this is the same baking/drying process. I always remove the pan from the oven for each stirring cycle to make sure I don’t spill any in my oven and to be able to stir it well.
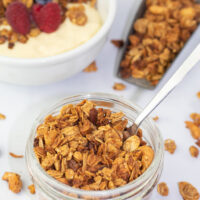
- Once it is done, remove the pan from the oven and allow it to cool. It will be perfectly crunchy after cooling.
Video
Notes
- Oats- Be sure to use OLD FASHION Oats and not quick-cooking oats. Quick oats are much thinner and won’t provide the nice crunch we’re looking for in this recipe. For even more crunch, try substituting 1.5 cups of steel-cut oats for some of the old-fashioned oats.
- Sweetener- The recipe calls for maple syrup but honey (or bee-free honey) or agave nectar can be substituted.
- Nut butter- I like to use Kirkland peanut butter because it is already runny, but if you have a thicker brand, just add a few tablespoons of water to thin it out.
- Storage- Keep leftover granola in an airtight container for up to 2 weeks.
- Refrigerate- Though refrigeration isn’t required, it will prolong the storage time even more.
- Freeze- This granola can be frozen for up to 3 months in an airtight freezer container.
Nutrition
Disclaimer
To obtain the most accurate representation of the nutritional information in a given recipe, you should calculate the nutritional information with the actual ingredients used in your recipe, using your preferred nutrition calculator. You are solely responsible for ensuring that any nutritional information provided is accurate, complete, and useful.

About Terri Edwards
Hi guys! I’m the content creator behind EatPlant-Based and a licensed Food for Life instructor with the Physicians Committee for Responsible Medicine. I’m passionate about sharing healthy recipes and tips to help others care well for their health and the bodies God has given us. I’m so glad you’re here! Read More…
This looks great! Do you think it would work using defatted peanut powder reconstituted into “peanut butter” for the peanut butter? Looking for ways to trim down the fat in this recipe since I try to eat much lower fat than this. Thanks!
Yes, reconstituted PBJ should work just fine for this recipe. Enjoy!
What’s the best sub for coconut flakes? I never liked it although I like the aroma that coconut gives to popcorn. Almond Joy was never my thing!
Hi Marge- There is plenty of flavor and crunch without the coconut flakes, so you can just leave those out. Hope you enjoy the recipe!
How much maple syrup is in this recipe?
Hi Sheryl- Thanks for letting me know that the maple syrup was left out of the ingredient list in this new recipe! It calls for 1/2 cup of maple syrup, and I have added that now. Thanks again!