How to Make Sushi Rice
Make this easy Sushi Rice in your rice steamer, Instant Pot, or on the stovetop. With only 5 ingredients you can have sticky rice ready to make sushi for dinner in minutes!
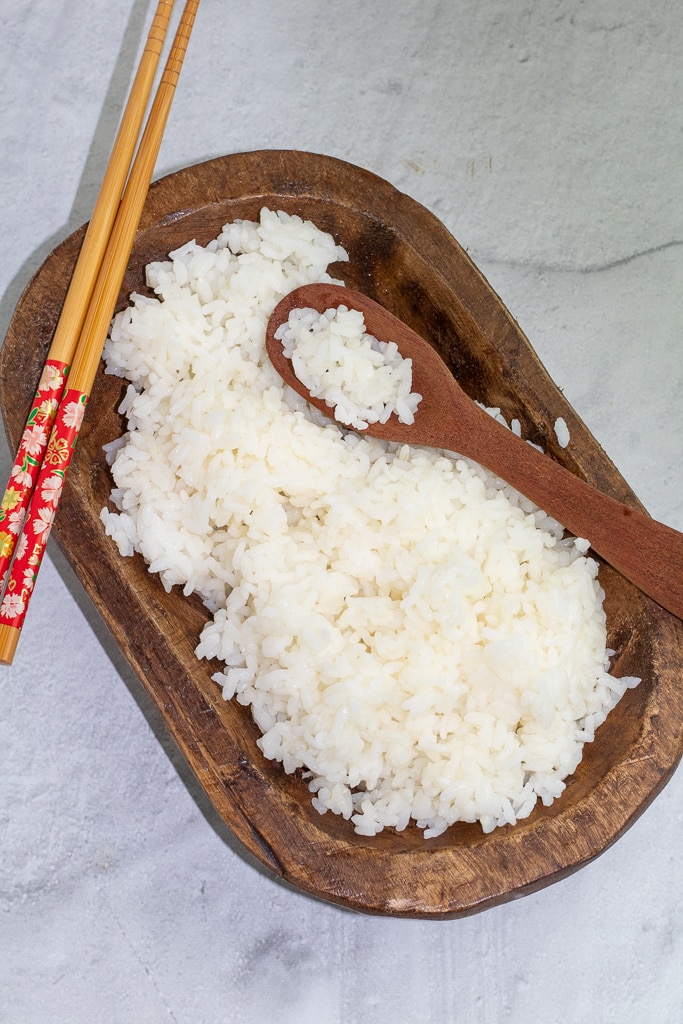
I have always loved veggie sushi, but it is so expensive in restaurants. That is why I was thrilled when my sister taught me how to make Easy Vegan Sushi recently. She lived in Japan back in the 1980s and 90s, so she is an excellent sushi maker. I was super surprised at how easy it is to make!
Ingredients needed
- Rice- Short grain (or medium grain) rice is what you’ll need to buy to make sushi.
- Vinegar- Seasoned rice vinegar is the type of vinegar used for making sushi.
- Sweetener- Sugar is usually what is used. My favorite sweetener for sushi is either pure cane sugar or even maple syrup.
- Salt- My guess is that the salt can be limited if desired, but I haven’t tried it.
Which type of rice to use
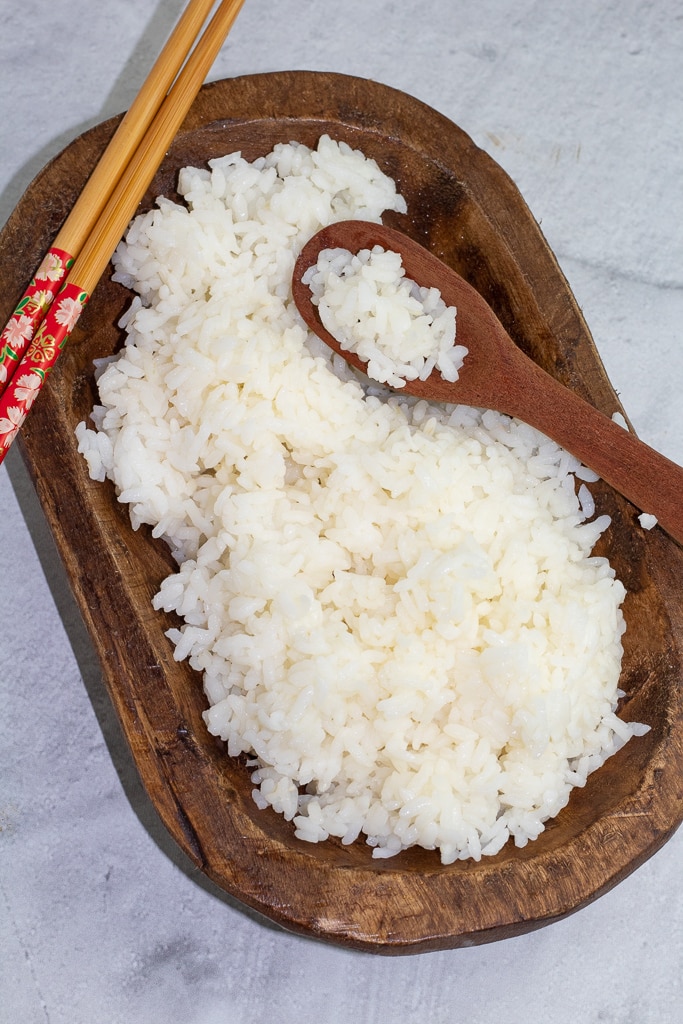
Rice for making sushi needs to be sticky, as opposed to traditional American long-grain rice, so it’s important to use short or medium grain. In the grocery store, rice labeled ‘sushi rice’ tends to be very expensive. That’s why I always opt for buying traditional Japanese rice. Purchasing it from an Asian market is a great way to save money.
We know brown rice is better for us, so it’s great to be able to use it for sushi. Haiga Brown Rice is a good option because it is short-grain and sticky.
The term ‘sticky’ rice means something totally different in Japan because all of their rice is technically sticky. What they call sticky rice (kirimochi) is really a block of rice starch used in a soup base and is hard until you cook it.
How to cook sushi rice
Begin by rinsing the rice under cold water. The best way to do this is by using a rice washing bowl or a colander that is made for small grains.
My sister, the recipe creator, uses a rice steamer to cook her sushi rice, and she suggests using short or medium-grain rice. The ratio for 8 sushi rolls is 2.5 cups uncooked rice to 2.25 cups water. Below are the cooking methods using a rice steamer, Instant Pot, and stovetop.
- Rice steamer method- Place water and rice in the rice steamer and press the ‘Cook’ button or the applicable button for your model.
- Instant Pot method- Cook in your Instant Pot on high for 3 minutes and allow for a 10-minute slow release.
- Stovetop method- Cook over high heat without the lid until it comes to a boil. Cover, reduce the heat to medium-low, and allow to cook for approximately 12 minutes. Remove it from the heat, leave the lid on, and let it steam for another 10 minutes.
Whichever cooking method you use, be ready to transfer the cooked rice to a cooling pan as soon as it is done. If you are using a rice steamer, as soon as the cooker beeps, immediately transfer the rice to a cooling pan which can be as simple as a baking sheet. Be sure to have hot pads ready and be mindful of the steam.
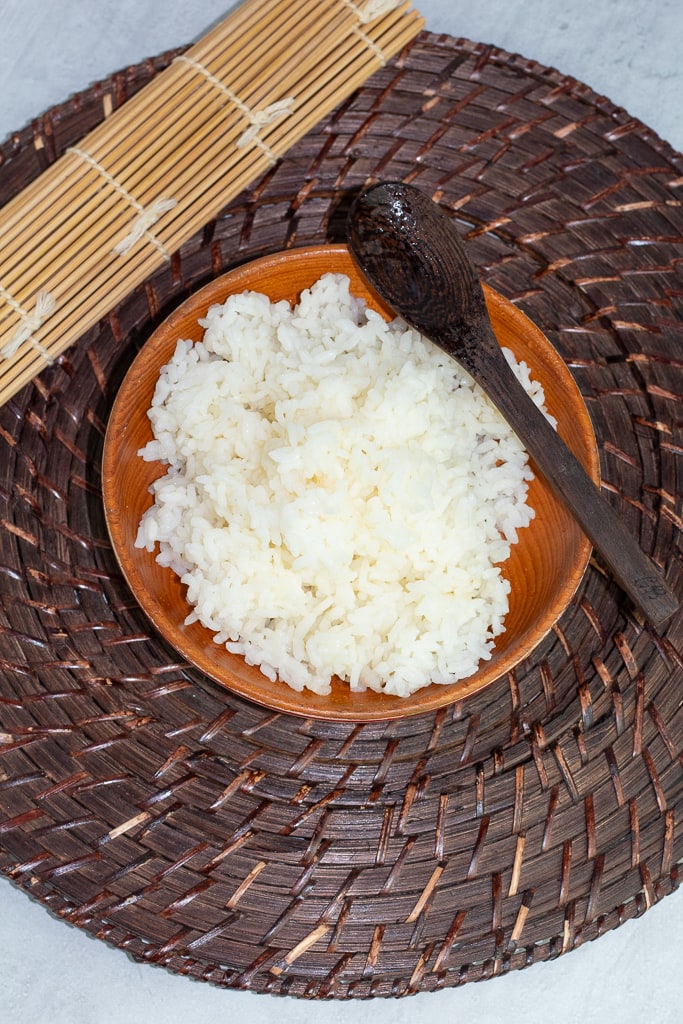
How to season sushi rice
While the rice cooks, go ahead and make the rice seasoning with the rice vinegar, sugar, and salt. Mix the ingredients together in a saucepan and heat on medium-high. Watch carefully, and turn the heat off when it begins to simmer. You don’t want this mixture to come to a boil.
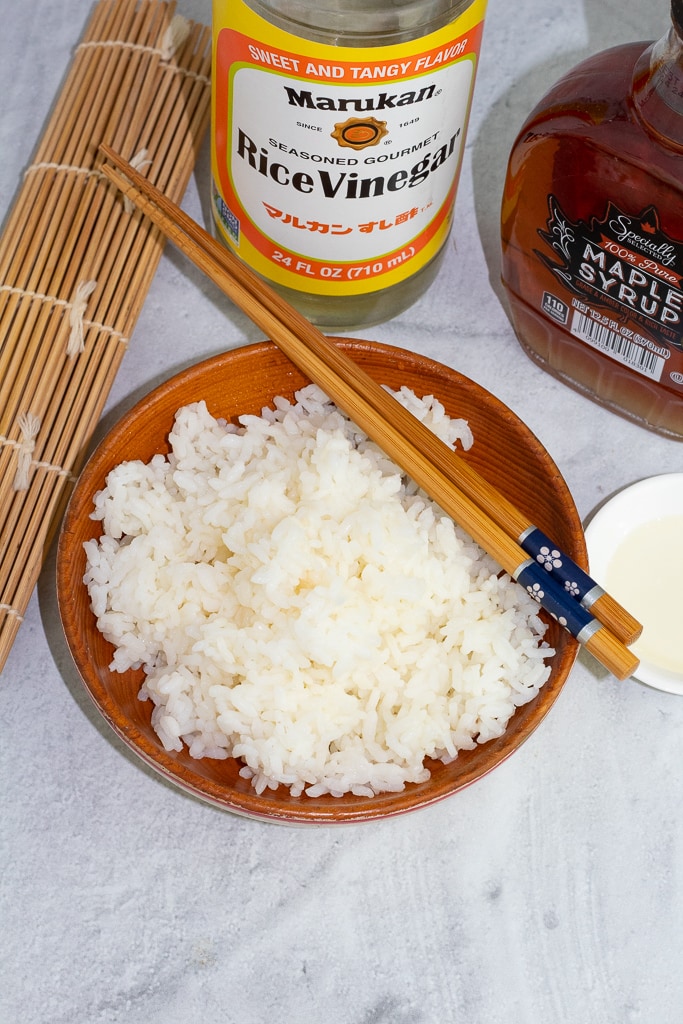
When the rice has finished cooking, immediately dump it onto a baking sheet and pour the vinegar mixture over the top. Mix gently and begin spreading the rice out evenly. Spreading it thinly will aid in cooling it more quickly.
When you stir and spread the rice, do it gently so that the rice does not become mushy. I like to draw thin lines, with my rice paddle flipped on its side, down the length of the pan using a dragging motion to accomplish this.
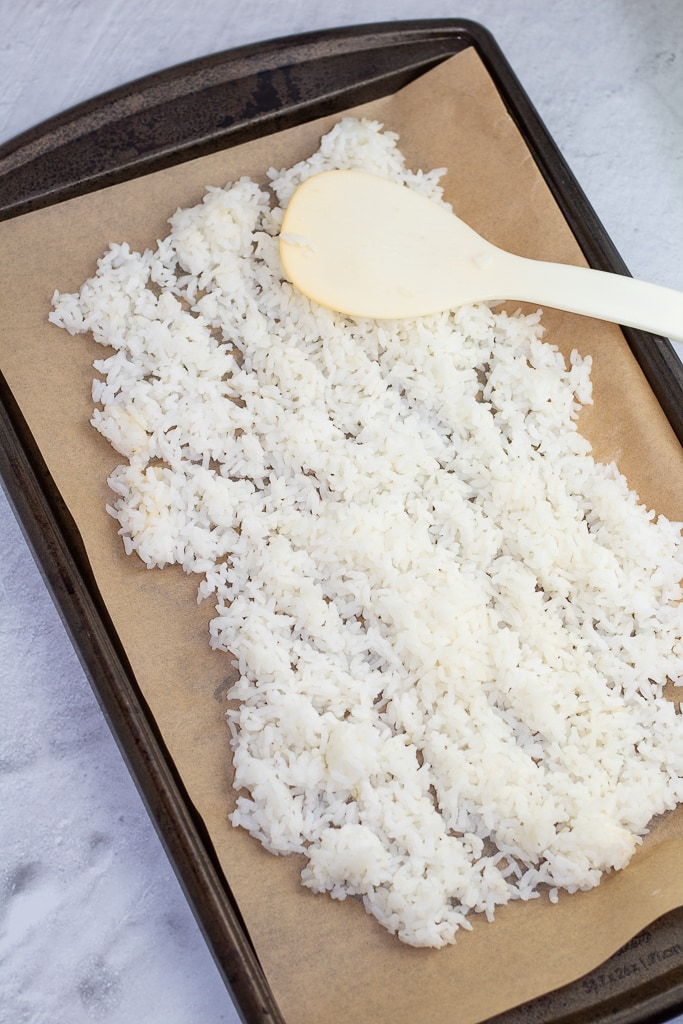
Once the rice is coated with the mixture and cooling, the fun begins! In Japan, they often set the pan under a ceiling fan or make it a group event and use paper fans or a piece of cardboard to fan and aid in cooling the rice down quickly.
Now, it’s time to make sushi! If you need guidance with rolling, this article on How to Roll Sushi will be very helpful.
Ways to use sushi rice
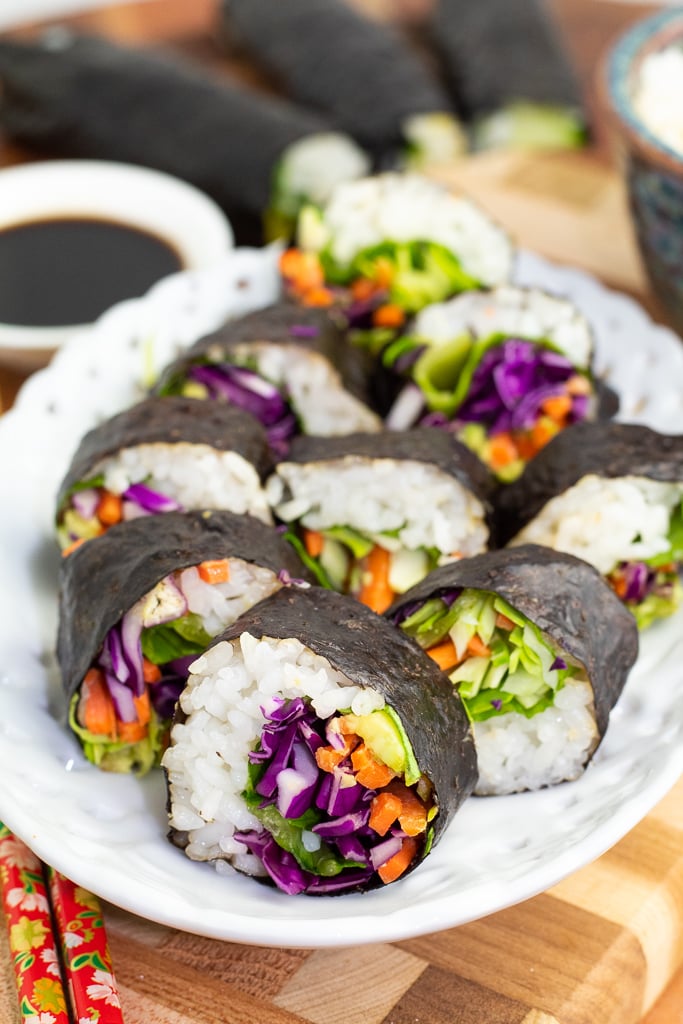
The most obvious way to use sushi rice is to make sushi like this Easy Vegan Sushi. Other options include serving it as a side dish with other Asian recipes like Simple Garden Spring Rolls or including it with a stir-fry dish. Another great serving idea is to sprinkle a little furikake Japanese rice seasoning over the top.
More sushi recipes
For those of you new to the whole food plant-based lifestyle, we’ve created a FREE 7-Day Plant-Based Menu Planner to help you get started!
This post may contain affiliate links. Read my full disclosure here.
If you try this recipe, please let us know how you like it by rating it and leaving a comment. We love to hear from you!
Want to Save This Recipe?
Enter your email & I’ll send it to your inbox. Plus, get great new recipes from me every week!
By submitting this form, you consent to receive emails from EatPlant-Based
Sushi Rice Recipe
Ingredients
- 2.5 cups uncooked short grain rice medium grain will work too
- 2.25 cups water
- 1/4 cup rice vinegar
- 1/2 cup pure cane sugar or maple syrup
- 1.5 teaspoons salt
Instructions
Making the Rice:
- Begin by rinsing the rice under cold water. The best way to do this is by using a rice washing bowl or a colander that is made for small grains.
- My sister, the recipe creator, uses a rice steamer to cook her sushi rice, and she suggests using short or medium-grain rice. Add 2.5 cups rice and 2.25 cups water to your rice steamer and press the ‘cook’ button or the applicable button for your model. Below, in the NOTES section, are the cooking methods using a rice steamer, Instant Pot, and stovetop.
- Whichever cooking method you use, be ready to transfer the cooked rice to a cooling pan as soon as it is done. If you are using a rice steamer, as soon as the cooker beeps, immediately transfer the rice to a cooling pan which can be as simple as a baking sheet. Be sure to have hot pads ready and be mindful of the steam.
Cooking the Rice Seasoning:
- While the rice cooks, go ahead and make the rice seasoning with rice vinegar, sweetener, and salt. Mix the ingredients together in a saucepan and heat on medium-high. Watch carefully, and turn the heat off when it begins to simmer. You don’t want this mixture to come to a boil.
- When the rice has finished cooking, immediately dump it onto a baking sheet and pour the vinegar mixture over the top. Mix gently and begin spreading the rice out evenly.
- Spreading it thinly will aid in cooling it more quickly. When you stir and spread the rice, do it gently so that the rice does not become mushy. I like to draw thin lines, with my rice paddle flipped on its side, down the length of the pan using a dragging motion to accomplish this.
- Once the rice is coated with the mixture and cooling, the fun begins! In Japan, they often set the pan under a ceiling fan or make it a group event and use paper fans or a piece of cardboard to fan and aid in cooling the rice down quickly.
Video
Notes
- Rice steamer method- Place water and rice in the rice steamer and press the ‘cook’ button or the applicable button for your model.
- Instant Pot method- Cook in your Instant Pot on high for 3 minutes and allow for a 10-minute slow release.
- Stovetop method- Cook over high heat without the lid until it comes to a boil. Cover, reduce the heat to medium-low, and allow to cook for approximately 12 minutes. Remove it from the heat, leave the lid on, and let it steam for another 10 minutes.
Nutrition
Disclaimer
To obtain the most accurate representation of the nutritional information in a given recipe, you should calculate the nutritional information with the actual ingredients used in your recipe, using your preferred nutrition calculator. You are solely responsible for ensuring that any nutritional information provided is accurate, complete, and useful.
About the Chef
Drenda-Michell Brennan lived in Japan in the 1990s and learned many traditional Asian cooking methods. She is the mother of 3 Japanese-American grown children and grandmother (HuneyGram) to 8 grandchildren. She also happens to be the sister of Terri Edwards, of EatPlant-Based. Read more about her story in this article, From Veggie Hater to Plant-Based.


