How to Roll Sushi
Learning How to Roll Sushi at home in your own kitchen saves money, and it isn’t difficult at all. With only a few ingredients, it is easy to make custom sushi rolls at home for a fraction of the cost.
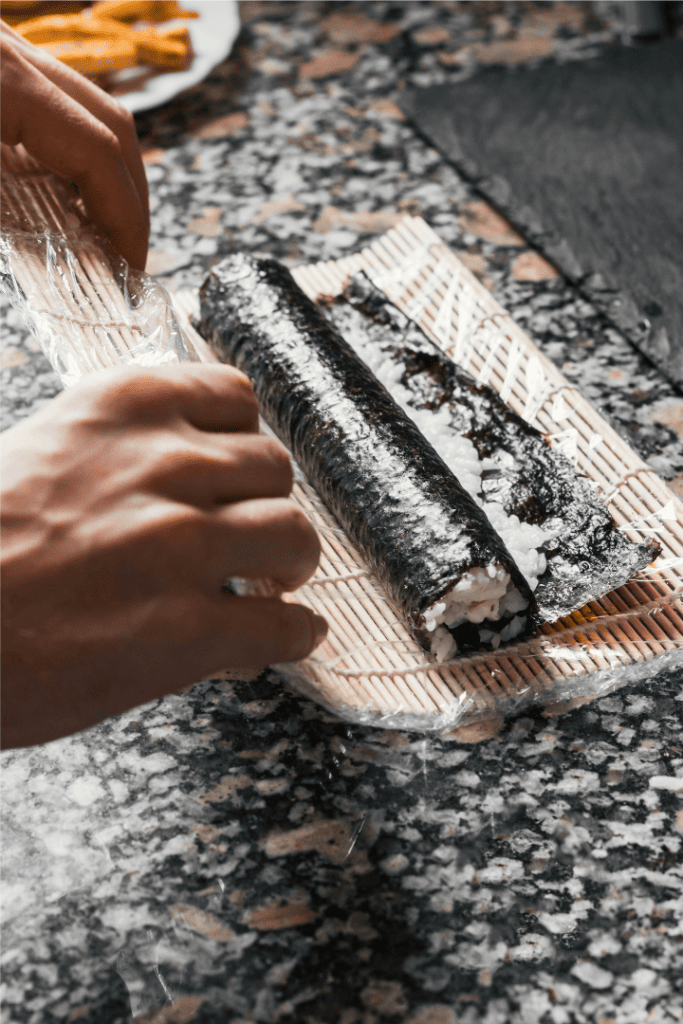
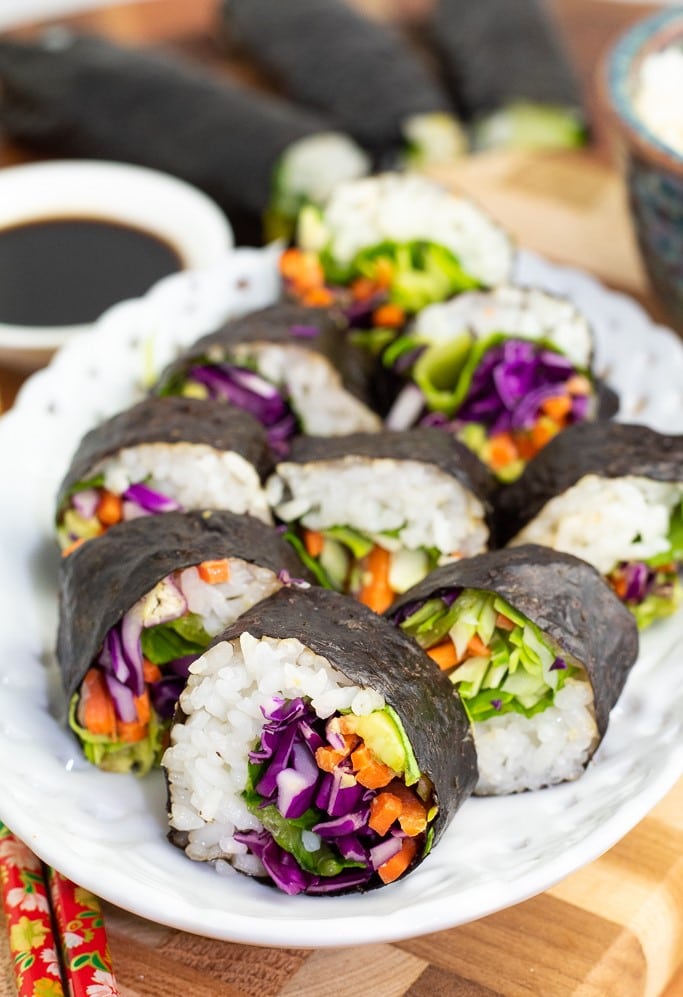
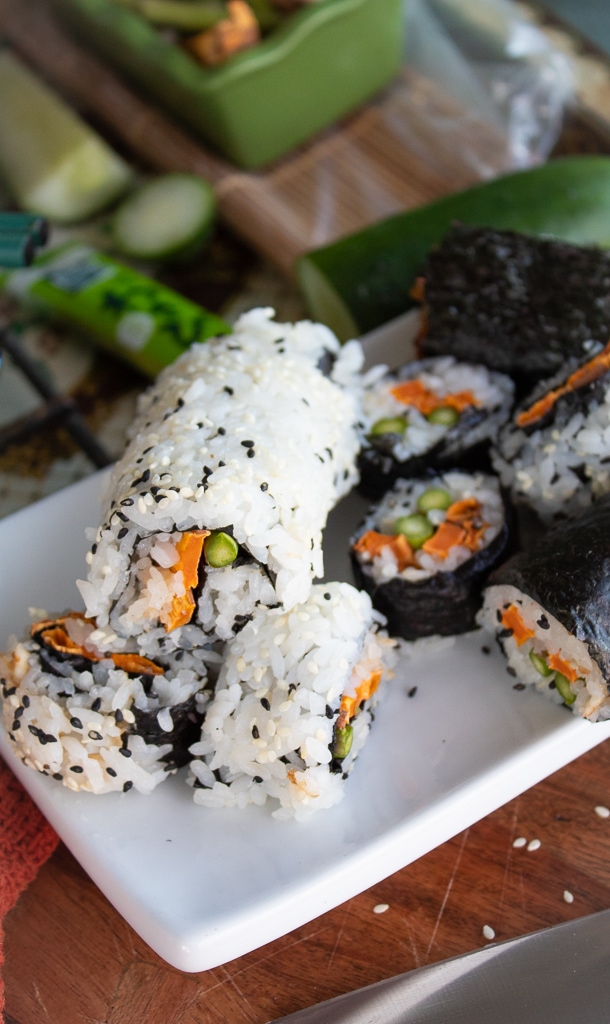
Sushi is colorful and beautiful, so people often think it must be difficult to make, but nothing could be further from the truth. With a few helpful tips, you can be rolling sushi like a master and creating sushi like this Easy Vegan Veggie Sushi and our Sweet Potato Sushi in the comfort of your own kitchen.
My sister actually taught me how to do this one day on a visit to her house, and I was surprised at how simple it was when I watched her do it. She used a bamboo rolling mat which makes it easier, but you don’t even have to have one.
Reasons you will love this method
- Beginner-Friendly: This sushi rolling method simplifies the process, making it easy for anyone to roll perfect sushi, even if it’s your first time.
- Step-by-Step Guidance: With clear, step-by-step instructions, this method ensures consistently well-formed sushi rolls every time, helping you avoid common mistakes.
- Minimal Tools Needed: You don’t need special equipment—just a bamboo mat or even plastic wrap—to achieve professional-looking sushi rolls at home.
Ingredients you will need
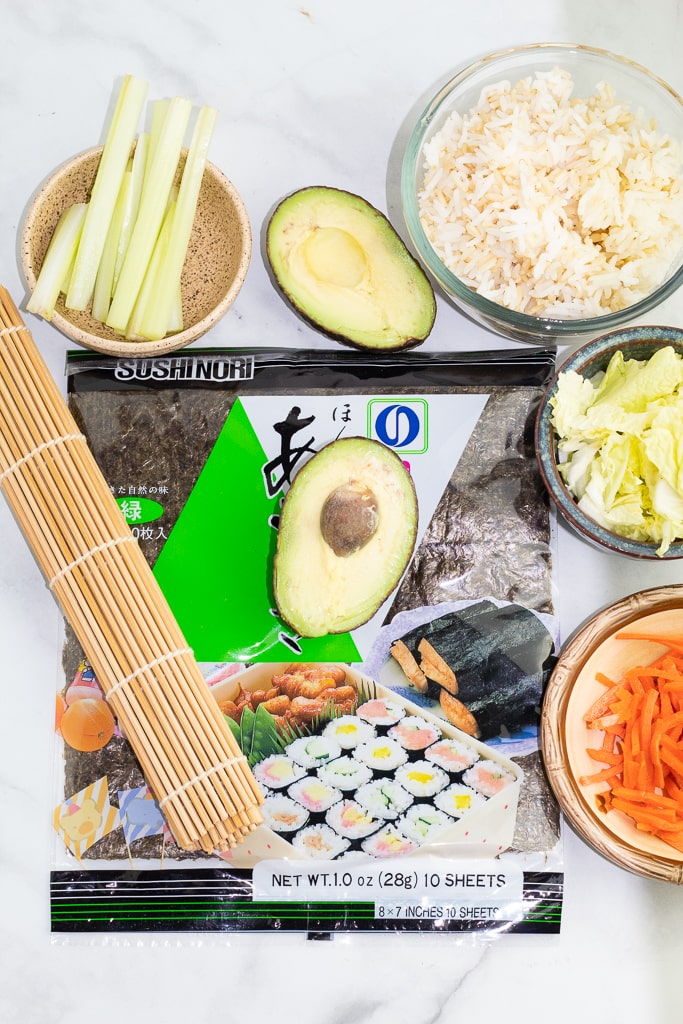
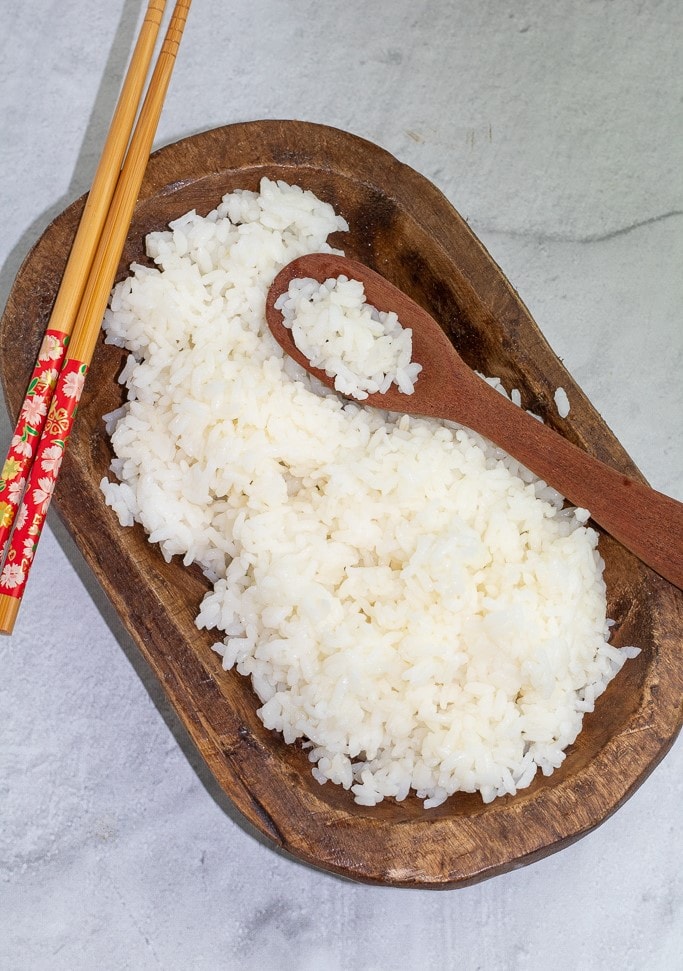
- Rice- Short grain (or medium grain) rice is what you’ll need to buy to make sushi. We know brown rice is better for us, so it’s great to be able to use it for sushi. Haiga Brown Rice is a good option because it is short-grain and sticky.
- Nori sheets- These are basically edible seaweed sheets that wrap around the outside of sushi and are used with maki rolls. They are completely optional but do add a nice salty flavor.
- Fillings- We eat plant-based, so raw sliced vegetables make up the stuffing for our vegan sushi, and I’ve included a list below of some of the most commonly used options.
- Optional stuffings- Other stuffing ideas could include tofu or tempeh and even fruit like mango and pineapple. Also, try my Vegan Cashew Cream Cheese.
Helpful tips and suggestions
- No mess- Sliding your mat into a gallon-sized twist-tie plastic bag or covering it with plastic wrap will greatly simplify the rolling and clean-up processes.
- Rice- We know brown rice is better for us, so it’s great to be able to use it for sushi. Haiga Brown Rice is a good option because it is short-grain and sticky.
- Damp hands- Wetting your hands often while rolling the sushi will help with the stickiness.
- Wet knife- Keeping your knife wet helps make the cutting process much smoother.
- Bento box- Homemade sushi is great in bento boxes for packing lunches.
How to make sushi rolls
The recipe card at the bottom of the page has the full list of ingredients with measurements and instructions.
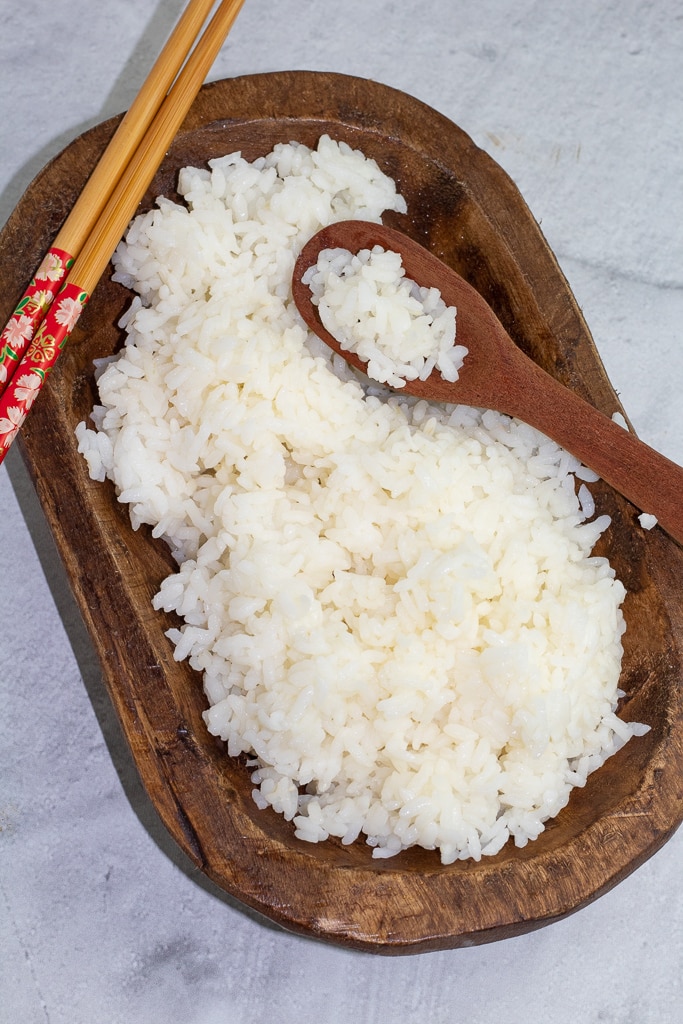
STEP #1: Begin by cooking and seasoning the rice first. This recipe for How to Make Sushi Rice can help. Also, go ahead and prep your fillings by slicing them to the appropriate size to fit in the rolls.

STEP #2: Next, slide your sushi mat into a twist-tie gallon-sized plastic bag or cover it with plastic wrap because it will greatly simplify the rolling and clean-up processes.
There are two main types of rolls that we use when making veggie sushi at home. We are going to be doing maki rolls and using nori sheets for this recipe. In an upcoming article, we’ll cover the uramaki rolling technic as well.
- Maki rolls- These use nori seaweed sheets on the outside of the rolls.
- Uramaki rolls- Instead of seaweed, these rolls use sesame seeds on the outside.
Rolling sushi
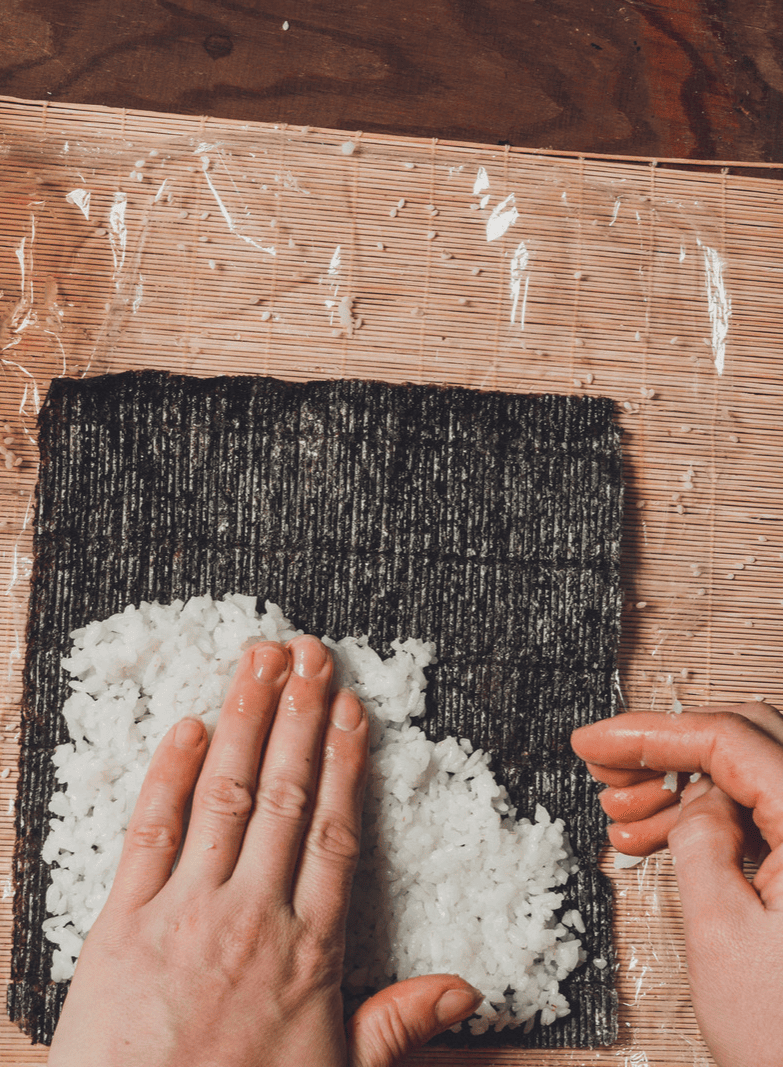
STEP #3: On your bamboo sushi rolling mat covered in plastic, place a sheet of nori with the rough side up, and the lines running in the same direction as the bamboo mat.
Spread the rice all the way out to the edges. You can use a rubber spatula, your rice paddle, or your damp fingertips to smooth it more evenly if you need to. For a maki roll, with the nori on the outside, go all the way out to the very edge except for the one furthest from you. Leave about a ½-inch edge of nori on the far end blank, that will help seal the roll later.
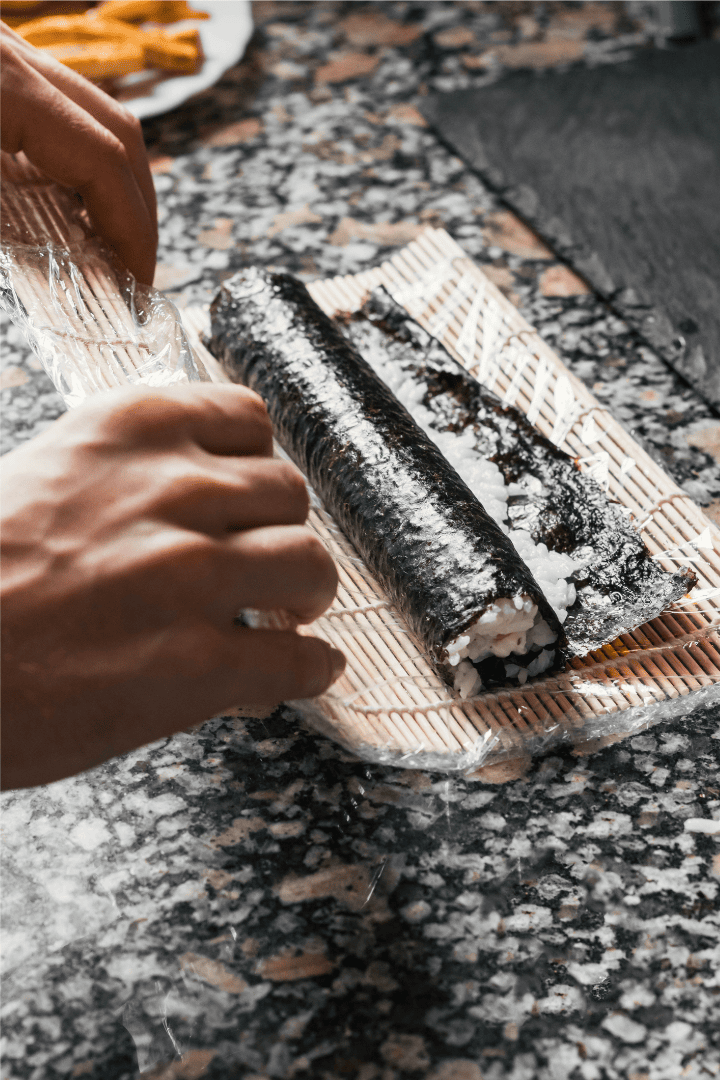
STEP #4: Begin to add your ingredients. I add mine in the center. You want to lay out your fillings in a horizontal row. Try to keep them close enough to bundle together easily.
Starting at the end closest to you, carefully lift the edge of the mat to bring it up and over the fillings. Begin rolling, using the mat to encourage the roll to take on a circular shape. As you roll, gently squeeze to tighten the roll up as it forms. This will help compress the rice enough to hold it together, which will keep the sushi from falling apart. Take care not to let the bamboo mat or the plastic wrap get caught up in the roll.
STEP #5: When the roll is completely formed, use your fingers and run them along the ½-inch strip of nori that was left uncovered at the end with dampened fingers. This will help the edge to stick to the outside of the roll, creating a secure seal. If you are using oil-free hummus, homemade vegan cashew cream cheese, or plant-based mayo in your sushi, you can also use these ingredients along the edges to seal the roll.
In the video below, the chef demonstrates how simple it actually is to roll sushi. Visuals always help me, so I’m betting it will help you too.
Cutting the sushi rolls
STEP #6: Lightly wet a serrated or very sharp knife and begin slicing the sushi into even pieces. Every so often, you will probably need to clean off the knife and wet it again to keep the slices neat.
If you are planning to pack these for lunch or eat them for a meal at home, you may want to cut them in half for easier handling or just skip the cutting process altogether.
Storage
Wrap the sushi rolls in plastic wrap individually to store. If you plan to slice them, wait until you’re ready to serve to slice. They can be stored in the refrigerator for up to 3 days, but they do not freeze well.
Dipping sauce options
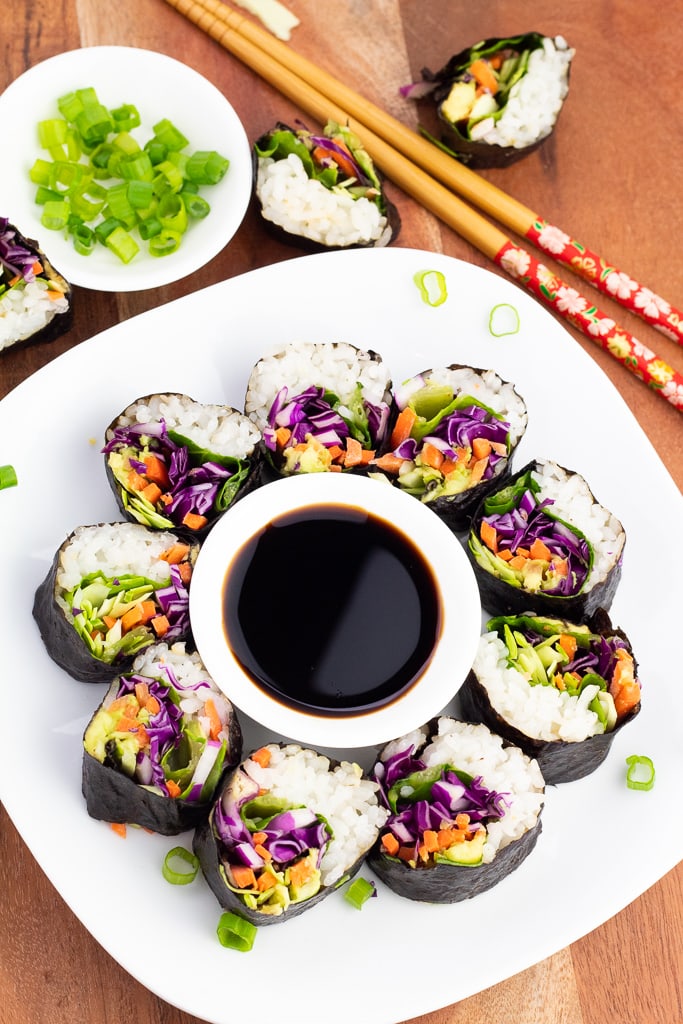
This list of dipping sauces for sushi highlights some of my favorite flavorful options, perfect for elevating your sushi experience. From soy-based sauces to creamy vegan blends, these pairings add an extra layer of taste to every bite!
Serving suggestions
Sushi can be a meal in itself if you make enough of it. Other times, it’s great to pair it with other Asian-inspired recipes like these.
Frequently Asked Questions
You’ll need a bamboo sushi mat (makisu), plastic wrap to cover the mat, nori (seaweed sheets), and a sharp knife. Alternatively, plastic wrap can be used in place of a bamboo mat.
Keep a small bowl of water nearby and dip your hands in it before handling the rice. This prevents the rice from sticking and makes it easier to spread on the nori.
Spread a thin, even layer of rice over about three-quarters of the nori sheet, leaving a small section at the top without rice to seal the roll.
Make sure not to overstuff the roll with fillings. Apply gentle pressure when rolling, and keep the ingredients centered within the rice to prevent them from spilling out.
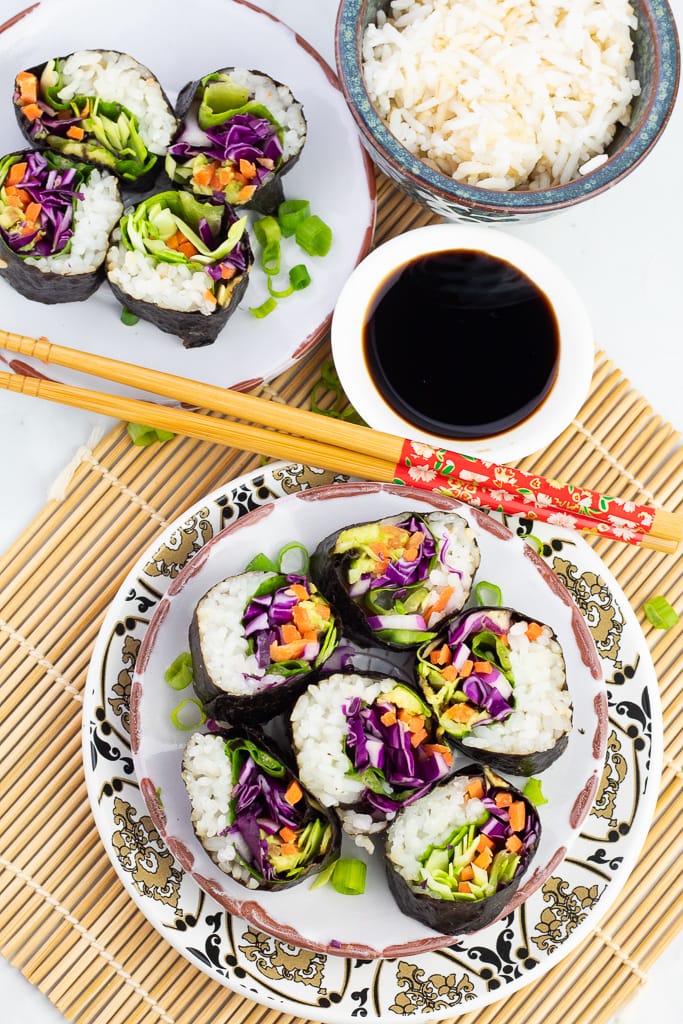
More Healthy Sushi Recipes
For those of you new to the whole food plant-based lifestyle, we’ve created a FREE 7-Day Plant-Based Menu Planner to help you get started!
If you try this recipe, please let us know how you like it by rating it and leaving a comment. We love to hear from you!
Want to Save This Recipe?
Enter your email & I’ll send it to your inbox. Plus, get great new recipes from me every week!
By submitting this form, you consent to receive emails from EatPlant-Based
How to Roll Sushi
Ingredients
- 3/4 cup COOKED sushi rice
- 1 nori seaweed sheet
- Filling ingredients such as sliced carrots cucumber, lettuce leaves
Instructions
- Cook and season your sushi rice before beginning. If you need help with that, this recipe for Vegan Sushi can guide you through the process. Also, go ahead and prep your fillings by slicing them to the appropriate size to fit in the rolls.
- Next, slide your sushi mat into a twist-tie gallon-sized plastic bag or cover it with plastic wrap because it will greatly simplify the rolling and clean-up processes.
- There are two main types of rolls that we use when making veggie sushi at home. We are going to be doing maki rolls and using nori sheets for this recipe. In an upcoming article, we'll cover the uramaki rolling technic as well.
- On your bamboo sushi rolling mat covered in plastic, place a sheet of nori with the rough side up, and the lines running in the same direction as the bamboo mat.
- Spread the rice all the way out to the edges. You can use a rubber spatula, your rice paddle, or your damp fingertips to smooth it more evenly if you need to. For a maki roll, with the nori on the outside, go all the way out to the very edge except for the one furthest from you. Leave about a ½-inch edge of nori on the far end blank, that will help seal the roll later.
- Begin to add your ingredients. I add mine in the center. You want to lay out your fillings in a horizontal row. Try to keep them close enough to bundle together easily.
- Starting at the end closest to you, carefully lift the edge of the mat to bring it up and over the fillings. Begin rolling, using the mat to encourage the roll to take on a circular shape. As you roll, gently squeeze to tighten the roll up as it forms. This will help compress the rice enough to hold it together, which will keep the sushi from falling apart. Take care not to let the bamboo mat or the plastic wrap get caught up in the roll.
- When the roll is completely formed, use your fingers and run them along the ½-inch strip of nori that was left uncovered at the end with dampened fingers. This will help the edge to stick to the outside of the roll, creating a secure seal. If you are using hummus, homemade vegan cream cheese, or plant-based mayo in your sushi, you can also use these ingredients along the edges to seal the roll.
- There is a video included above that can be useful in seeing how it is done.
Cutting the Sushi
- Lightly wet a serrated or very sharp knife and begin slicing the sushi into even pieces. Every so often, you will probably need to clean off the knife and wet it again to keep the slices neat.
- If you are planning to pack these for lunch or eat them for a meal at home, you may want to cut them in half for easier handling or just skip the cutting process altogether.
Video
Notes
- No mess- Sliding your mat into a gallon-sized twist-tie plastic bag or covering it with plastic wrap will greatly simplify the rolling and clean-up processes.
- Rice- We know brown rice is better for us, so it’s great to be able to use it for sushi. Haiga Brown Rice is a good option because it is short-grain and sticky.
- Damp hands- Wetting your hands often while rolling the sushi will help with the stickiness.
- Storage- Wrap sushi rolls in plastic wrap individually to store. If you plan to slice them, wait until you’re ready to serve to slice. They can be stored in the refrigerator for up to 3 days.
- Bento box- Homemade sushi is great in bento boxes for packing lunches.
Nutrition
Disclaimer
To obtain the most accurate representation of the nutritional information in a given recipe, you should calculate the nutritional information with the actual ingredients used in your recipe, using your preferred nutrition calculator. You are solely responsible for ensuring that any nutritional information provided is accurate, complete, and useful.
About the Chef
Drenda-Michell Brennan lived in Japan in the 1980s and 90s where she enjoyed spending much of her time visiting the kitchens of family and friends, watching and learning to prepare traditional Japanese cuisine. She is the mother of three Japanese-American grown children and grandmother (HuneyGram) to nine grandchildren. Read More…


