
Flawless Instant Pot Brown Rice
No-fail and no fuss is what this Instant Pot Brown Rice cooking method is. Make the perfect rice every time without even needing to stir the pot.

Want to Save This Recipe?
Enter your email & I’ll send it to your inbox. Plus, get great new recipes from me every week!
By submitting this form, you consent to receive emails from EatPlant-Based
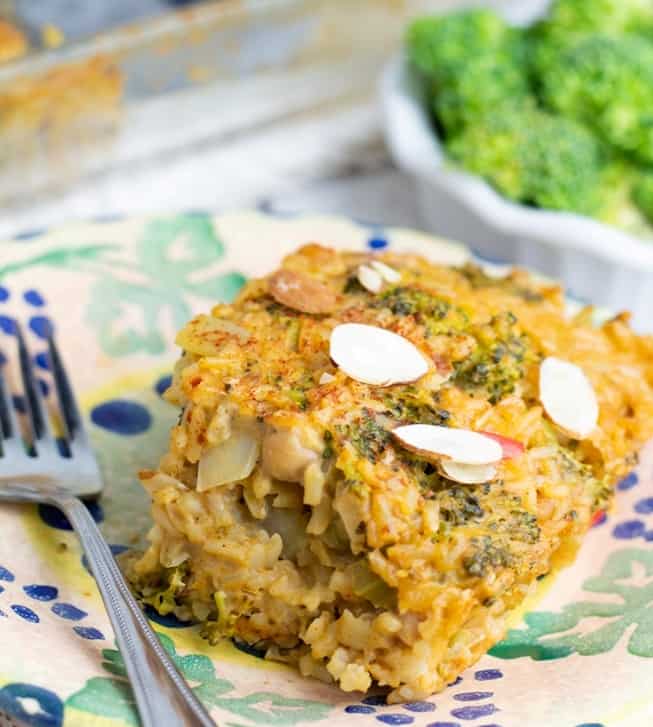
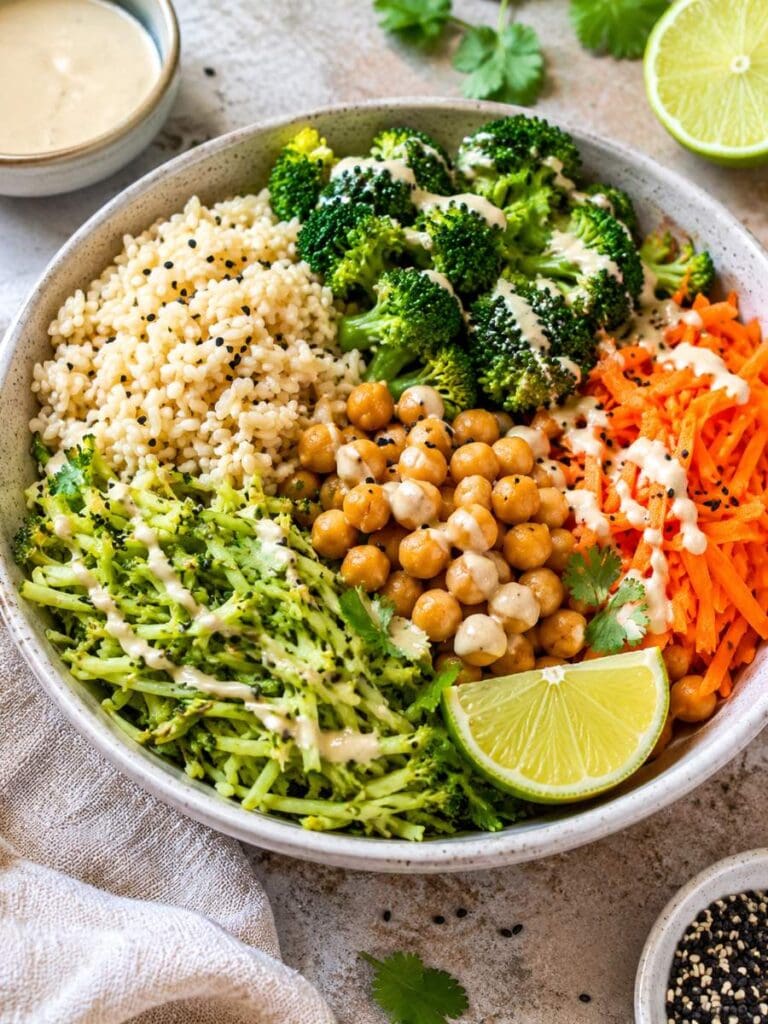
One thing is for sure–my family eats a lot of rice. Rice with plant-based stir-fries, roasted oil-free veggies, bean dishes, vegetable poke bowls, and everything else you can think of. It pairs perfectly with recipes like my tofu chickpea curry!
Normally, brown rice takes about 45 minutes to cook on the stovetop but, with an Instant Pot, the cooking time is cut in half and there is no need to even stir it. Simply set it and forget it!
What is brown rice?
Brown rice is a whole grain. In comparison, white rice has had the bran and germ removed which are the most nutritious parts.
Brown rice has a big advantage over white rice when it comes to nutrient content. It has more fiber, antioxidants, vitamins, and minerals than white rice which makes it a much healthier choice.
The higher fiber and nutrient density is what normally takes brown rice longer to cook but, in an electric pressure cooker, the time is cut nearly in half.
Reasons you will love cooking brown rice in an Instant Pot
- Quick and Easy – Making brown rice in an Instant Pot saves time and effort, delivering perfectly cooked rice in under 30 minutes without constant monitoring.
- Consistent Results – The Instant Pot ensures fluffy, evenly cooked brown rice every time, eliminating the guesswork of stovetop cooking.
- Hands-Off Cooking – With the Instant Pot, you can set it and forget it, freeing you up to focus on preparing the rest of your meal.
Tips & Suggestions
- Rice- Different types of rice require different cooking times. Brown rice takes the longest.
- Rinse first- Remember to rinse the rice before cooking. This gets rid of any dust or impurities that may be on the grains, resulting in cleaner, fluffier rice with a better texture.
- Safety- Always be careful when turning the pressure valve to the VENT position after cooking. You might even want to use a spoon to do this because steam can escape and burn your fingers.
How to cook brown rice in an Instant Pot
The recipe card at the bottom of the page has the full list of ingredients with measurements and instructions.
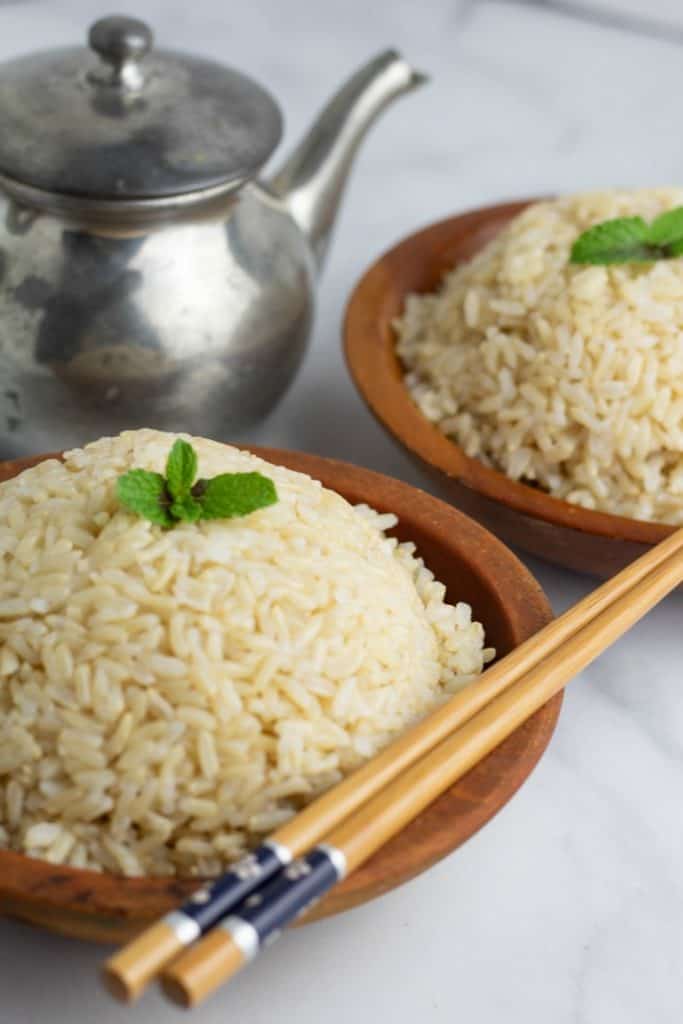
You’re going to love this easy Instant Pot brown rice because it comes out perfect every time–tender, fluffy, and delicious.

STEP #1: Begin by washing the rice in a rice rinsing bowl by running water over it. A normal colander won’t work for rice because the grains are small enough to fall right through the holes or slots.
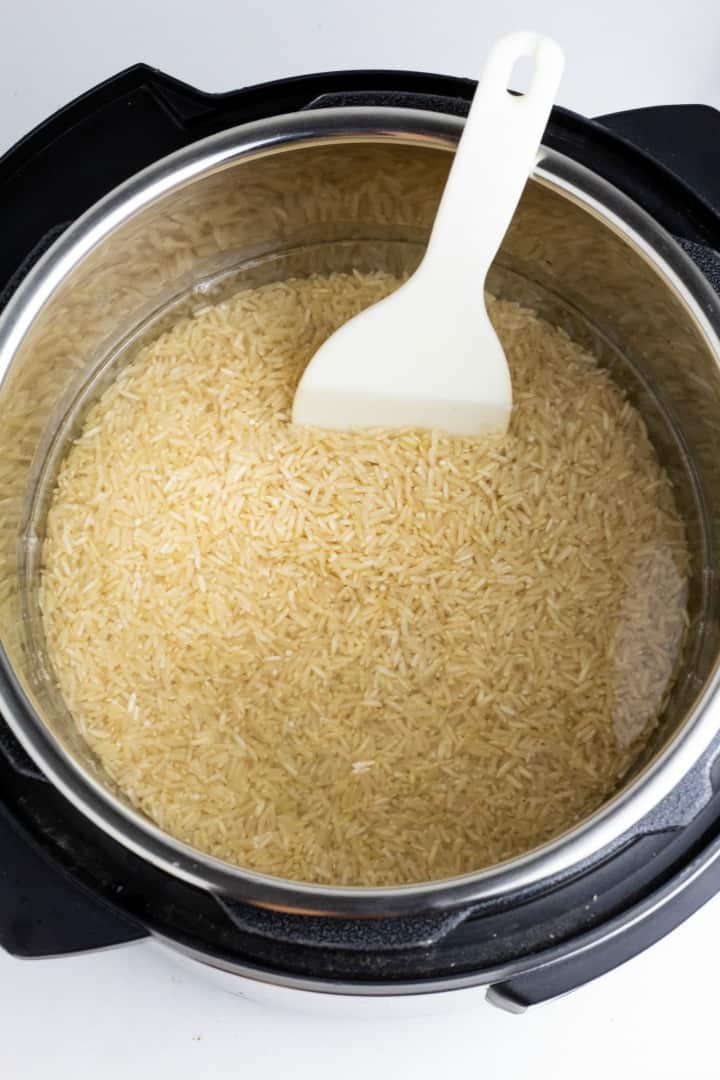
STEP #2: Next, place the rice in your Instant Pot and add the water. You might want to stir it at this point, but it’s not absolutely necessary. Just make sure all of the rice grains are under the water.
STEP #3: Put the IP lid on and lock it into place. Set the valve in the SEALING position and set it to MANUAL high for 15 minutes. It will take about 10 minutes for the pressure to build, and then it will begin the actual cooking process.
Once it beeps to let you know that the rice has finished cooking, let it sit for another 10 minutes to release the pressure naturally. This gives the rice a little more cooking time and makes it more tender.
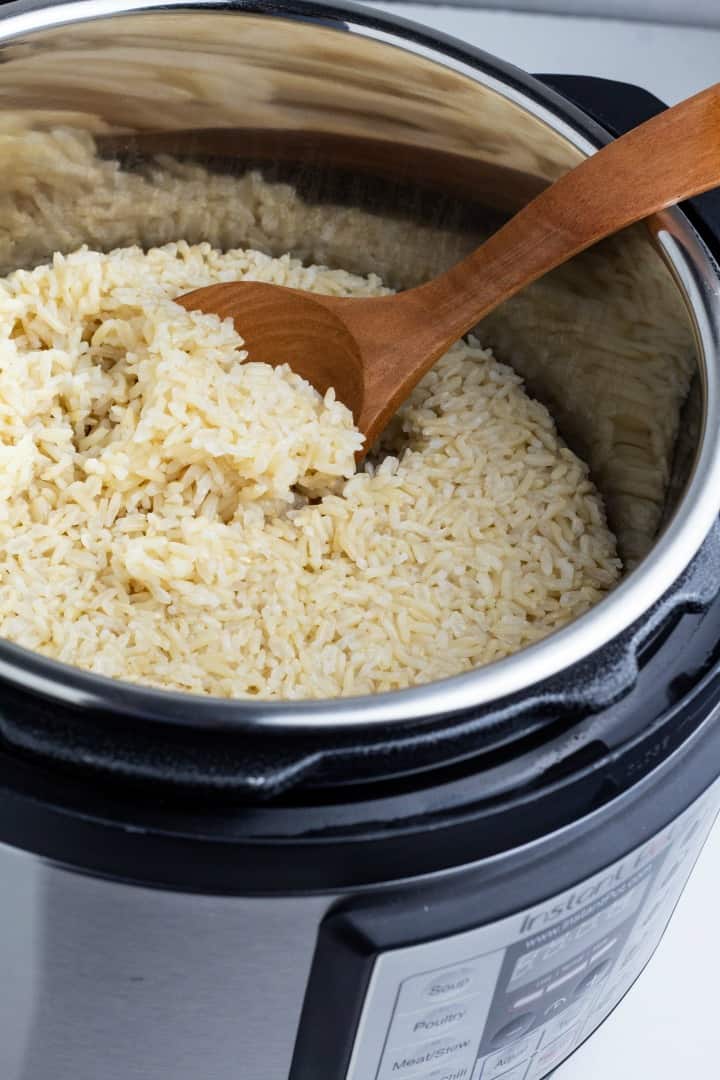
STEP #4: After the 10-minute natural release, carefully turn the valve to the VENT position and allow the rest of the steam to be released. After all of the pressure has been released, it should be safe to open the lid.

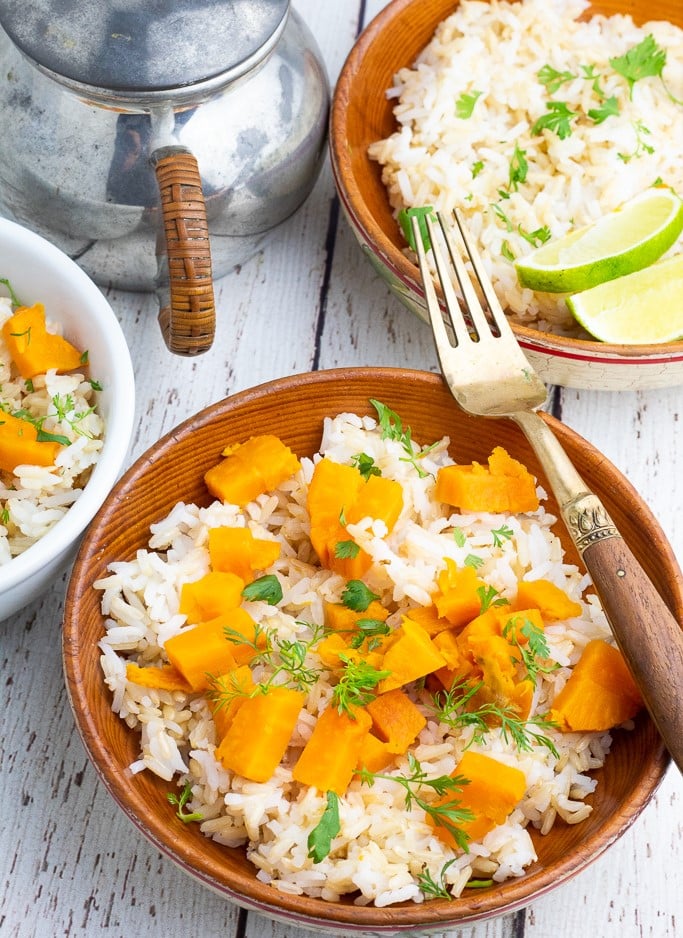
STEP #5: Now, it’s ready to serve with your favorite recipes like our vegan stir-fries and roasted veggies. Veggie Kabobs are terrific served with freshly cooked brown rice.
Have you cooked BEANS in your Instant Pot? This Instant Pot Chickpeas Without Soaking recipe can help guide you through it!
Frequently Asked Questions
Rinsing is necessary to remove debris, germs, and some of the surface starchy coating.
Absolutely! You might even consider using veggie broth instead of water for cooking to add even more flavor.
There is a rice setting on the Instant Pot but, because brown rice takes nearly double the cooking time of white rice, I always use the MANUAL high setting.
I am so glad that you asked! Some of my favorite recipes are Easy Stir-Fried Rice, Honey Mustard Rice & Bean Salad, Sweet Potato Rice Bowl, and African Sweet Potato Peanut Stew as well as these stir-fry recipes.
Recipes to Use Brown Rice

For those of you new to the whole food plant-based lifestyle, we’ve created a FREE 7-Day Plant-Based Menu Planner to help you get started!
If you try this recipe, please let us know how you like it by rating it and leaving a comment. We love to hear from you!
Want to Save This Recipe?
Enter your email & I’ll send it to your inbox. Plus, get great new recipes from me every week!
By submitting this form, you consent to receive emails from EatPlant-Based

Instant Pot Brown Rice
Ingredients
- 1 cup brown rice
- 1.25 cups cold water
Instructions
- Begin by washing the rice in a rice rinsing bowl by running water over it.
- Next, place the rice into your Instant Pot and add the water. You might want to stir it at this point, but it’s not absolutely necessary. Just make sure all of the rice grains are under the water.
- Put the IP lid on and lock it into place. Set the valve in the SEALING position and set to MANUAL high for 15 minutes. It will take about 10-minutes for the pressure to build, and then it will begin the actual cooking process.
- Once it beeps to let you know that the rice has finished cooking, let it sit for another 10-minutes to release the pressure naturally. This gives the rice a little more cooking time and makes it more tender.
- After the 10-minute natural release, carefully turn the valve to the VENT position and allow the rest of the steam to be released. After all of the pressure has been released, it should be safe to open the lid.
Video
Notes
- Rice- Different types of rice require different cooking times. Brown rice takes the longest.
- Rinse first- Remember to rinse the rice before cooking. This gets rid of any dust or impurities that may be on the grains, resulting in cleaner, fluffier rice with a better texture.
- Safety- Always be careful when turning the pressure valve to the VENT position after cooking. You might even want to use a spoon to do this because steam can escape and burn your fingers.
Nutrition
Disclaimer
To obtain the most accurate representation of the nutritional information in a given recipe, you should calculate the nutritional information with the actual ingredients used in your recipe, using your preferred nutrition calculator. You are solely responsible for ensuring that any nutritional information provided is accurate, complete, and useful.

About Terri Edwards
Hi guys! I’m the content creator behind EatPlant-Based and a licensed Food for Life instructor with the Physicians Committee for Responsible Medicine. I’m passionate about sharing healthy recipes and tips to help others care well for their health and the bodies God has given us. I’m so glad you’re here! Read More…
I found the perfect brown rice, baked for one hour always came out perfectly!! WELL I live in Arizona and in the summer it heats my house up so I cooked it in my Instant Pot and praise the Lord it’s just as good and in 15 minutes!! Thank you!!!❤️
I love Jasmine brown rice! I batch cook and do five cups at one time. Most of the time, I’m the only one eating it, too.
When you double or triple do you just do the ingredients the same?
I have seen recipes that put less water when double or triple.
Hi Char- I just double or triple the ingredients for this rice. At my house, we make at least triple batches at a time.
Hello! Thank you for this recipe! Question: Can you double the recipe for a large family? Would cooking times be the same?
Hi Debra- Yes, I double and triple it all the time and the cooking stays the same. Enjoy!
Do you use the Jasmine rice? Regular short grain brown rice turns to mush for me!
Does Basmati work the same?
BTW, I’m in WNC too!
Hi Betty- I usually use long grain brown rice but think the short grain would do well in the Instant Pot too.
A couple of years ago I gave up all hope of ever making good brown rice using the traditional steaming methods (I had been trying for over 20 years) and started using the free-boil method, like for pasta, but boiling for 25-30 minutes. What a huge difference- you get nice separate grains of rice instead of a lumpy clumpy mess! It just requires more water than the Instant Pot method. Will give this a go, doubling the recipe, as I am almost out of cooked brown rice!
You mentioned that you cook brown rice and white basmati (or was it jasmine that your hubby likes) together. I cook my rice in the Instant Pot. How long would I cook it so the brown rice is done and the white rice isn’t mush?
Hi Pam- Yes, my husband likes it when I mix brown and white rice together, and I always set the temperature to HIGH for 15 minutes and allow it to release naturally. This is the same setting for brown rice and works great.