Oil-Free Garlic Hummus Recipe
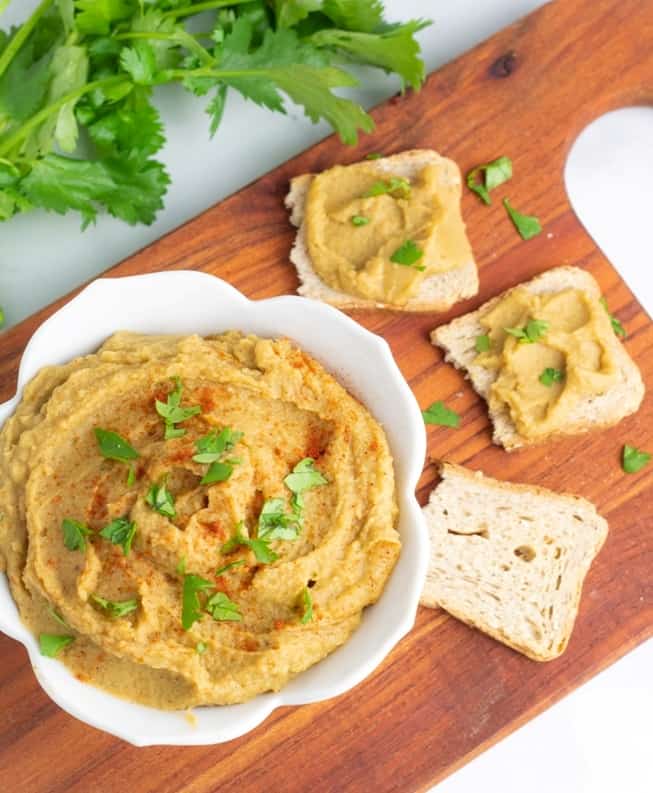
This oil-free garlic hummus is so good because it’s creamy, flavorful, and packed with the robust taste of fresh garlic, making it a healthy and delicious dip or spread. Perfect for snacking or adding to meals, it offers all the classic hummus flavor without the added oil.

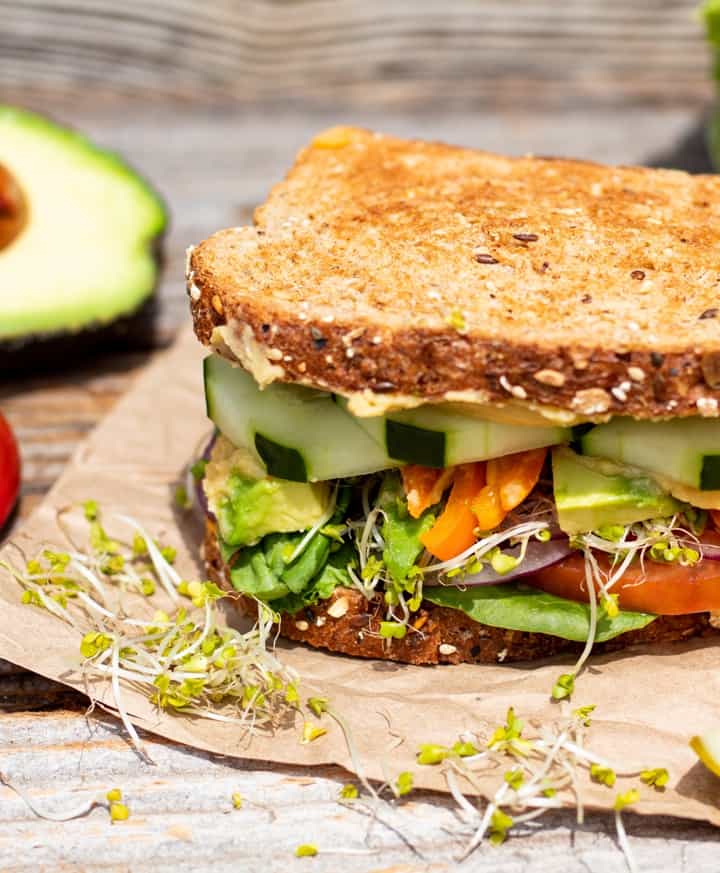
This recipe is a creamy, flavorful bean dip that’s both healthy and satisfying. It’s a lighter option that still delivers a rich, garlicky taste perfect for pairing with veggies or spreading on sandwiches like our veggie hummus sandwich and these healthy veggie wraps. Plus, it’s packed with plant-based protein, making it a nutritious choice for any occasion.
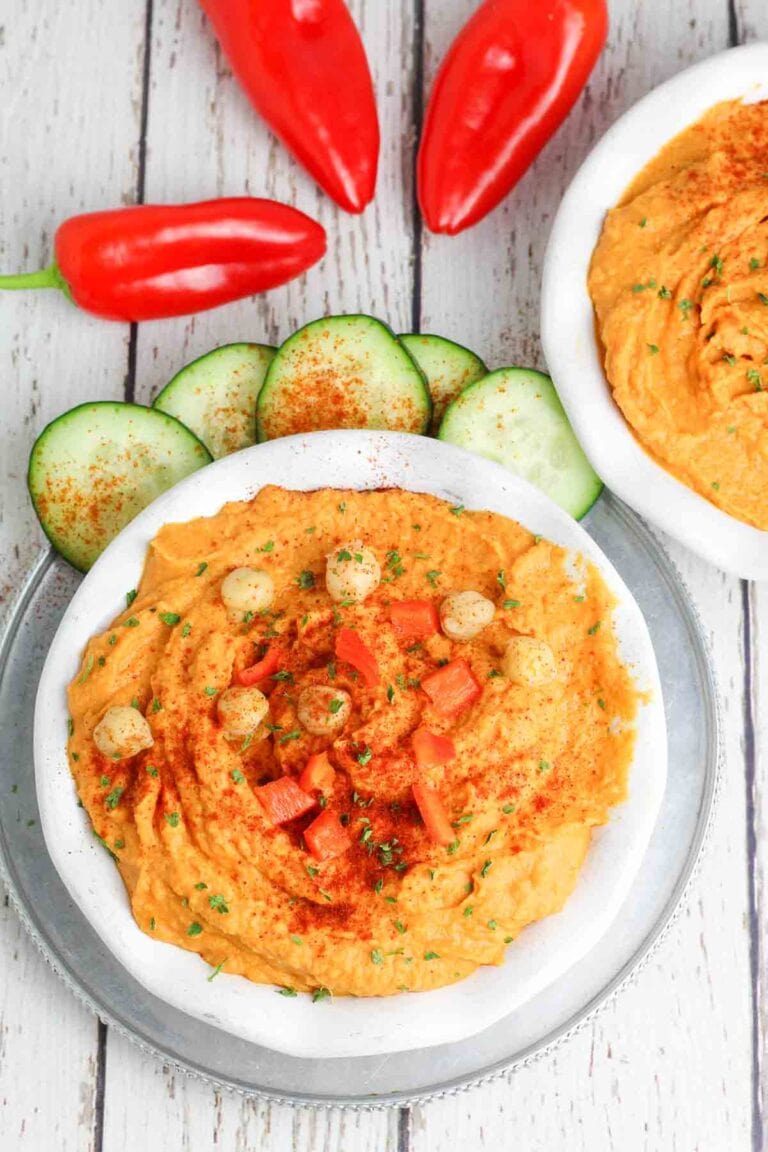
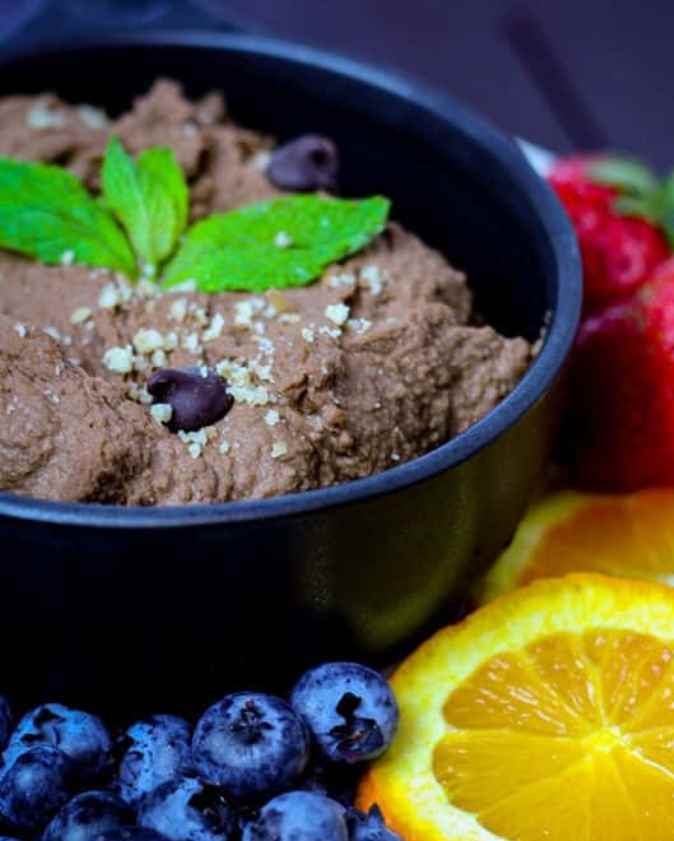
We have other oil-free delicious hummus recipes on this site like our roasted red pepper hummus and this Italian vegan hummus. Hummus is such a healthy, nutritious snack, I vote for trying all of the different flavor options! We have Six Amazing Oil-Free Hummus Recipes you should check out.
Reasons you’ll love this hummus
- Guilt-Free and Delicious: This oil-free garlic hummus is creamy and flavorful, offering a healthy alternative that’s free from added fats and oils.
- Packed with Flavor: Infused with fresh garlic, this hummus delivers a robust, savory taste that enhances any snack or meal.
- Versatile and Easy to Use: Perfect as a dip, spread, or topping, this hummus is versatile and fits seamlessly into various dishes and meal plans.
- Simple and Wholesome Ingredients: Made with minimal, wholesome ingredients, this oil-free garlic hummus is a nutritious choice that’s easy to prepare and enjoy.
Ingredients you will need

There are so many different varieties of hummus, and most often it is made with a base of chickpeas (or garbanzo beans) and a handful of other ingredients that are just blended together in a food processor or blender.
- Chickpeas (or garbanzo beans)– Use canned beans for convenience or cook your own. We have great instructions for how to cook chickpeas in your Instant Pot.
- Garlic- Use fresh garlic cloves to get the best flavor.
- Tahini– I actually no longer add tahini to this recipe because I have found that it tastes great without the added fat and calories.
- Vegetable broth- Using broth or water helps to get the consistency needed for hummus.
- Lemon juice- This adds a bright, tangy flavor that balances the richness of the tahini and enhances the overall taste. It also helps to lighten the texture and contributes to the hummus’s freshness and zest.
How to make garlic hummus
The recipe card at the bottom of the page has the full list of ingredients with measurements and instructions.

STEP #1: Begin by draining all liquid from the chickpeas whether they are freshly cooked in an Instantpot or from a can. To do this, I pour them into a colander and rinse them under warm water.
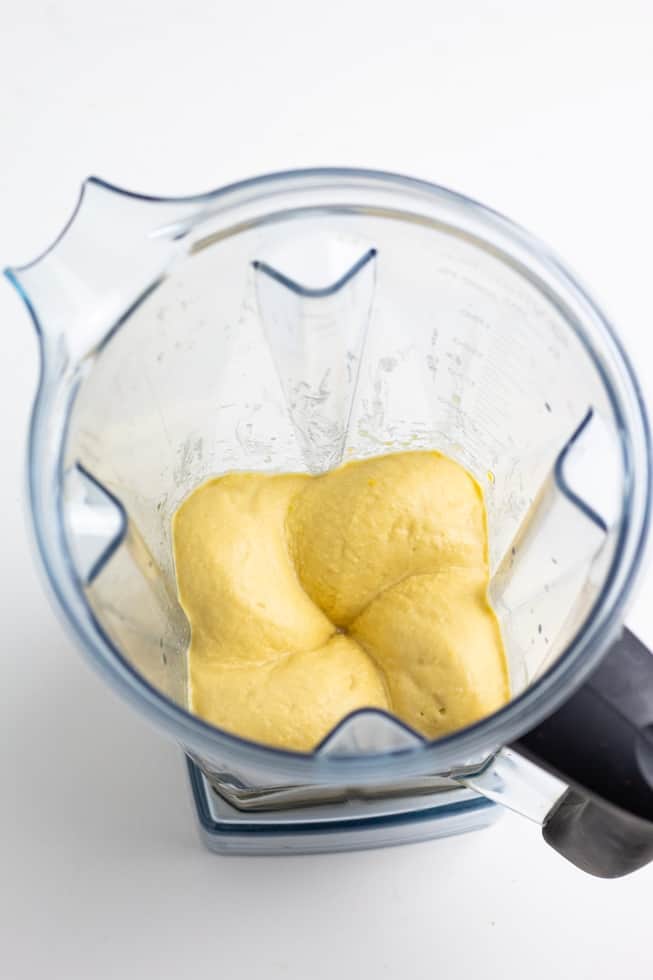
STEP #2: Add all of the ingredients to a blender or food processor and process for 1-2 minutes. Blend well to allow the chickpeas to become smooth.
If you don’t have a high-powered blender, you’ll need to stop and scrape down sides and stir a few times in between processing. One thing I love about having a Vitamix blender is that it has a tamper to push ingredients down to the blades, so stopping is not necessary.
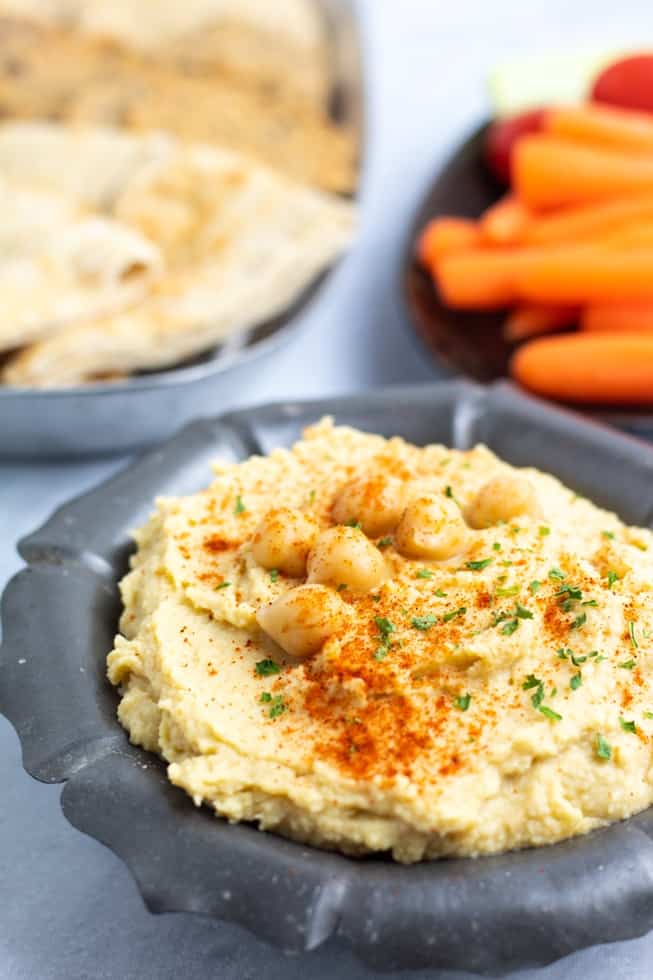
STEP #3: Serve with carrot and celery sticks, sandwiches and wraps, baked potatoes, veggie/grain bowls, and even on toast. One of my favorite things to dip in this healthy hummus is crackers, and my favorite oil-free brand is Mary’s Gone Crackers. They are simply delicious!
Originally published October 10, 2014
Tips for making this vegan dip
- Drain Beans- Make sure to drain and rinse canned chickpeas before using them to remove any excess salt and preservatives.
- Blending- If the ingredients are having a really hard time blending, add another tablespoon of veggie broth.
- Taste Test- Adjust the salt and lemon juice to your taste preferences.
Frequently Asked Questions
Absolutely! This recipe calls for 1.5 cups of cooked chickpeas which happens to be the amount in a standard can of chickpeas. If you want to make your own, try our Instant Pot Chickpea recipe because it’s fast, and the beans don’t even need to be soaked.
No, bottled lemon juice works fine in this recipe. I’ve even used lime juice with great success.
This dip lasts approximately 7-10 days in a tightly sealed container in the refrigerator.
Yes, you can freeze hummus for up to 6-8 months in an airtight freezer-safe container. The day before you want to eat it, move the hummus container from the freezer to the refrigerator. It takes at least a few hours to thaw until it’s ready to eat. Thawing can take longer depending on how much is in your container.
It’s best to freeze in small portions to make defrosting quicker and to have handy small amounts to eat in one sitting.
If you try this recipe, please let us know how you like it by rating it and leaving a comment. We love to hear from you!
Want to Save This Recipe?
Enter your email & I’ll send it to your inbox. Plus, get great new recipes from me every week!
By submitting this form, you consent to receive emails from EatPlant-Based
Garlic Oil-Free Hummus
Ingredients
- 1-2 cloves garlic
- 2 tablespoons lemon juice
- 1-1/2 cups cooked chickpeas. This is same as 1 15 oz can beans, drained and rinsed thoroughly
- 3 tablespoons veggie broth or water more if needed to blend
- 1 tablespoon Tahini optional
- 1/2 teaspoon sea salt
Instructions
- Begin by draining all liquid from the chickpeas whether they are freshly cooked in an Instantpot or from a can.
- Add all of the ingredients to a blender or food processor and process for 1-2 minutes. Blend well to allow the chickpeas to become smooth.
- If you don’t have a high powered blender, you’ll need to stop and scrape down sides and stir a few times in between processing. One thing I love about having a Vitamix blender is that it has a tamper to push ingredients down to the blades, so stopping is not necessary.
- I personally like my hummus left just a little chunky, but many people like theirs completely smooth. Process until reaching your preferred consistency.
- This hummus is delicious on carrot and celery sticks, sandwiches and wraps, baked potatoes, veggie/grain bowls, and even on toast.
Video
Notes
- Drain Beans- Make sure to drain and rinse canned chickpeas before using them to remove any excess salt and preservatives.
- Blending- If the ingredients are having a really hard time blending, add another tablespoon of veggie broth.
- Taste Test- Adjust the salt and lemon juice to your taste preferences.
- Storage- This dip lasts approximately 7-10 days in a tightly sealed container in the refrigerator.
- Freezing- You can freeze hummus for up to 6-8 months in an airtight freezer-safe container. The day before you want to eat it, move the hummus container from the freezer to the refrigerator. It takes at least a few hours to thaw until it’s ready to eat. Thawing can take longer depending on how much is in your container. It’s best to freeze in small portions to make defrosting quicker and to have handy small amounts to eat in one sitting.
Nutrition
Disclaimer
To obtain the most accurate representation of the nutritional information in a given recipe, you should calculate the nutritional information with the actual ingredients used in your recipe, using your preferred nutrition calculator. You are solely responsible for ensuring that any nutritional information provided is accurate, complete, and useful.
About Terri Edwards
Hi guys! I am the content creator behind EatPlant-Based and a licensed Food for Life instructor with the Physicians Committee for Responsible Medicine. I am passionate about sharing healthy recipes and tips to empower others to get healthy. I’m so glad you’re here! Read More…


I tried this hummus recipe today for our lunch wraps. It was so tasty! I added a couple of pieces of jalepenos to mine. I left ours on the chunky side. It paired well with veggies on Ezekiel Wraps. Thank you for this wonderful recipe Terri!!
Just made a batch of your basic garlic hummus and added a jalapeno to it. Heaven!
Hi Stephanie- I love to spice this up a bit too and usually add a little chipotle. The jalapeno sounds fabulous too. So glad you enjoyed it!
I’ve never made my own hummus before, but I used your recipe today, and oh my, it’s good! I’ll never have to buy ready made again.
Isn’t it amazing how easy hummus is to make? I just made a batch for a trip that we’re leaving on in a couple of hours. It’ll be great for a snack this evening. Very inexpensive and simple So glad you found the recipe! 🙂
I’m making this later today. I just got a VITAmix and am tip-toeing into using it, as I’m not an experienced blender/food processor user. But I ran out of my stor-bought hummus, which I have almost daily on a pita loaded with greens, for lunch. How long does the homemade hummus keep, in the fridge?
Barbara, this hummus last 7-10 days in the refrigerator. I’ll add that information to the recipe. Thanks!
Super fast & easy to make & sooooo much better than store bought!!! 🙂
I made this hummus today ! Very delicious ! My daughter told me the hummus was better than the oasis brand I usually buy! I may decrease the salt next time. Thanks for a great recipe Terri!?
That’s terrific to hear! Thank you for sharing!
Hummus Basic Recipe–
Ingredients:
1 clove garlic
juice from 1 lemon
1 can chickpeas, drained and rinsed thoroughly
1 tbsp. Tahini (this is sesame paste, and can be found in the peanut butter section of most grocery stores)
1 tsp. sea salt
a little bit of water or veggie broth to blend
Add all ingredients to a blender or food processor in just enough water or veggie broth to achieve your desired texture. Try a number of the variations listed above.