
Easy Whole Wheat Bread (No Kneading)
This homemade oil-free Whole Wheat Bread is super simple to make with only 5 ingredients, and it doesn’t require any kneading. It’s perfect for making sandwiches and toast!

Want to Save This Recipe?
Enter your email & I’ll send it to your inbox. Plus, get great new recipes from me every week!
By submitting this form, you consent to receive emails from EatPlant-Based
I’ll be the first to admit that I’m definitely not a baker. Though I do have several baked good recipes on this site for vegan homemade muffins, whole wheat oil-free bagels, and vegan cinnamon rolls, baking has never been my expertise.
But, that’s what is so great about this particular recipe for no-knead bread! It’s so easy that anyone can make it. I’d dare to say that it’s a nearly fool-proof bread recipe that even kids can help with.
Is 100% whole wheat bread healthy?
In one word–YES! This whole wheat bread recipe is created from 100% whole wheat flour and includes only wholesome ingredients that are very low in fat. It’s also full of health-promoting fiber that helps keep you full and aids in digestion.
In addition to fiber, whole wheat bread also contains protein. Sure, there are carbs, but they are the much healthier complex carbohydrates that are packed with nutrients and fiber and promote long-term health.
Reasons you will love this recipe
- Healthy and Guilt-Free: This oil-free whole wheat bread recipe is low in fat and high in fiber, making it a heart-healthy and nutritious option for your meals.
- No-Knead, No Hassle: Perfect for beginners or busy schedules, this no-knead recipe is simple to prepare and requires minimal effort for bakery-quality results.
- Wholesome Ingredients: Made with whole wheat flour and no added oils, this bread offers a clean and natural alternative to store-bought varieties.
Ingredients you will need
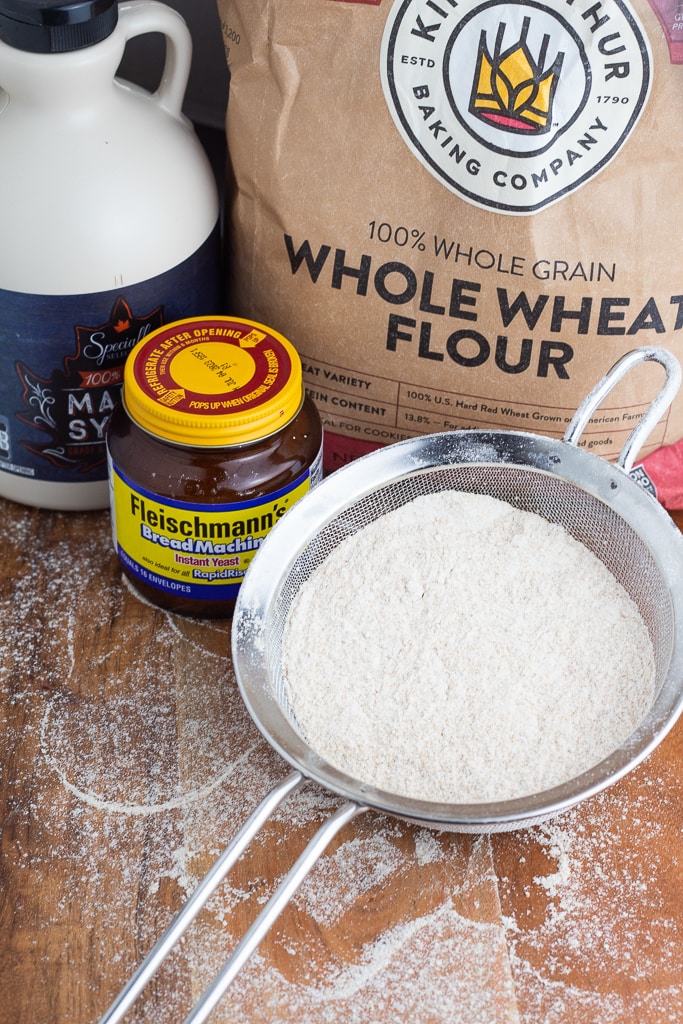
- Whole wheat flour- 100% whole wheat flour adds rich flavor and a nutty taste while significantly boosting the nutritional profile. It’s packed with fiber, vitamins, and minerals, making your homemade bread a healthier choice that supports digestive health and provides sustained energy.
- Yeast- Using instant yeast to make whole wheat bread is advantageous because it activates quickly, allowing for faster rising and shorter preparation times.
- Sweetener- Adds a natural sweetness and a unique flavor profile that complements the nuttiness of the whole wheat flour. It also serves as a healthier alternative to refined sugars, providing trace minerals and antioxidants while helping to enhance the bread’s texture and moisture.
Tips and suggestions
- Sweetener- Other sweeteners can be used in place of maple syrup. The amount of sweetener can be reduced to as low as 1 tablespoon, but I prefer it sweeter.
- Yeast- Instant yeast, bread machine yeast, and rapid-rise instant yeast can all be used interchangeably according to Fleischmann’s Yeast FAQ.
- Rising time- If your house is cool, it will likely take a little longer for the bread to rise. On cool sunny days, I’ve been known to set well-covered dough in a sunny window seal or even out on my porch in the sunshine for just a little bit to speed up the process. Just don’t forget about it!
- Gluten- This recipe is not gluten-free, but ElaVegan has a GF Vegan Bread option that you might try.
How to make vegan whole wheat bread
The recipe card at the bottom of the page has the full list of ingredients with measurements and instructions.
I love that this vegan bread is so easy to make and doesn’t take a lot of time, unlike so many other recipes. Most other bread recipes have to be kneaded and allowed to rise twice, but this one takes less than half the time.

STEP #1: Add the maple syrup and warm water to a medium-sized mixing bowl and whisk together. See my notes for sweetener variations below.
Sprinkle in the yeast and give a quick stir. Set the bowl to the side for approximately 5-10 minutes to allow the yeast to activate.

STEP #2: In a large mixing bowl, combine the whole wheat flour and salt. I like to sift the flour to make sure it is light and fluffy, but it isn’t required.
Once the yeast has had time to activate, pour the liquid mixture into the bowl with the flour and salt and stir. It will be clumpy at first but continue to stir and give the wet ingredients time to coat the dry ingredients well.
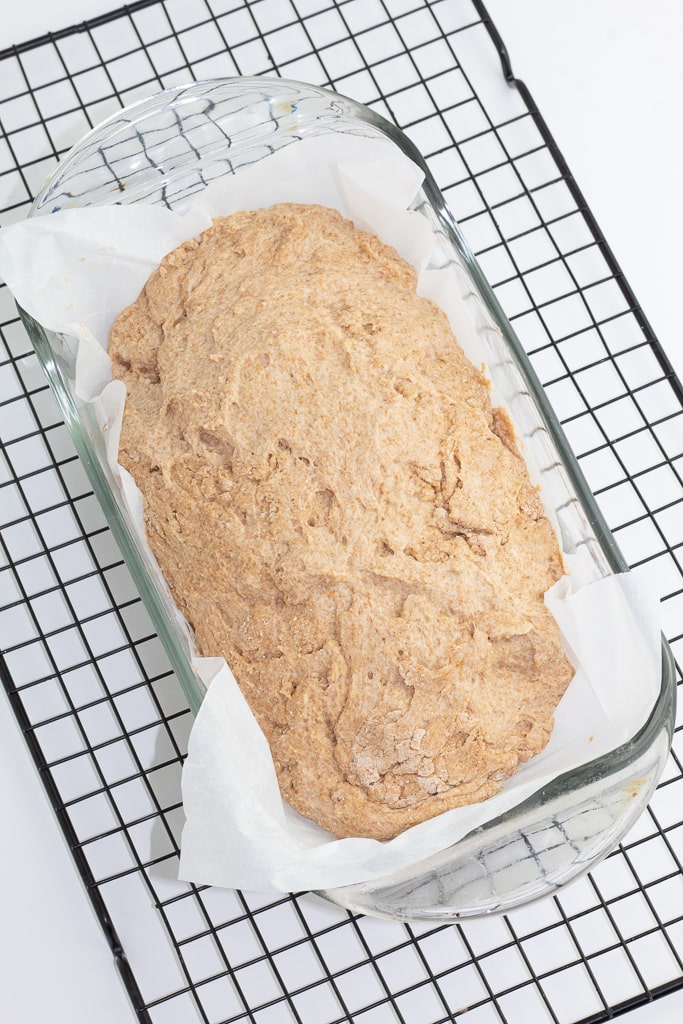
STEP #3: Line a 9 x 5 loaf pan with parchment paper to prevent sticking and pour the batter into the pan. The dough will be pretty sticky, so just use a spoon to plop it from the mixing bowl into the pan. If you like, sprinkle a little seasoning like Everything But the Bagel on top.

STEP #4: Cover and leave the bread to rise for about 25-30 minutes until it has nearly doubled in size. Because the dough will come up over the top a little, I don’t recommend covering it with anything like clingwrap that is level on the top. I think inverting another baking pan on top is a perfect solution. See my photo to illustrate what I mean. It really helps to lock in the moisture too.
It’s worth mentioning that room temperatures will play a role in how quickly the dough rises. If it’s cool, it will take longer. The warmer it is, the faster it will rise.
While the dough is rising, go ahead and preheat your oven to 350°F (200°C).
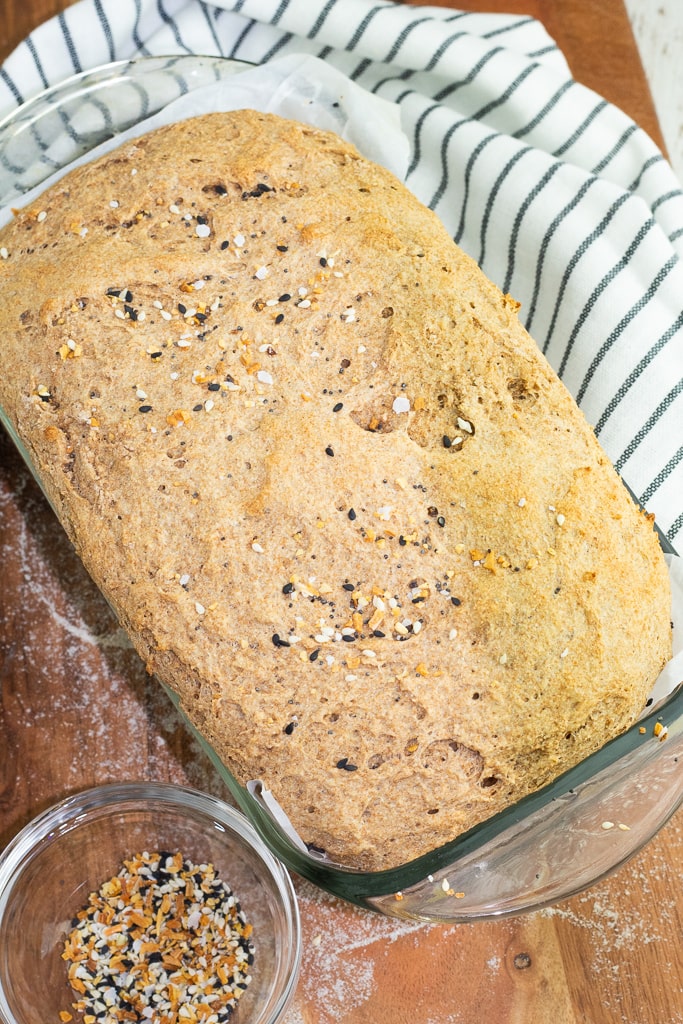
STEP #5: After the bread has doubled its size, place it in the oven and bake for approximately 40 minutes. When it’s finished cooking, remove it from the oven and allow it to cool before slicing.
Ways to serve
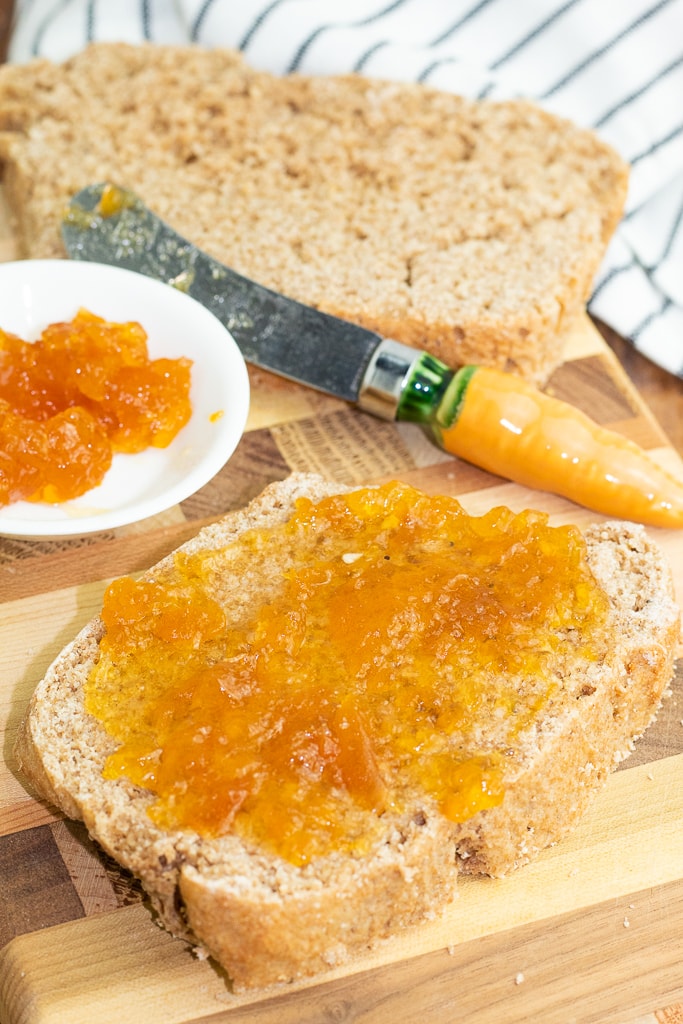
Besides serving it warm right out of the oven with a fresh kale salad or vegan spinach lasagna, other great options include slicing it to make healthy plant-based sandwiches or toast.
Slather on a little fruit preserves, our roasted garlic butter, or this homemade vegan butter on top are great options too. I even make croutons for salad by cutting a slice into chunks and seasoning them with a little garlic and onion powder.
Frequently Asked Questions
The dough typically needs to rise for at least 30 minutes, or until it has doubled in size. This may vary based on room temperature.
If your dough doesn’t rise, it could be due to expired yeast or insufficient warmth. Make sure to use fresh instant yeast and place the dough in a warm, draft-free area to encourage rising.
To store homemade whole wheat bread, you’ll want to keep it in an airtight container for storage bag in the refrigerator. Make sure to allow it to cool completely before wrapping it up and storing it. It freezes well too!


For those of you new to the whole food plant-based lifestyle, we’ve created a FREE 7-Day Plant-Based Menu Planner to help you get started!
If you try this recipe, please let us know how you like it by rating it and leaving a comment. We love to hear from you!
Want to Save This Recipe?
Enter your email & I’ll send it to your inbox. Plus, get great new recipes from me every week!
By submitting this form, you consent to receive emails from EatPlant-Based

100% Whole Wheat Bread
Ingredients
- 4 cups 100% whole wheat flour
- 1 packet Instant Yeast or 2-1/4 teaspoons
- 1-3 tablespoons maple syrup or other sweetener
- 1/2 teaspoon salt
- 2 cups warm water
Instructions
- To begin, add the maple syrup and warm water to a medium-sized mixing bowl and whisk together. See my notes for sweetener variations below.
- Sprinkle in the yeast and give a quick stir. Set the bowl to the side for approximately 5-10 minutes to allow the yeast to activate.
- In a large mixing bowl, combine the whole wheat flour and salt. I like to sift the flour to ensure it is light and fluffy, but it isn’t required.
- Once the yeast has had time to activate, pour the liquid mixture into the bowl with the flour and salt and stir. It will be clumpy at first but continue to stir and give the wet ingredients time to coat the dry ingredients well.
- Line a 9 x 5 loaf pan with parchment paper to prevent sticking and pour the batter into the pan. The dough will be pretty sticky, so just use a spoon to plop it from the mixing bowl into the pan. If you like, sprinkle a little seasoning like Everything But the Bagel on top
- Cover and leave the bread to rise for about 25-30 minutes until it has nearly doubled in size. Because the dough will come up over the top a little, I don’t recommend covering with anything like clingwrap that is level on the top. I think inverting another baking pan on top is a perfect solution. See my photo above to illustrate what I mean. It really helps to lock in the moisture too.
- While the dough is rising, go ahead and preheat your oven to 350°F (200°C).
- After the bread has doubled its size, place it in the oven and bake for approximately 40 minutes. When it’s finished cooking, remove it from the oven and allow it to cool before slicing.
Video
Notes
- Sweetener- Other sweeteners can be used in place of maple syrup. The amount of sweetener can be reduced to as low as 1 tablespoon, but I prefer it sweeter.
- Yeast- Instant yeast, bread machine yeast, and rapid rise instant yeast can all be used interchangeably according to Fleischmann’s Yeast FAQ.
- Rising time- If your house is cool, it will likely take a little longer for the bread to rise. On cool sunny days, I’ve been known to set well-covered dough in a sunny window seal or even out on my porch in the sunshine for just a little bit to speed up the process. Just don’t forget about it!
- Storage- You’ll want to keep it in an airtight container for storage bag in the refrigerator. Make sure to allow it to cool completely before wrapping it up and storing it. It freezes well too!
Nutrition
Disclaimer
To obtain the most accurate representation of the nutritional information in a given recipe, you should calculate the nutritional information with the actual ingredients used in your recipe, using your preferred nutrition calculator. You are solely responsible for ensuring that any nutritional information provided is accurate, complete, and useful.

About Terri Edwards
Hi guys! I’m the content creator behind EatPlant-Based and a licensed Food for Life instructor with the Physicians Committee for Responsible Medicine. I’m passionate about sharing healthy recipes and tips to help others care well for their health and the bodies God has given us. I’m so glad you’re here! Read More…
The bread is wonderful and so easy. I will be making this a lot. I love your recipes and really look forward to your gems of wisdom in the “morning brew”. Thank you for sharing food and faith.
Thank you so much for your kind words! I’m really glad you enjoyed the bread and that it was easy to make—that’s always the goal. It means a lot to hear that you’re enjoying both the recipes and the little bits of faith shared in the Morning Brew.
Would you be able to give us the flour amount by weight? United States measurements?
This recipe calls for 4 cups of whole wheat flour. 1 cup whole wheat flour → 120 g, so 4 cups × = 480 g. I hope this helps, and you enjoy the recipe.
I am so happy to finally see a no-knead bread recipe using whole wheat flour. Every recipe I’ve seen uses white flour. I’ll be experimenting with some organic sprouted spelt flour and organic sprouted wheat flour and sometimes may combine them. Back in the day I used to buy grain from an organic wheat farmer in another province, in 44 pound bags, grind the flour and make the bread with the freshly ground flour, usually in my Bosch mixer. I loved doing that for my family and would sometimes share with the neighbours. These days, many years later I have mobility and other health concerns and making bread the way I used to is out of the question. I can’t say how happy I am to be able to make lovely homemade whole grain bread again. Thank you for this recipe!
Aww, I’m so glad this whole wheat bread recipe will be helpful! Thank you for sharing! Enjoy!
I found my pan was either smaller than regular size or mine rose too much, but I had dough all over my oven and put it in 2 pans and it rose again and made 2 regular size loaves that were delicious! I also have a bread proof setting on my oven, and if not, I just turn it on for a minute and turn it off. I also put my pans in a very large (gallon size) plastic bag.
I’m so glad it was delicious! I love that your smaller pans made two loaves for you. Thanks so much for sharing your experience.