Chocolate Vegan Pie Crust
This chocolate vegan, oil-free, and gluten-free pie crust is the perfect base for your desserts, offering a rich, chocolatey flavor without any dairy, oils, or gluten. It’s a healthier alternative that doesn’t compromise on taste, making it ideal for those with dietary restrictions or anyone looking for a delicious, plant-based crust.

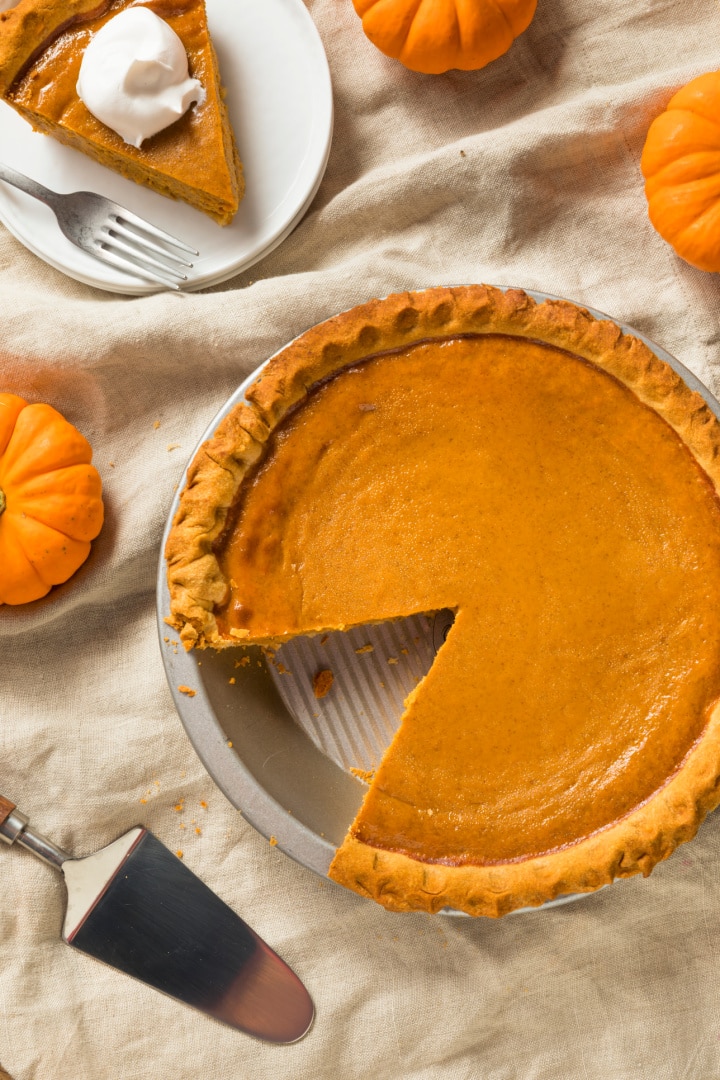
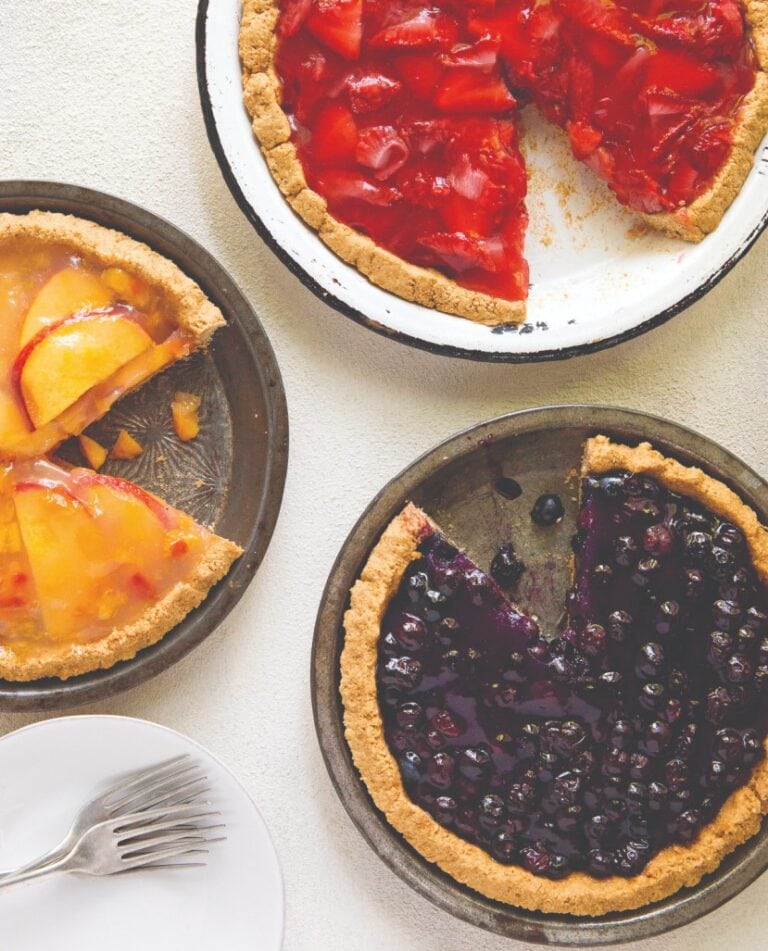
There’s no need to be frustrated or think that pie is something you can’t have on a healthy plant-based diet. Let me show you how easy it is to make this homemade pie crust from scratch to use with our no-bake healthy fruit pies, this vegan pumpkin pie, or my tofu chocolate mousse dairy-free pie!
Want a gluten-free pie crust that is more like graham crackers? Try this Perfect Graham Cracker Crust or Easy Gluten-Free Pie Crust from The China Study Cookbook.
Reasons you will love this crust
- Delicious Chocolate Flavor: This chocolate vegan oil-free pie crust delivers a rich, indulgent chocolate taste that enhances any dessert, making it a perfect base for pies and tarts.
- Healthier Ingredients: Made without oil and animal products, this pie crust offers a healthier alternative to traditional crusts.
- Gluten-Free Option: Designed to be gluten-free, this pie crust caters to those with gluten sensitivities or celiac disease, providing a tasty and inclusive dessert solution.
- Easy to Make: With simple ingredients and straightforward preparation, this pie crust is easy to make, saving you time while still delivering a delicious, homemade touch to your desserts.
Ingredients you will need
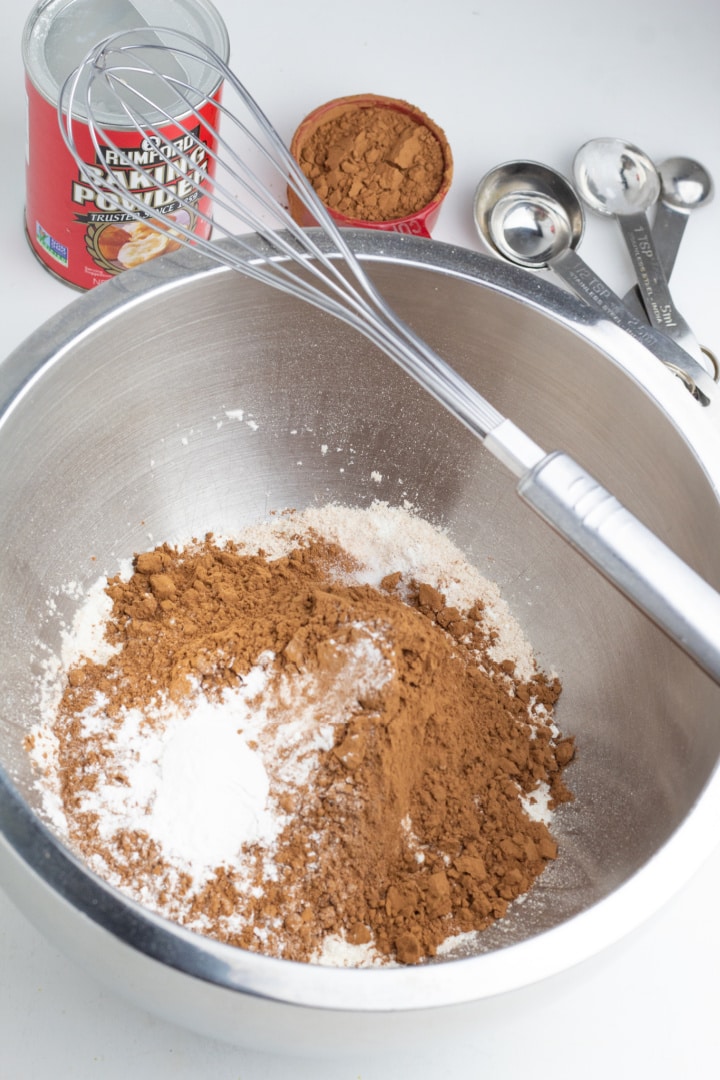
- Oat flour- Provides a light, yet sturdy texture that helps bind the ingredients together without the need for oil. It adds a subtle, nutty flavor that complements the chocolate, while also being a gluten-free alternative for those with sensitivities.
- Cocoa powder- Creates a deep, rich chocolate flavor without adding extra fat or dairy. It enhances the overall taste of the crust, making it more indulgent and satisfying while keeping the recipe vegan and oil-free.
- Baking powder- Helps create a lighter, slightly airy texture. Although pie crusts don’t typically require much leavening, a small amount of baking powder can prevent the crust from becoming too dense, especially since this recipe doesn’t include oil or butter.
- Applesauce- It helps bind the ingredients together, ensuring the crust stays tender and soft while providing a subtle flavor that complements the chocolate.
- Sweetener- Brown sugar is used in a chocolate vegan oil-free pie crust to add a rich, caramel-like sweetness that enhances the flavor of the chocolate. The molasses in brown sugar not only deepens the flavor profile but also helps retain moisture, ensuring the crust remains tender and not overly dry.
- Vanilla- Deepens the overall flavor profile, adding a warm, aromatic note that complements the rich taste of cocoa.
How to make vegan oil-free pie crust
The recipe card at the bottom of the page has the full list of ingredients with measurements and instructions.
This really is an easy recipe that even the kids can help with. All you need are a few ingredients, an ovenproof pie dish, and clean hands for kneading.
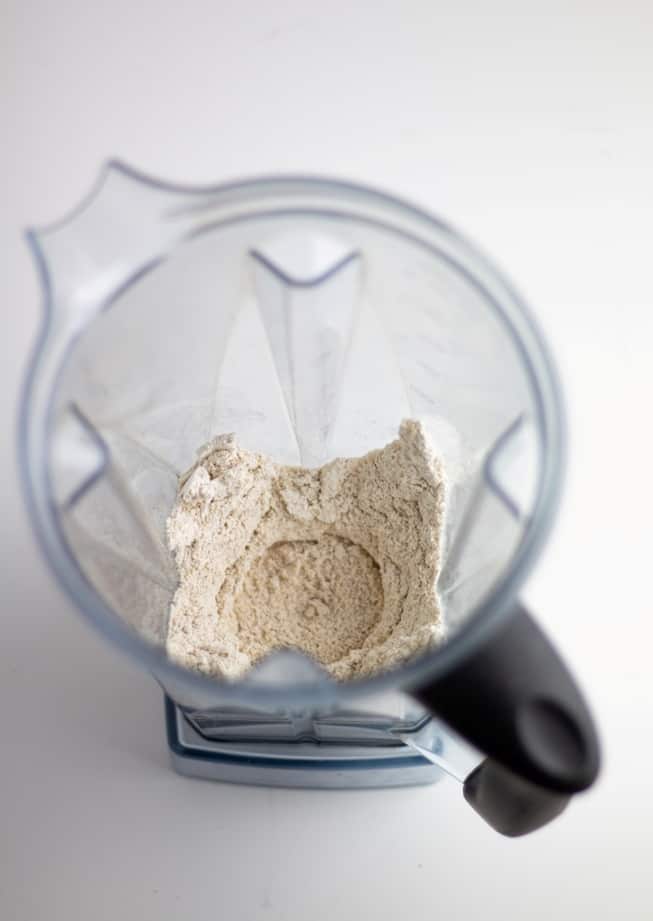
STEP #1: Begin by preheating the oven to 375°F. Next, you’ll need to make a little oat flour. You can always purchase oat flour, but why do that when it’s so easy to make your own in about 2-minutes?
Simply place the whole oats in your blender and blend or pulse them until they are ground into powdery flour, approximately 1 minute or less.
If you’re using walnuts, add them to the flour and pulse briefly to break up the nuts. The walnuts are completely optional.

STEP #2: In a large mixing bowl, add the fresh oat flour, cocoa powder, baking powder, salt, and brown sugar and whisk together well.
This is not a very sweet crust, so if you like things sweeter, you’ll need to add more sugar.
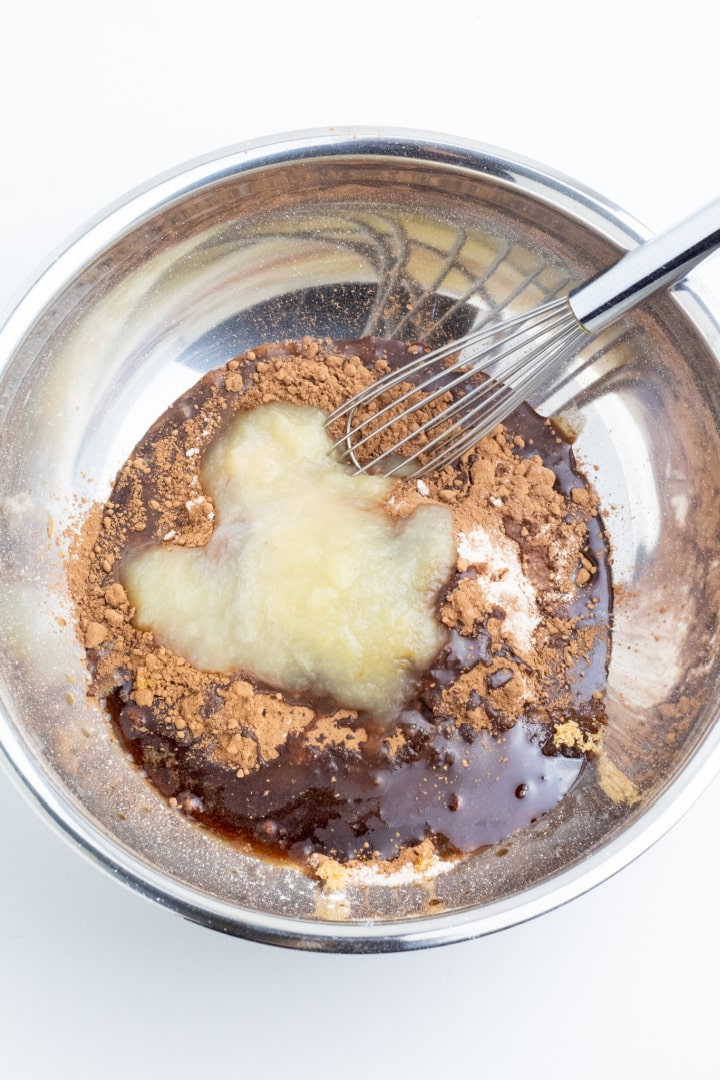
STEP #3: In a smaller bowl, combine the applesauce and vanilla.
Then combine the dry ingredients with the wet ingredients in the larger bowl.
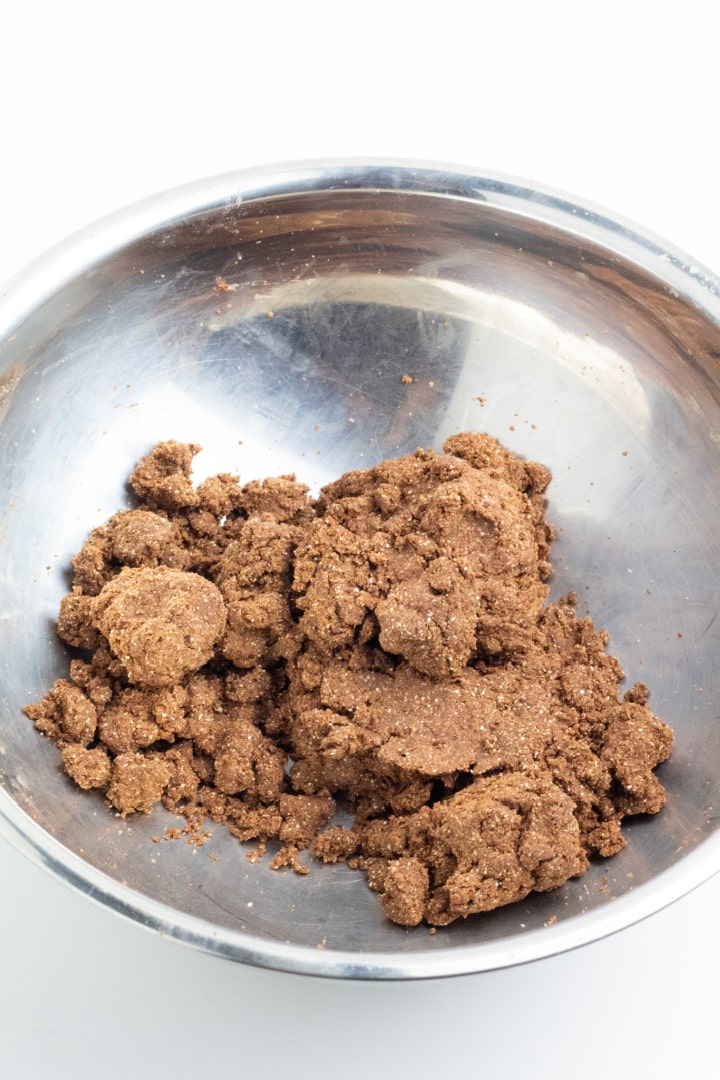
STEP #4: This is going to be a very thick batter, so you’ll need to roll up your sleeves and knead the dough a bit with your hands. It will form into clumps, so keep kneading.
Once the ingredients are well blended into a stiff dough, place the clump in the center of your pie dish.
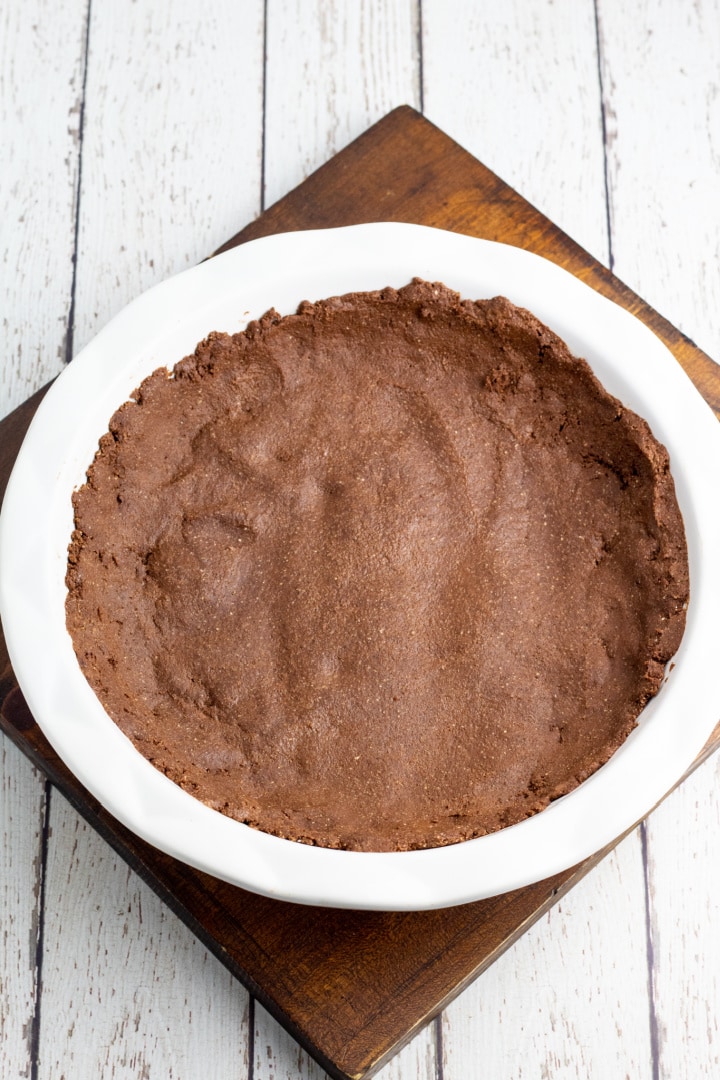
STEP #5: Lightly wet your hands and begin to press the dough with your fingers and the palm of your hand to push it flat and up the sides of your pie dish. I do not add any oil to my pie pan. It sticks just a little, but I’m able to use a fork to make it release, especially when the whole pie has been made hours before and chilled. Chilling overnight is even better.
If you don’t want to deal with any sticking at all, line the pie plate with parchment paper before adding the crust.
You’ll likely need to dampen your hands a few times to keep the mixture wettened enough to work with.

STEP #6: Place the pie crust in your oven and bake for approximately 10-12 minutes until it is lightly crispy. Remove from oven and allow to completely cool before using.
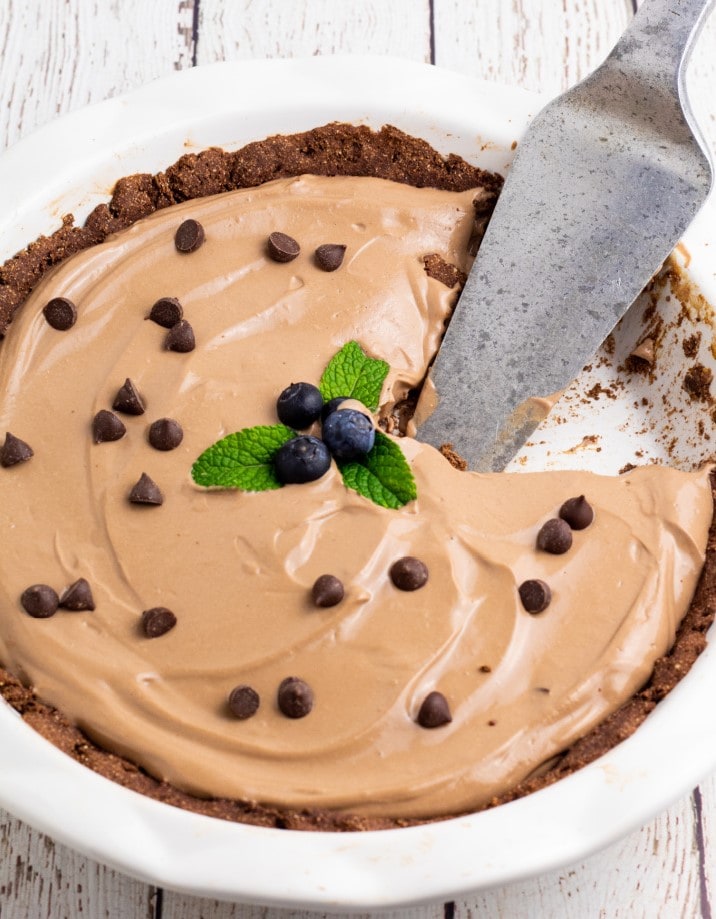
I have an amazing Chocolate Tofu Mousse Pie that is perfect with this pie crust recipe.
The finished crust is only lightly sweet and, in my opinion, it’s even better when the pie is made the day before because the pie filling has a chance to marry-up with the crust flavors.
Place the whole pie in the refrigerator for a few hours or overnight to firm up. Serving the next day is perfect!
This recipe was inspired by Susan with FatFreeVegan’s Oatmeal Cookie Pie Crust.
Frequently Asked Questions
Yes, it is! Since it’s made with oat flour, this crust is completely gluten-free as long as the oats specifically say they are GF. This Easy Gluten-Free Pie Crust is another great option. Want more Gluten-Free Recipes?
Yes! I recommend making the whole pie a day ahead so the pie crust can soak up the flavors from the pie filling.
No, but you’ll want to use some sort of sweetener. Any type of less refined sugar will work just fine. Date sugar is a good substitute.
I do not add any oil to my pie pan. It sticks just a little, but I’m able to use a fork to make it release, especially when the whole pie has been made hours before and chilled. Chilling overnight is even better. If you don’t want to deal with any sticking at all, line the pie plate with parchment paper before adding the crust.
Store in an airtight container for up to 4 days. I haven’t tried freezing it, but it should do fine.
If you try this recipe, please let us know how you like it by rating it and leaving a comment. We love to hear from you!
Want to Save This Recipe?
Enter your email & I’ll send it to your inbox. Plus, get great new recipes from me every week!
By submitting this form, you consent to receive emails from EatPlant-Based
Chocolate Vegan Pie Crust
Ingredients
- 1 cup oat flour made with whole oats, instructions below
- 2 tablespoons chopped walnuts optional
- 1/4 cup cocoa powder
- 1/8 teaspoon baking powder
- 1/4 teaspoon salt
- 1/3 cup brown sugar or date sugar
- 1/4 cup applesauce
- 1/2 teaspoon vanilla
Instructions
- Begin by preheating the oven to 375°F.
- Next, you’ll need to make a little oat flour. You can always purchase oat flour, but why do that when it’s so easy to make your own in about 2-minutes?
- Simply place the whole oats in your blender and blend or pulse the oats until they are ground into powdery flour, approximately 1-minute or less. Time will depend on the power of your appliance.
- If you’re using walnuts, add them to the flour and pulse briefly to break up the nuts. The walnuts are completely optional.
- In a large mixing bowl, add fresh oat flour, cocoa powder, baking powder, salt, and brown sugar and whisk together well. This is not a very sweet crust, so if you like things sweeter, you’ll need to add more sugar.
- In a smaller bowl, combine the applesauce and vanilla. Then combine the dry ingredients with the wet ingredients in the larger bowl.
- This is going to be a very thick batter, so you’ll need to roll up your sleeves and knead the dough a bit with your hands. It will form into clumps, so keep kneading.
- Once the ingredients are well blended into a stiff dough, place the clump in the center of your pie dish. Lightly wet your hands and begin to press the dough with your fingers and the palm of your hand to push it flat and up the sides of your dish. I do not add any oil to my pie pan. It sticks just a little, but I’m able to use a fork to make it release, especially when the whole pie has been made hours before and chilled. Chilling overnight is even better.
- If you don’t want to deal with any sticking at all, line the pie plate with parchment paper before adding the crust.
- You’ll likely need to dampen your hands a few times to keep the mixture wettened enough to work with.
- Place the pie crust in your oven and bake for approximately 10-12 minutes until it is lightly crispy. Remove from oven and allow to completely cool before using.
- I have an amazing Chocolate Mousse Pie that is perfect with this pie crust recipe.
- The finished crust is only lightly sweet and, in my opinion, it’s even better when the pie is made the day before because the pie filling has a chance to marry-up with the crust flavors.
Video
Notes
Nutrition
Disclaimer
To obtain the most accurate representation of the nutritional information in a given recipe, you should calculate the nutritional information with the actual ingredients used in your recipe, using your preferred nutrition calculator. You are solely responsible for ensuring that any nutritional information provided is accurate, complete, and useful.



Can I subside sugar for maple syrup? If so, can you advise how much?
Hi CT- For this one, you would want to use a dry sweetener. Date sugar would be a good option in equal measure.
I really liked this recipe. Very easy to make and super tasty
Hi Debbie- Thanks so much for the feedback! So glad you like this pie recipe. My favorite is to make the pie a day ahead because the sweetness seeps into the crust and makes it even better. Thank you!
5 stars for sure. Ive made many different vegan crusts. This is probably the best. holds up well, doesn’t get soggy. I put down parchment paper so can’t say whether it sticks or not. highly recommend.
Hi Terri- Thanks so much for the great feedback! Just curious, did you make your pie the day ahead? I personally really liked the pie crust even better the next day.